Latest Posts

Fig and Almond Butter Mousse Pie with Sesame-Oat Crust

Fall Fruit and Almond Butter Mousse Pie with Sesame-Oat Cookie Crust

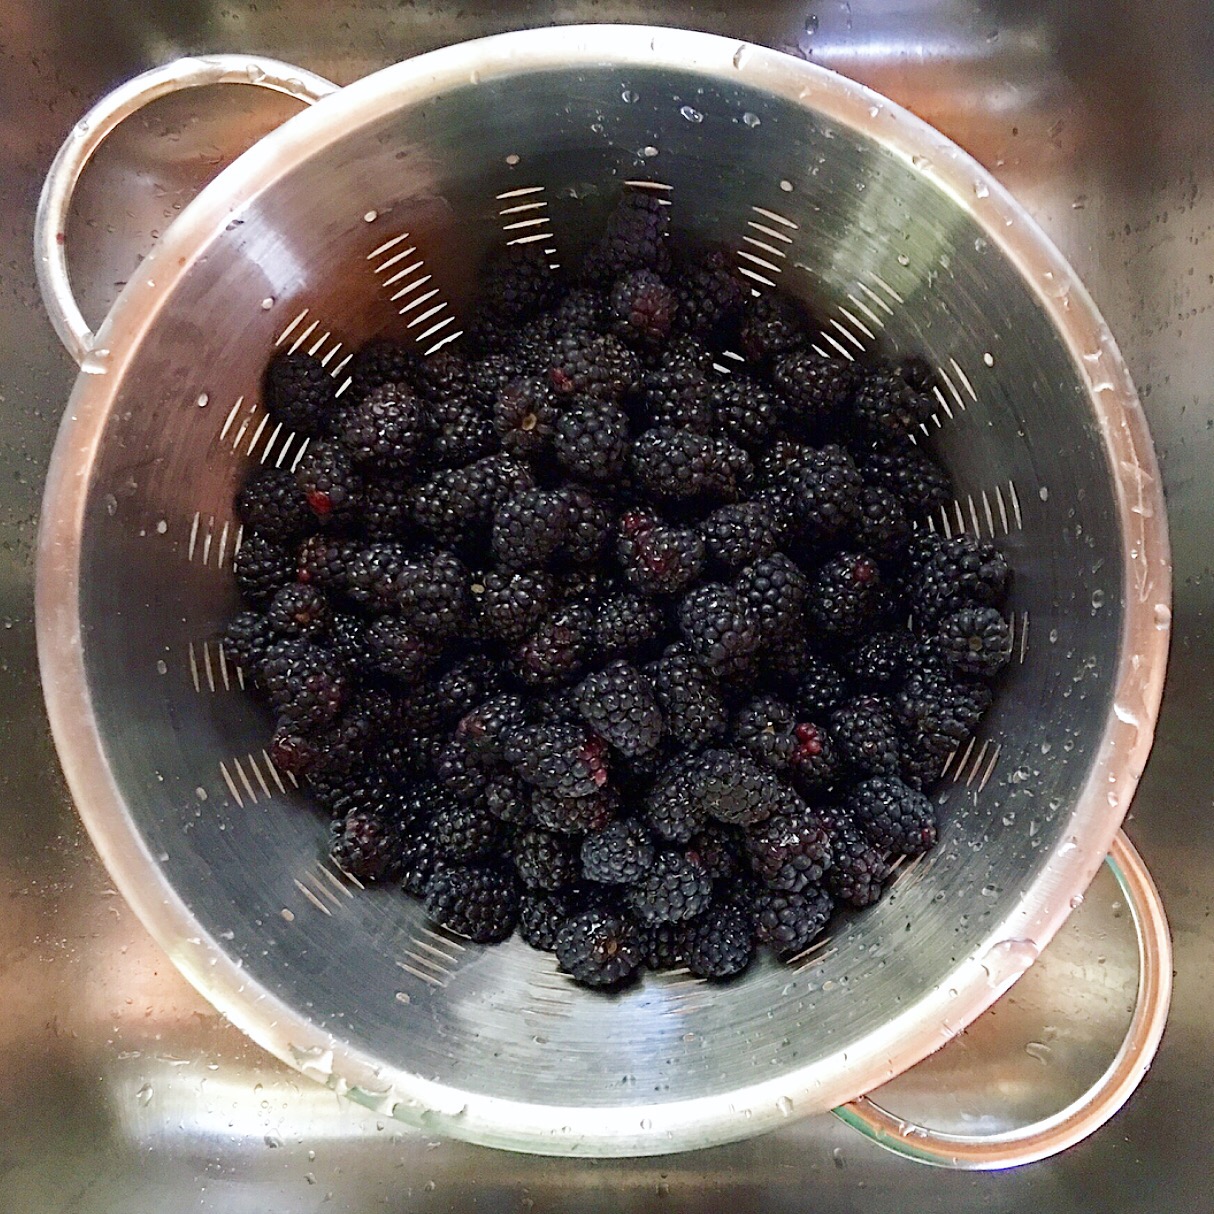
This luscious Almond Butter Mousse Pie is made with simple ingredients and is the perfect way to showcase fresh fall fruit. The base is a delicious savory crust flavored with sesame seeds and fragrant rosemary. The rich and creamy filling is made with almond butter, coconut cream, maple syrup and a touch of plain yogurt to balance the sweetness. It’s all topped off with your favorite seasonal fruit. I’ve made it using plums, figs, and persimmons  and each was wonderful.

Persimmon Almond Butter Mousse Tart with Sesame-Oat Crust

This recipe is perfect…
  • for Thanksgiving or any dinner party. You can bake the crust and make the mousse ahead of time and assemble it on the day.
  •  to feed a crowd. The filling is very rich and satisfying so a small slice per person will do.
  • when you want a decadent tasting dessert, but want to use wholesome  ingredients that also happen to be vegan.
  • When you want to serve a dessert that is as beautiful as it is delicious.

Fall Fruit and Almond Butter Mousse Tart with Sesame Oat Crust

Nutritional Highlights:
  • Any raw fruit you choose will be rich in vitamins, minerals and healthy enzymes.
  • Almonds contain monounsaturated fatty acids (the same kind of beneficial fat found in olive oil) and antioxidants that support heart health and prevent factors of cardiovascular disease.
  •  The fat content of coconut milk can help slow the rate at which sugar is released into the bloodstream, better controlling insulin levels and preventing a “sugar high”. This is one reason why coconut milk is especially good to add to sweetened recipes like desserts.

Fig and Almond Butter Mousse Pie with Sesame-Oat Crust

I hope you enjoy this pie as much as we do! xJacq


Ingredients: 8-12 servings

Crust:
  • 3/4 cup Rolled Oats
  • 1/2 cup Whole Wheat Pastry Flour
  • 1/2 cup Toasted White or Black Sesame Seeds
  • 1/4 tsp Sea Salt
  • 1 1/2 tsp fresh Rosemary or 3/4 tsp dried, finely chopped
  • 1/4 cup melted Coconut Oil
  • 2 Tbsp warm water
  • 1 Tbsp Maple Syrup
Filling:
  • 2 cans full fat Coconut Milk
  • 1 cup unsalted Almond or Peanut Butter
  • 1/4 cup Maple Syrup or more to taste
  • 1/2 tsp Vanilla Extract
  • 1/2 tsp Sea Salt
  • 5.3 oz (150g) Plain Almond, Soy or Coconut Milk Yogurt
Topping:
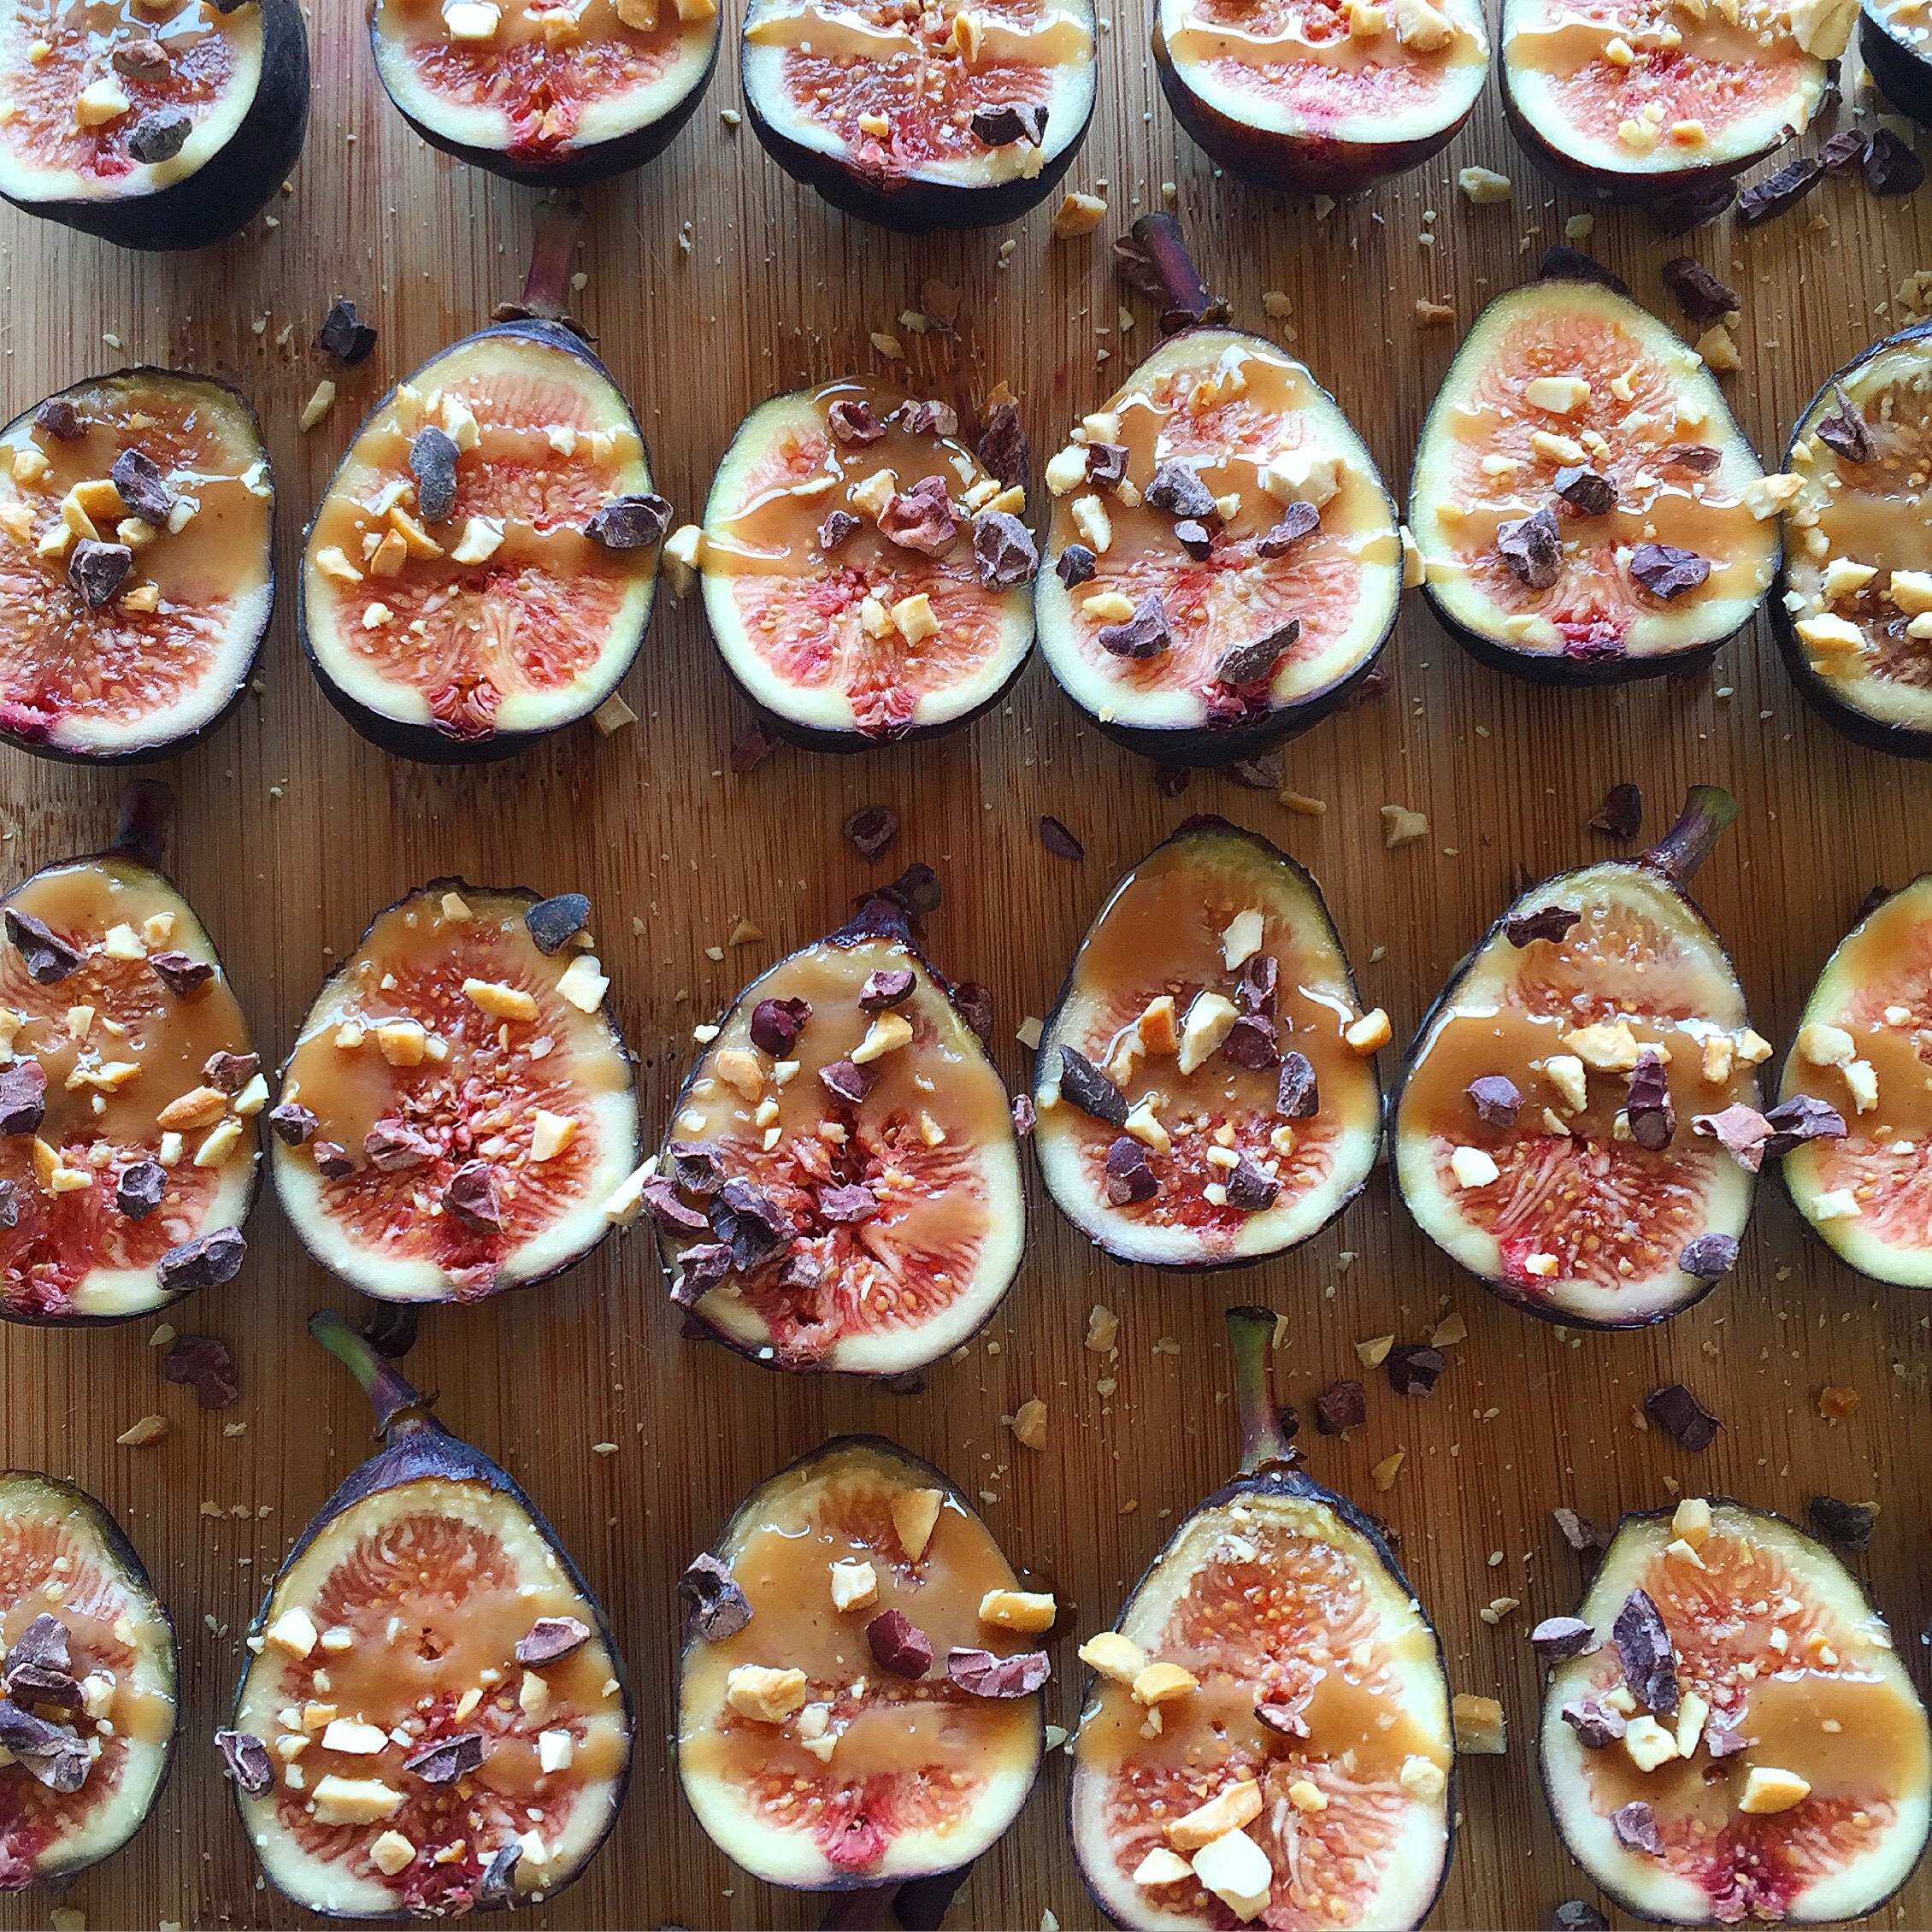
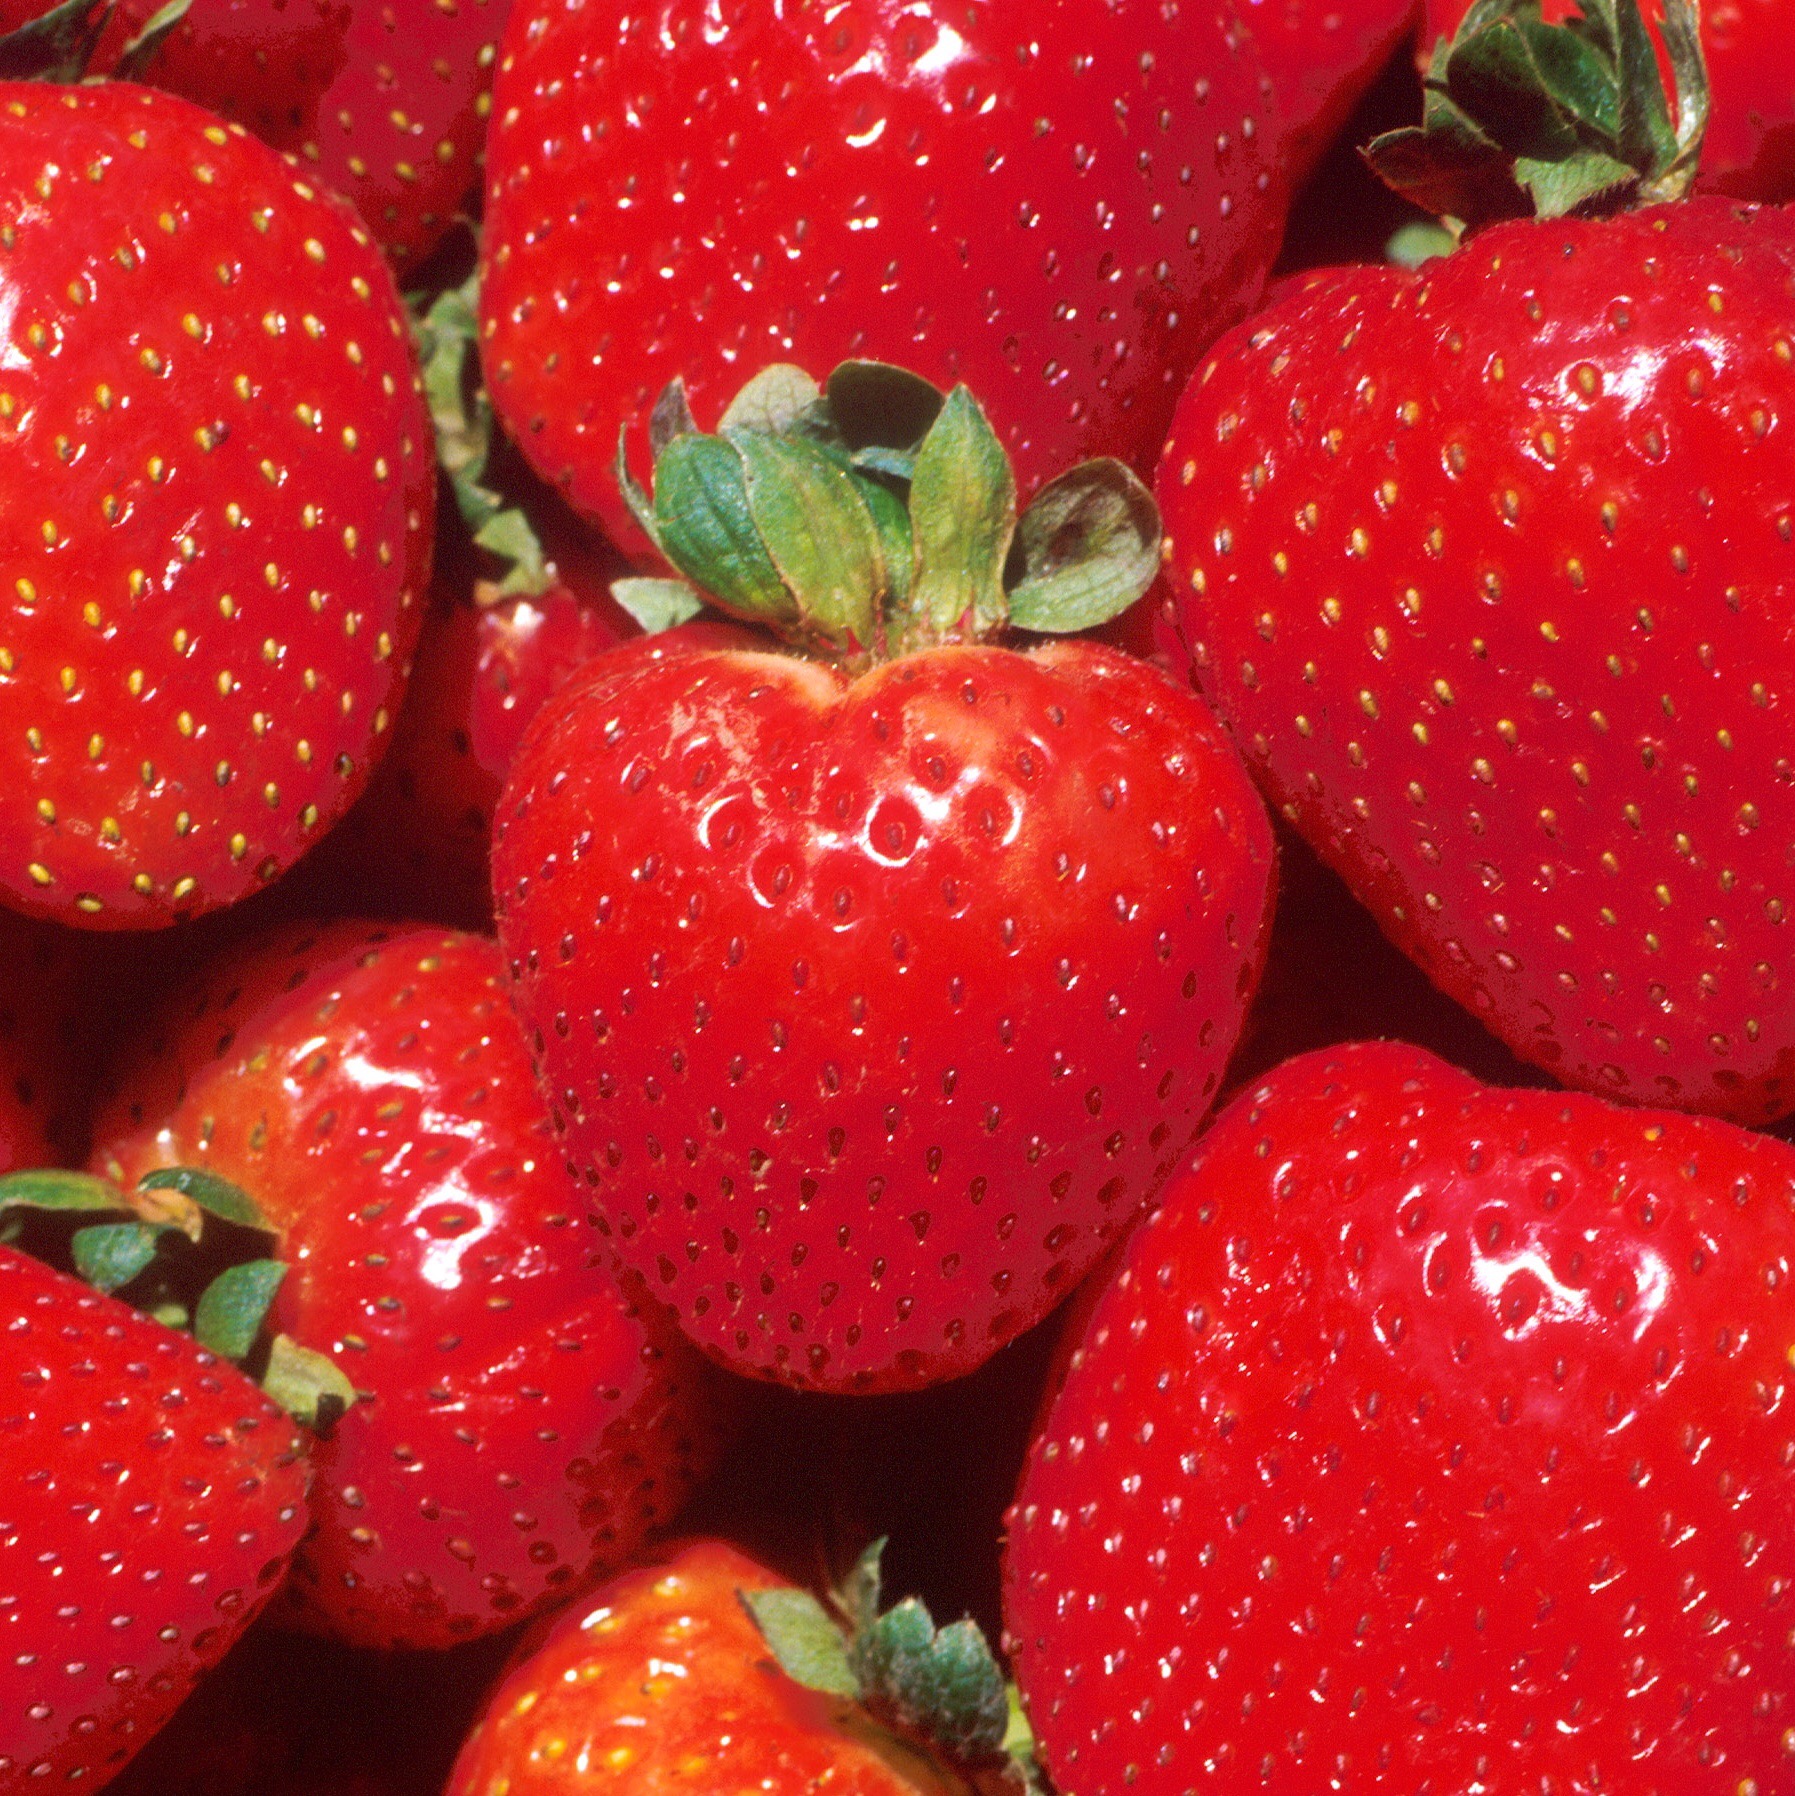
  • 1 1/2 lbs your choice of Fruit
  • 1 Tbsp Fruit Jam or Preserves
  • 2 Tbsp Toasted Almond Slivers or Pomegranate Seeds

Directions
Crust: Preheat oven to 350*

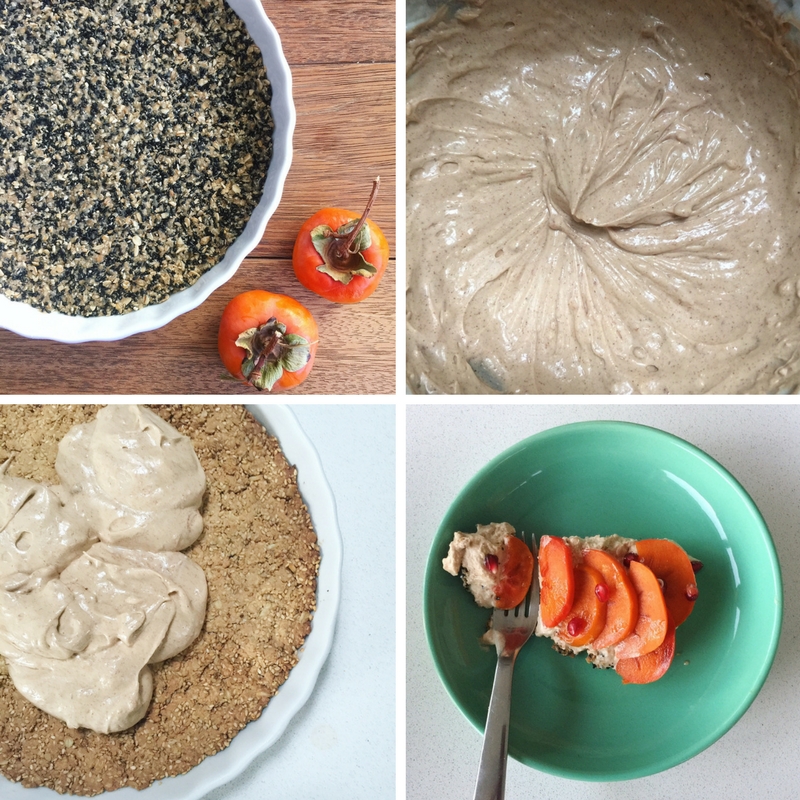
Process oats in a food processor or blender to create a coarse flour. Mix together oats, pastry flour, sesame seeds, salt and rosemary. Add oil, water and maple syrup and mix with a fork to combine. The mixture should look crumbly, but hold together when you squeeze a ball of it in your hand. If it is too dry, add more water 1 tsp at a time.

Oil a 9-inch pie or tart pan with coconut oil. With wet fingers press mixture into the pan to create an even layer. Bake 20-25 minutes until golden. Allow to cool completely.

Filling:

Chill your coconut milk overnight in the fridge or for an hour in the freezer. Without shaking or tipping, remove the lid and scoop out the solid cream from the top into a chilled mixing bowl. Refrigerate the remaining liquid to use later in smoothies.

Using a mixer, beat the coconut cream until light and fluffy, about 1 minute. Add in the nut butter 1/2 cup at a time and continue beating to incorporate. Add the maple syrup, vanilla and yogurt and beat again. Taste and add more maple syrup if desired.

Spread evenly onto cooled crust and place in the freezer while preparing your fruit.

Topping: 

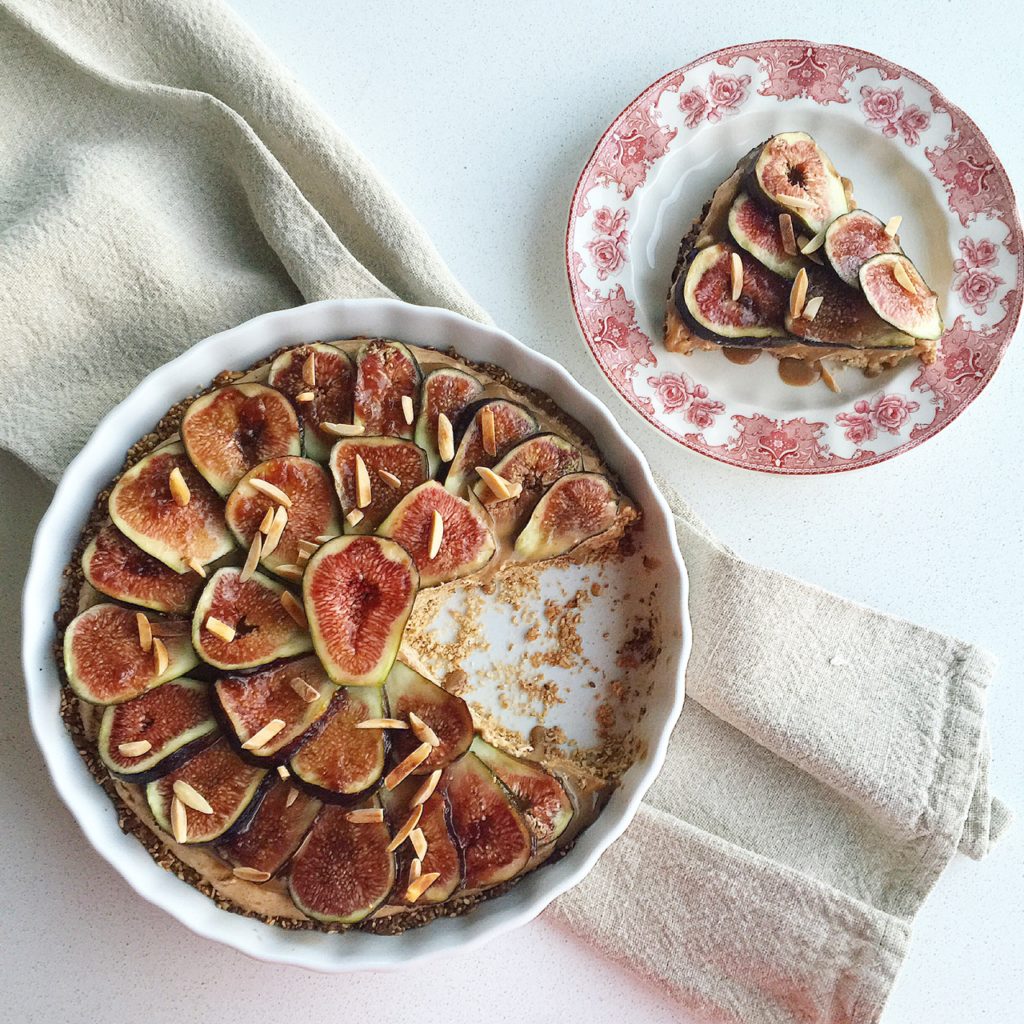
Slice fruit into 1/4 inch thick slices. Remove pie from freezer and arrange fruit in overlapping concentric circles starting around the outside edge and working towards the middle. Brush the fruit with a thin coating of jam. I like to use the same flavor as the fruit I’m using, for example fig jam on figs, but apricot jam works well with any fruit also.

Top with Toasted Almond Slivers or Pomegranate Seeds. Serve immediately or refrigerate until ready to eat.

Notes:
  • You can make the crust and the mousse a day ahead of time. The crust can be left out, covered with a towel. Refrigerate the mousse in a covered container until just before assembling the tart.
  • While almond butter is nutritious and has a great earthy flavor, it can also be very expensive. Peanut butter is a great alternative. Look for nut butters with just one ingredient- nuts.
  •   Because the fruit is raw, this pie is best when eaten fresh, but it will keep for a couple of days covered in the fridge.


Red Velvet Smoothie

Iron Rich Red Velvet Smoothie

I don’t know about you, but I think Red Velvet is one of the best sweet treat flavors around. Unfortunately cupcakes don’t make the best breakfast food, so here’s a delicious, iron-rich, energizing smoothie that is great in the morning or anytime you need a red velvety boost.

This Recipe is Perfect…
  • to satisfy your chocolate or sweet tooth cravings in a nutritious way
  • as an energizing and filling breakfast smoothie
  • as a way to refuel post workout
  •  when you need an antioxidant filled energy boost mid-afternoon
  • as a way to sneak veggies in for a picky eater
  • For people with diet related anemia
Nutrition Highlights:
  •  Cacao powder, Spinach, Beets, Gogi Berries, Chia and Dates are good sources of Iron which is important for your exercise and work performance and immune function.
  • The fats in avocado will help your body absorb the fat soluble vitamins in this smoothie like vitamins A and E and keep you feeling full and satisfied longer.
  • Dried fruits and avocados are full of fiber which can help slow your body’s breakdown of carbs and absorption of sugar. Getting enough fiber can help with weight loss and maintenance.

So while this may not replace your favorite cake at your next birthday party, it’s sure to become one of your new favorite smoothies.

Iron-Rich Red Velvet Smoothie (vegan)

Ingredients: 1 serving
Smoothie:
  • 1 1/2 cup Almond, Soy or Cashew Milk, unsweetened
  • 1 cup Spinach
  • 1 Baby Beet, diced (about 1/3 cup)
  • 1/4 cup Cacao Powder
  • 2 Dried Figs
  • 2 Medjool Dates
  • 2 Tbsp Goji Berries
  • 2 Tbsp Chia Seeds
  • 1 Tsp Maple Syrup
  • 1/2 tsp Vanilla Extract
Toppings:
  • 1 Tbsp Vanilla Coconut Milk Yogurt
  • 1 tsp Chocolate Chips

Blend the smoothie ingredients together in a blender until smooth. Add 1 heaping cup of ice and blend again. Top with a dollop of yogurt and a sprinkle of chocolate chips. Enjoy!


Delicious, Nutritious and Easy Fall Garden Pasta

Today is world vegetarian day, so I thought it would be a great day to share one of my easy go-to vegetarian/vegan main dishes. It’s super flavorful and nutritious thanks to the variety of veggies included. It’s a really versatile and forgiving recipe so you can change it up and make it your own each time based on what looks fresh at the market or what you have in the fridge. In place of the kale and chard you can substitute other greens, such as spinach or collard or add other vegetables such as broccoli or mushrooms in place of the cauliflower.

I like to use Muir Glen organic tomato paste and organic diced tomatoes with basil and garlic for this recipe. This is the kind of main dish you can serve to a meat eater and they won’t even notice that it’s completely meat and dairy free. The nuts add a little protein and great texture and the sun-dried tomatoes add umami goodness. Together with the pasta it makes for a meal that is filling and satisfying, but not too heavy, which is exactly what you want . That’s why I make it over and over again. I hope you like it too. Enjoy! -Jacq

Garden Vegetable Pasta with Pecans Recipe

Ingredients: 4-6 Servings

3 Tbsp Olive Oil
1/2 Onion, thinly sliced
3 cloves Garlic, finely chopped
5 Leaves Kale, leaves and stems chopped separately
5 leaves Swiss Chard, leaves and stems chopped separately
2 medium Carrots, sliced into coins and tops chopped
3/4 cup chopped cauliflower
1/4 cup Broth
1/4 Teaspoon Oregano
Pinch of Chili Flakes
Pinch of Salt & Pepper
2 Tbsp oil-packed sun-dried tomatoes, drained and sliced (about 5 halves)
1 Tbsp Tomato Paste
1 can Diced Tomatoes
1/4 cup Red Wine
3 Tbsp Italian Parsley, chopped
1/2 cup Chopped Pecans or Walnuts
1 package whole grain or gluten-free pasta (1 lb. or 500g)
Directions:

1. In a large sauté pan slowly cook onions in olive oil over medium low heat, stirring occasionally. Meanwhile prep the vegetables then place a large pot of salted water for pasta on to boil. The water should be salty like the ocean.

2. When onions begin to caramelize, after about 10 min, add the garlic, kale and chard stems, carrot slices, cauliflower and broth. Raise heat to medium and sauté about 3 minutes until the stems begin to soften.

3. Add the spices, kale and chard leaves, carrot tops, diced tomatoes, tomato paste, sun-dried tomato, and wine and stir. Lower heat to medium-low.

4. When the pasta water begins to boil cook pasta according to package directions. Reserve 1/2 cup pasta water when draining and add to the veggies along with half of the italian parsley. If sauce seems too watery turn up the heat for a minute or so to reduce.

5. Add the cooked pasta to the sauce and toss. Taste and add salt and pepper if needed. Drizzle with a bit more olive oil, if desired. Pour into a serving bowl, top with nuts and remaining parsley. Drizzle with a bit more olive oil, if desired, and serve immediately. Bon appetit! 

Spiced Coconut Dulce de Leche Vegan Caramel Sauce

Spiced Coconut Milk Dulce de Leche ( Vegan Caramel Sauce)

When I was a kid growing up in Los Angeles I was often sent during summer break to spend time with family in Mexico. Sometimes I would visit family in big bustling cities like Guadalajara and Mexico City, but more often I spent time with family who lived in a small village Zacatecas. It was a very different world than California. My cousins lived in houses made of adobe in what appeared to be a desert save for the small creek nearby that swelled with each rainfall. It was a land of ranchers and cowboys, and with that of course,  lots of cows. They would walk through the dirt roads at noontime with bells on as they were shepherded from one place to the next.

Coconut Milk Dulce de Leche Recipe

I was exposed to a variety of culinary treats on these trips, homemade tortillas, cactus salad, salsas made with fragrant chilies, but what stands out in my memory of those childhood travels was what was most appealing to my young palate. Rich and creamy dulce de leche, a thick caramel sauce made from the milk of those local cows. I would eat it spread on toast, as a dip for fruit, or even on its own sneaking a spoonful as a sweet afternoon snack.

Coconut Milk Dulce de Leche Recipe

When I was recently planning a Mexican themed BBQ to celebrate graduating from culinary school I was inspired to attempt a dairy-free version made with organic coconut milk. I served it drizzled on grilled pineapple and loved the deep, slow-cooked, caramel flavor that reminded me of my old favorite. My classmates loved it too so I knew my judgement wasn’t clouded by nostalgia.

Now that fall has fallen I decided to make it again to serve with one of my favorite fruits- figs. Their sumptuous flavor and alluring shape made even more appealing by the shortness of their season. When topped with this sticky sweet sauce, rich chopped cashews and bitter raw cocoa nibs they’re rendered completely irresistible.

Coconut Milk Dulce de Leche Recipe

This recipe is perfect:
  • as a topping for ice cream or sorbet
  • for using in place of milk caramel in a recipe
  • as a drip or drizzle for your favorite fruits- add chopped nuts, cacoa nibs or chocolate chips for a quick dessert
  • to make your mouth happy with a spoonful, anytime!
Nutritional Information:
  • While not necessarily a “health food”, this is a healthier alternative to a traditional recipe.
  • Coconut sugar is less refined than white sugar and contains iron,  zinc, calcium, and potassium and has a lower glycemic index than regular table sugar.
  • Coconuts are one of the best sources of lauric acid which has antibacterial and antiviral activities. Studies link lauric acid with improved cholesterol levels and heart health.
  • both cinnamon and cardamom have been shown to help regulate blood pressure and stimulate digestion.

Enjoy! xJacq

Spiced Coconut Milk Dulce de Leche

Ingredients: Yeild: Approx 1 1/4 cup

2 14 oz.cans Unsweetened Coconut Milk 
3/4 cup Coconut Sugar
1/2 tsp Sea Salt
1/2 tsp Cinnamon
1/4 tsp Cardamom
1 tsp Vanilla Extract
Directions:

Place coconut milk and coconut sugar in a saucepan over medium heat. Bring to a boil then lower to a simmer/ low boil for 35-45 minutes. Using a wooden spoon, stir occasionally to begin with and more frequently as the sauce thickens, scraping the bottom and the sides as you stir. If the bubbles begin to splatter or boil over, lower heat.

When your spoon leaves a trail as you stir and the sauce coats the back of your spoon, stir in the salt, spices and vanilla extract. The sauce should be a nice amber color at this stage. Remove from heat and serve warm or allow to cool slightly and transfer to a glass jar and refrigerate.

Notes:

Sprinkle in the spices little by little and stir vigorously as you do to prevent clumping. This sauce will thicken as it cools. Serve chilled for a spreadable consistency or reheat to use as a drizzle. Sauce should keep well in the refrigerator for up to 2 weeks.

For dessert try 1 lb halved figs sprinkled with 1/4 cup chopped cashews and 2-3 Tbsp cocoa nibs or chocolate chips. Also works great with sliced apples and chopped walnuts or your favorite fruit and nut combination.


Quick Pan-Seared Branzino with Artichoke Hearts and Lemon-Herb Sauce

Real Food Fast: Pan-Seared Branzino with Artichoke Hearts and Lemon-Herb Sauce

When I was a kid, a quick seafood dinner meant fish sticks with tartar sauce. While I’m sure my mom had the best of intentions when pulling the frozen minced fish logs from their packets, (“eat it, it’s good for you!” she’d say) it’s no wonder I grew up thinking I hated fish. It wasn’t until I travelled to italy as an adult (if you can call an 18-year-old an adult?) and tried their simple preparations of white fish that I found out it could be so much more than those mushy breaded sticks of my youth.

Easy Branzino Recipe with Artichoke Hearts and Lemon Herb Sauce

One of the most popular fish on Italian menus is Branzino, a type of European sea bass with a delicate flavor and firm, flaky texture. It has become one of my favorite fish to prepare thanks to it’s versatility and light, almost sweet taste. Here it’s paired with savory artichoke hearts and a bright, lemony herb sauce. While this recipe is significantly more delicious than fish sticks, you’ll be surprised to find that it’s just as quick and easy to prepare. Served with sautéed greens or a fresh salad and some crusty bread, this makes for a beautiful main dish that you can whip up in just 10 minutes or you have a little extra time you can serve it with the roasted veggies of your choice.

Easy Branzino Recipe with Artichoke Hearts and Lemon Herb Sauce

 This recipe is perfect for…
  • Weeknight dinner
  • When you’re having guests over and don’t have a lot of time to cook
  • pleasing people who don’t like “fishy” fish.
  • making a sustainable seafood choice. Look for branzino farmed in recirculating aquafarms from Nova Scotia or Europe for a Seafood Watch “Best Choice” rating.
Nutritional Highlights:
  • Branzino is rich in omega-3 fatty acids, protein and the antioxidant selenium.
  • Farmed Branzino is a low-mercury seafood choice
  • Fresh herbs are rich in  protective polyphenols — plant compounds with potent antioxidant, anti-inflammatory and anti-bacterial effects.
  • Used since ancient times for their medicinal properties, studies have shown that herbs can help combat such diseases as cancer, heart disease, Alzheimer’s, diabetes and more.

Easy Branzino Recipe with Artichoke Hearts and Lemon Herb Sauce

I hope it will be one of your favorites too. Enjoy! xJacq

Pan-Seared Branzino with Artichoke Hearts and Lemon-Herb Sauce

Ingredients: 4-6 Servings

Lemon-Herb Sauce:

1/3 cup fresh Basil, lightly packed
2 Tbsp fresh Italian Parsley, chopped
2 Tbsp fresh Chives, chopped
1/4 cup Olive Oil
1/4 cup Lemon Juice, (about 1 medium lemon)
1/4 tsp Sea Salt

Artichokes:

1 14 oz. can Artichoke Heart Quarters, drained and rinsed
2 Tbsp Olive Oil
2 Tbsp Lemon Juice, fresh squeezed (about 1/2 lemon)

Branzino:

4-6 Branzino Fillets, boneless, skin-on (about 4oz. each)
Sea Salt
Black Pepper
Olive Oil
Lemon-Herb Sauce:

Puree herbs, oil, lemon juice and salt in blender until herbs are very finely chopped and sauce is almost smooth.

 Artichokes: 

Pat artichokes dry with paper towels. Finely chop with a sharp knife or food processor. Place in a small pot and toss with olive oil and lemon juice. Warm over medium-low while you cook the branzino, stirring occasionally.

 Branzino:

Pat fillets dry with paper towels. Sprinkle on both sides with salt and pepper. Place one large or two smaller skillets on the front burners of your stovetop depending on the number of filets you are making. The fish should be able to lie flat without overlapping.

Swirl 1 tablespoon olive oil in each skillet to coat the bottom of the pan and heat over medium-high until the oil is hot and shimmering, 60-90 seconds. Add the fillets skin side down, being sure to lay the fish away from you to avoid splatters. Lightly press on each fillet with a spatula to make sure the skin has full contact with the pan as it cooks undisturbed for 3 minutes. Gently flip the fillets away from you and cook one minute more. Transfer skin side up to a platter lined with paper towels to remove any excess oil.

To Serve:

 Spread 2 tablespoons artichokes over each fillet, skin side down. Drizzle with herb sauce and serve immediately.

Notes:
Refrigerate leftovers and consume within 2-3 days. Extra herb sauce can be used as salad dressing. If you’re short on time or ingredients,  jarred pesto can be used in place of the herb sauce.
Lemon-Thyme Blackberry Crumble

Lemon-Thyme Blackberry Crumble

Blackberries are just so delicious in the summer and they’re even better when baked with a crunchy crumble topping. This recipe adds a touch of maple sweetness to the berries without covering up their natural goodness with piles of white sugar. A little lemon adds brightness and the thyme gives it a subtle herbal flavor that makes it a step above your ordinary crumble.

img_3301

It took several attempts to get it just right, but the result is well worth it! A sweet-tart filling that is just the right consistency, not too watery or too thick and jammy, and a delicious topping made with ingredients you can feel good about like oats, almonds, and coconut oil. The key is cooking it partway on the stovetop to allow some of the berries to release their liquid.

img_3446

This is wonderful for breakfast topped with coconut yogurt, but in my humble opinion even better as dessert served with your favorite vanilla ice cream (mine is  Vanilla NadaMoo!). Make it for your next BBQ or family gathering and trust me, you will put a smile on everyone’s face. Or heck, why not make it this weekend and treat yourself to something special? After all, summer blackberries won’t be around forever. Enjoy! xJacq

img_3447

Lemon-Thyme Blackberry Crumble

Ingredients: Serves 8-10

Topping:

3/4 cup Rolled Oats
1/2 cup Slivered Almonds
1/2 cup Whole Wheat or GF Flour
1/2 cup Coconut Sugar
1/4 tsp Sea Salt
1/8 tsp Cinnamon
1/8 tsp powdered Ginger
1/2 cup Coconut Oil

Filling:

36 oz Blackberries, divided (about 3 pints)
2 tsp fresh Lemon Juice
2 tsp fresh Thyme Leaves
1 tsp Vanilla Extract
Pinch of Sea Salt
1/4 cup Maple Syrup (use 3 Tbsp if berries are extra sweet)
1 Tbsp Arrowroot
Directions: Preheat oven to 350*
Topping:

Mix together the dry ingredients, then add the coconut oil and mix with a fork or your fingers to incorporate until it has a crumbly appearance.

Filling:

In a large oven safe skillet add half of the berries and cook over medium heat until the begin to release water, about 6 minutes. Add lemon juice, thyme, vanilla, sea salt and maple syrup and gently stir to combine.

Whisk the arrowroot and a tablespoon of water in a small bowl with a fork to dissolve, then stir the mixture into the pan. Cook a minute or two more until the liquid thickens and some of the berries begin to lose their shape. The total time on the stove should be 10-11 minutes.

Turn of the burner. Stir in the remaining berries and sprinkle with the crumble topping. Bake in the oven for 25 minutes until bubbling and golden. Allow to cool slightly before serving with yogurt or ice cream. In the unlikely case you have leftovers, cover and refrigerate.

Everything Bagel Party Potato Salad

This is a dish I made to bring along to a Fourth of July BBQ that everyone loved. It’s a fun and delicious rift on an everything bagel with the works. It was inspired by a recipe in one of my favorite cooking magazines Bon AppetitI adjusted it to make it dairy-free and include more flavorful, crunchy and nutritious veggies. I took a vegan version to the party because I knew it would go well with anything else on the menu. My husband had some for lunch before we left along with the salmon on a bed of salad greens and really loved it. So depending on what else you are serving (or your dietary preference) you can decide whether to add the lox. I used packaged tofu cream cheese from the supermarket, but you could certainly make your own. My cashew sour cream  would also work well in place of the cream cheese in this recipe. I hope you enjoy it at your next gathering!  xo Jacq

Ingredients: serves 8-10

3 pounds Baby or Fingerling Potatoes, halved

1/2 cup Tofu, Almond or Cashew Cream Cheese

1 1/2 teaspoon Lemon Zest, finely grated

3 Tbsp Olive Oil

2 tsp Chives, minced
 
1 cup small radishes, cut into wedges

1 cup Cucumbers, diced 

1 cup grape tomatoes, halved

3 Tbsp Red Onion, minced 

3/4 Freshly ground black pepper 

1 1/2 teaspoon dried minced garlic

1 1/2 teaspoon dried minced onion

1 1/2 teaspoon poppy seeds

1 1/2 teaspoon toasted sesame seeds

3/4 teaspoon flaky sea salt

1/4 cup chopped dill

4 ounces thinly sliced smoked salmon, torn into pieces (optional)

Cooking School: How to Make Delicious Oven Roasted Vegetables

Roasting in the oven is the easiest way to make the most out of any vegetable. It’s my favorite way to cook veggies for many reasons:

  • It brings out natural sweetness in vegetables giving them a caramelized exterior while keeping the inside moist and tender.
  • It’s versatile, you can use whatever produce is in season at the market.
  • Roasting is the perfect technique for batch cooking or feeding a crowd. Since you cook on a sheet pan, you can make a large quantity all at once. That means you can turn on your oven once, cook up a couple different types of veggies and have them ready to go in the fridge for the rest of the week. (3-5 days)
  • You can roast without a recipe. Every vegetable will be enhanced by the simple addition of olive oil, salt, pepper and a little time in a hot oven.
  • That being said, roasting is a great opportunity to get creative with your favorite spices. Once you are comfortable with the basic technique, you can have fun experimenting with different flavor combinations.

Sounds great right? Here’s what you need to know to make delicious roasted veggies every time.

Vegetables that are good for roasting: Potatoes, sweet potatoes, carrots, parsnips, beets, all types of squash and pumpkin, asparagus, fennel, brussels sprouts, onions, broccoli, broccolini, cauliflower, radish, tomatoes, mushrooms, eggplant and more!

Not so great: Green Beans- they get can dried and shriveled before they get tender, Leafy Greens- they’ll dry out and turn into chips, which who knows?, might be OK with you. Garlic- can be wonderful if you roast a whole head or cloves wrapped together in a foil packet, but individual garlic cloves are likely to burn and nobody likes burnt garlic.

Cooking Times: This will vary depending on your oven, the vegetable, and how tender or crispy you like your vegetables to be. In general, root vegetables will cook in 30-45 mints. Most others will take between 15-30 minutes. Smaller pieces cook faster while larger pieces may take longer. The only vegetable I would say you have to be really careful with is asparagus, because overcooked asparagus is just plain awful. It should take no more than 7-8 minutes for thin Asparagus, 12-15 for thick spears. With a little practice you’ll be able to gage approximately how long each veggie will take in your oven, and if in doubt you can always google to find an approximate time frame.

The Basics:

  1. Pre-heat your oven to 400*
  2. Cut veggies into even- sized pieces. This will ensure even cooking. In general for larger vegetables like root vegetables or squashes you’ll want to cut them into large bite-sized pieces (about 1-1 1/2 inch chunks), for smaller items like new potatoes, cherry tomatoes, radish, brussels sprouts etc, you can cut them in halves or quarters depending on their size. Again, think bite-sized. Really tiny ones can be left whole. Thinner items like asparagus or young skinny carrots can be left trimmed and whole.
  3. Place them in a large bowl and drizzle with olive oil or melted coconut oil. Toss to coat evenly so the vegetables have a nice sheen. Sprinkle with sea salt and pepper and toss again. At this stage you could also add a splash of balsamic vinegar, other spices, hearty fresh herbs such as thyme, oregano, rosemary and sage or dried herbs such as herb d’ Provence.
  4. Place vegetables on a parchment lined baking sheet leaving any extra oil behind in the bowl so they don’t get soggy. Using parchment ensures that they won’t stick to the pan and makes for easy clean up.
  5. Spread them out in a single layer, creating a little space between each piece so dry air can circulate around it. This will create nice caramelization. If veggies are crowded and on top of each other, they will start to steam as them cook which can lead to a mushy, unappealing texture instead of the tender-crip browned look you’re going for.
  6. Flip or toss vegetables when they’re about halfway done cooking to get browning on both sides. The exception to this is cut tomatoes, which you’ll want to cook skin side down only and brussels sprouts and asparagus which will likely be cooked through by the time the first side browns.
  7.  Once vegetables are tender and lightly browned, remove from the oven and top with fresh herbs, seeds, chopped nuts and/or a squeeze of lemon if desired. Dig in!

Now that you know the basics, here are some variations to try, all times are in a 400* oven:

Roasted Radish With Fresh Mint

Cut radish into halves or quarters, toss with oil, sea salt and pepper and roast until tender, about 15 minutes. Finish with fresh chopped mint. Add a squeeze of lemon if you like. Roasted radish is earthy, mellow and sweeter than raw radish. Perfect as a side or in your next buddha bowl.

Easy Honey-Orange Roasted Carrots 

Toss cut carrots in a little olive oil, the juice from half an orange, and a big pinch each of sea salt, black pepper and cumin.  Roast for about 25 minutes then drizzle a little honey, turn the carrots, and cook 10-15 minutes more or until they’re nice and tender. Timing will vary depending on the thickness of the carrots. Vegans can sub maple syrup for the honey. Garnish with a little fresh chopped parsley.

Roasted Brussels Sprouts with Dried Cherries and Walnuts 

IMG_2710

Cut the sprouts in half, toss with coconut oil, sea salt, black pepper and a pinch of chili flakes. Lay cut side down on the baking sheet and roast till browned, about 12 minutes. Finish with a sprinkle of crumbled walnuts, dried cherries and a little fresh chopped cilantro. These are wonderful over warmed and seasoned white beans for a nutritious, protein rich meal.

Roasted Curry Cauliflower

Cut cauliflower into florets, toss in olive oil and a big pinch each sea salt, black pepper and curry powder. Roasted 30-40 minutes until browned. Finished off with a sprinkling of pine nuts, golden raisins and fresh cilantro.

Now go ahead and get cooking some delicious roasted vegetables. If you have any questions, leave them on the comments here or on Instagram @thefeelgoodkitchen. Enjoy! xJacq

The Top 10 Foods to Buy Organic to Avoid Toxic Pesticides

We all know buying organic produce is the best choice for our bodies and the environment, but sometimes we have to make choices based on what’s in our wallet. Growing food without the use of powerful chemical insecticides and fertilizers often has higher production costs. Maintaining an organic certification can also cost farmers thousands of dollars in certification fees, which seems like an unfair burden to farmers who are trying to do the right thing, but that’s another conversation.

The added expenses for the farmers translate to higher prices for us on organic produce at the grocery store.  So every year the good people at EWG rank pesticide contamination on 48 popular fruits and vegetables so we know which are the worst offenders. Their analysis is based on results of thousands of samples tested by the USDA and the FDA. They’ve found a total of 146 different pesticides residues that remain on fruits and vegetables even after they are washed and in some cases peeled. While some of the chemicals are relatively benign, others have been linked in studies to cancer, reproductive and developmental damage, hormone disruption and neurological problems.

Here are the 10 items they found to have the highest contamination levels:

We can prioritize buying organic versions of these items knowing the extra cost is money well spent.

  1. Strawberries
  2. Apples
  3. Nectarines/Peaches
  4. Celery
  5. Grapes
  6. Cherries
  7. Leafy Greens (Spinach, Kale, Collard Greens)
  8. Tomatoes
  9. Sweet Bell Peppers/Hot Peppers
  10. Cucumbers

This is the first time strawberries have topped the list with 98 percent of the samples having detectable pesticide residues of up to 17 different pesticides on one berry! You can read more about the dangers of pesticides on strawberries here. The EWG also puts out a Shopper’s Guide To Pesticides In Produce which includes the “Clean 15” list of fruits and veggies with little to no pesticide contamination detected on the samples. Check out their website for the handy downloadable guide and more information on their findings.