Latest Posts

Sautéed Greens With Smoked Salt and Cherry Tomato Vinaigrette

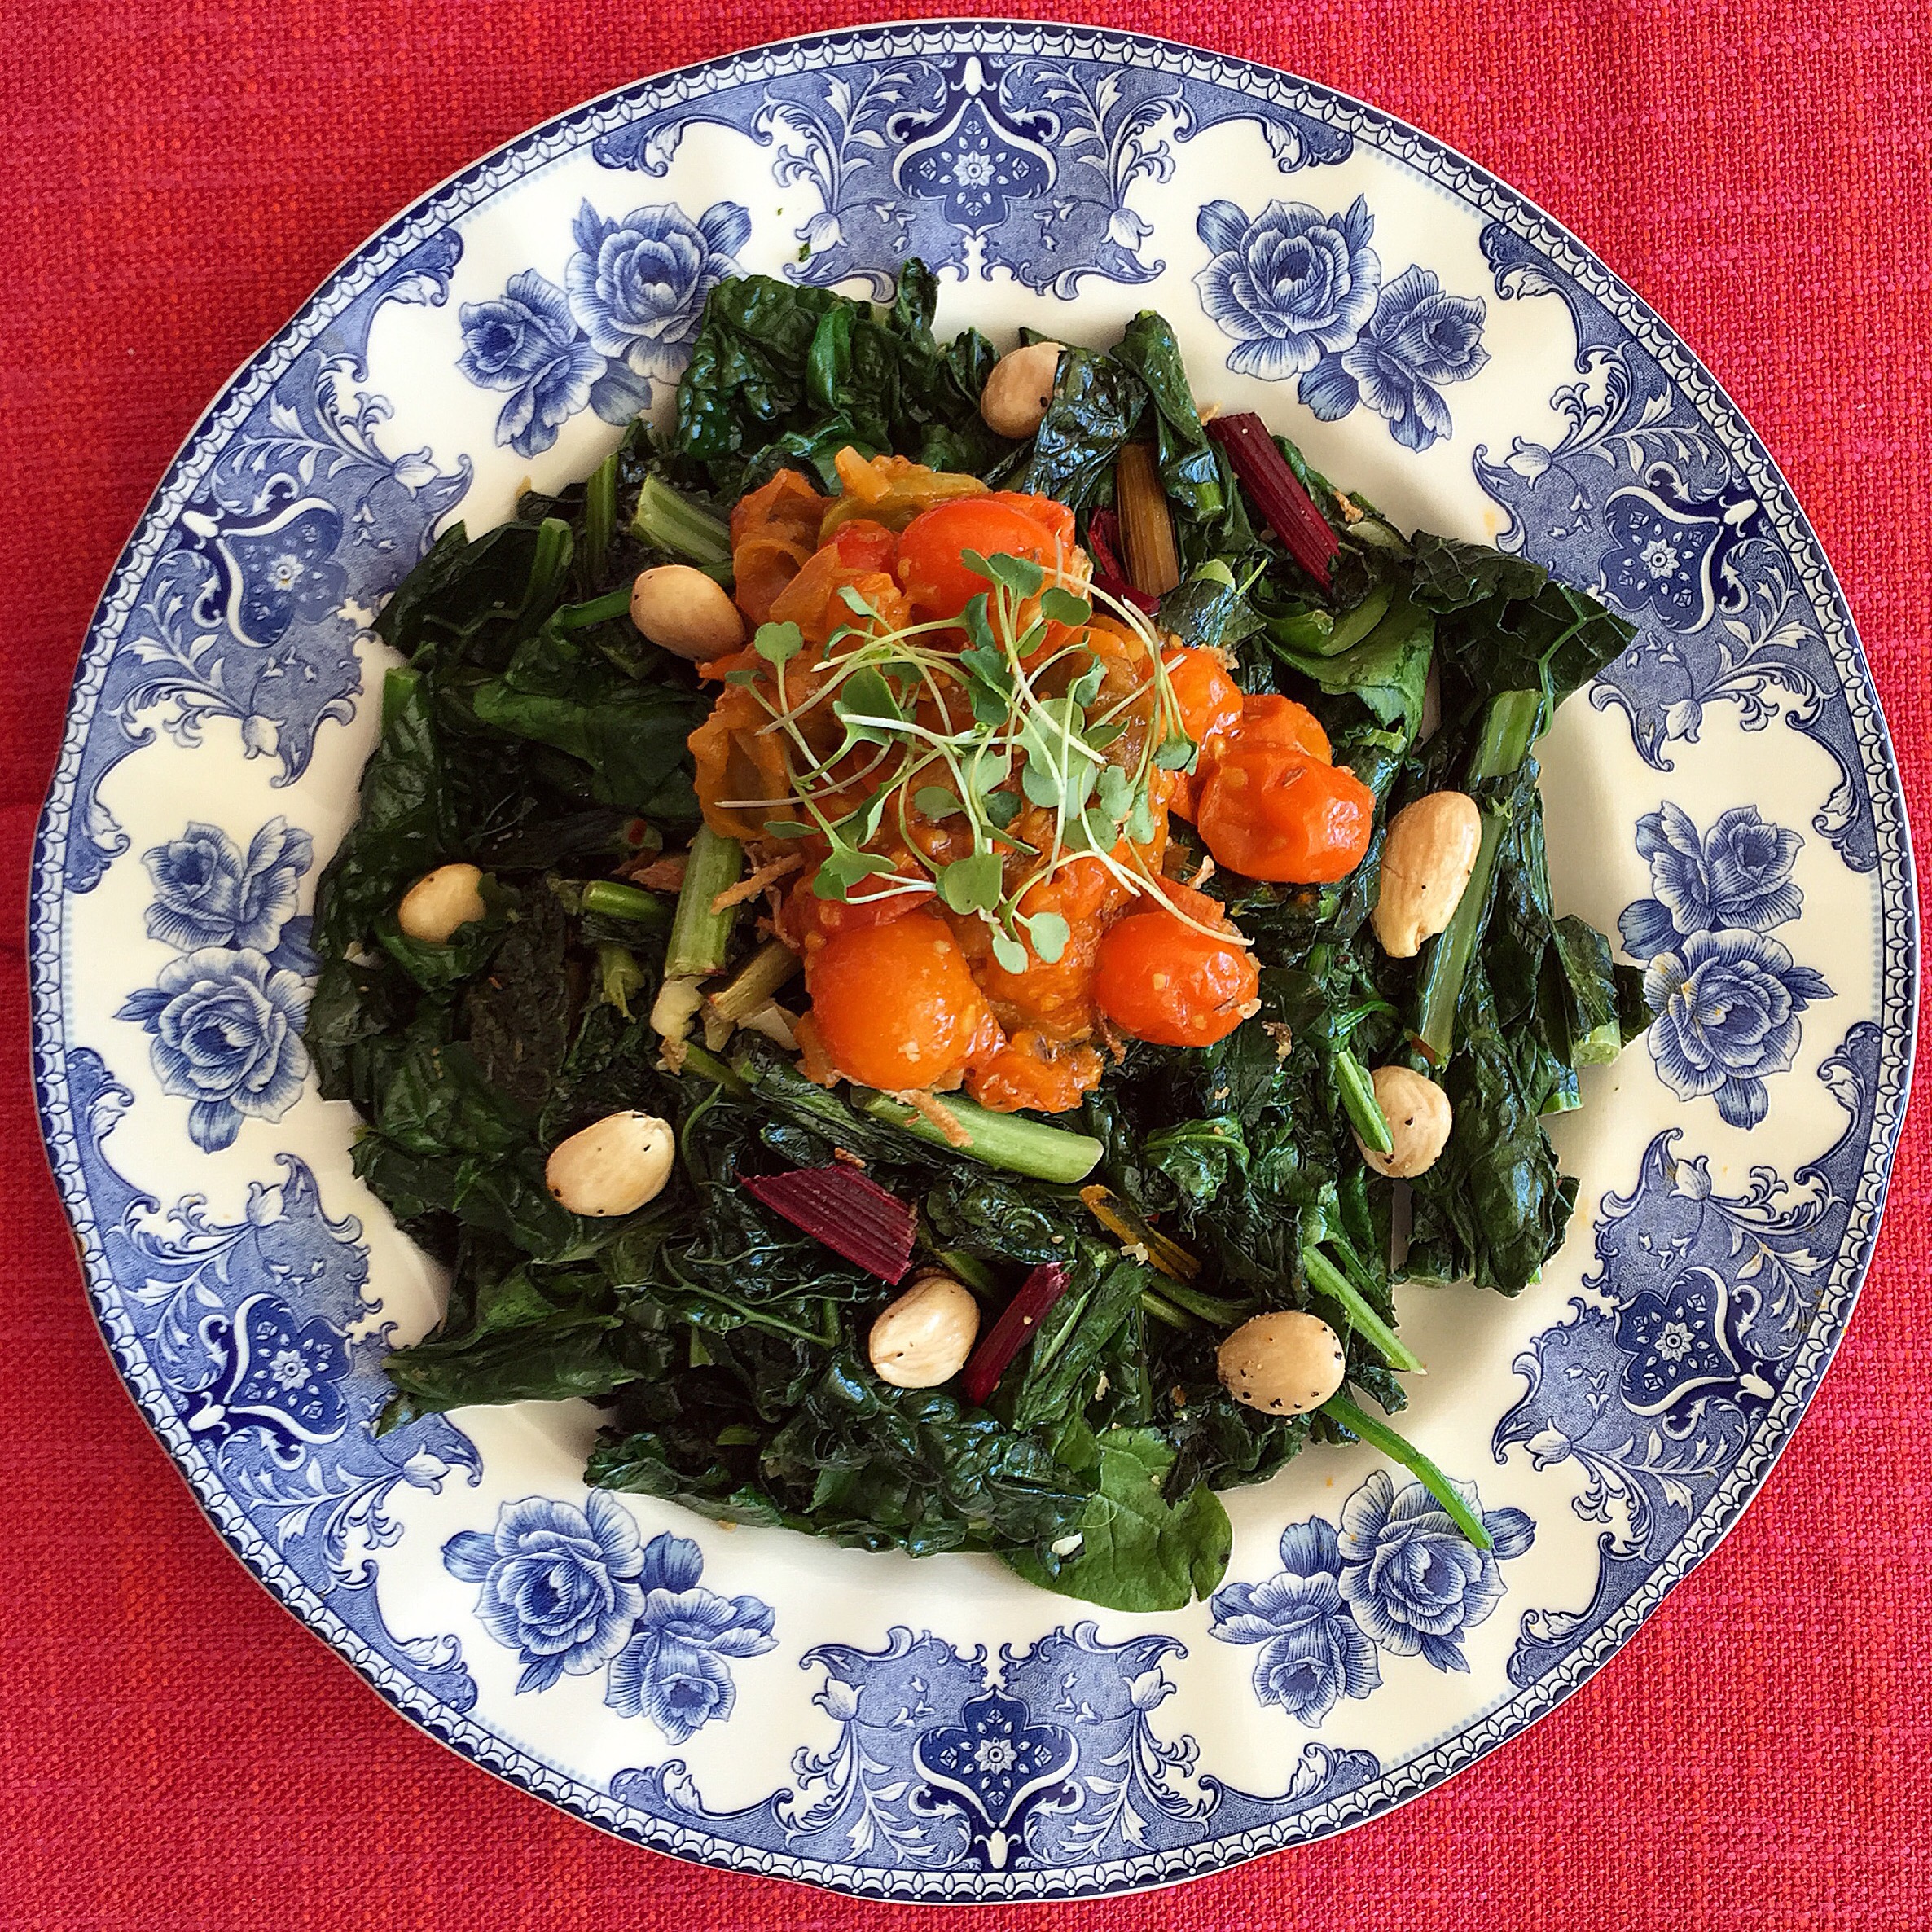
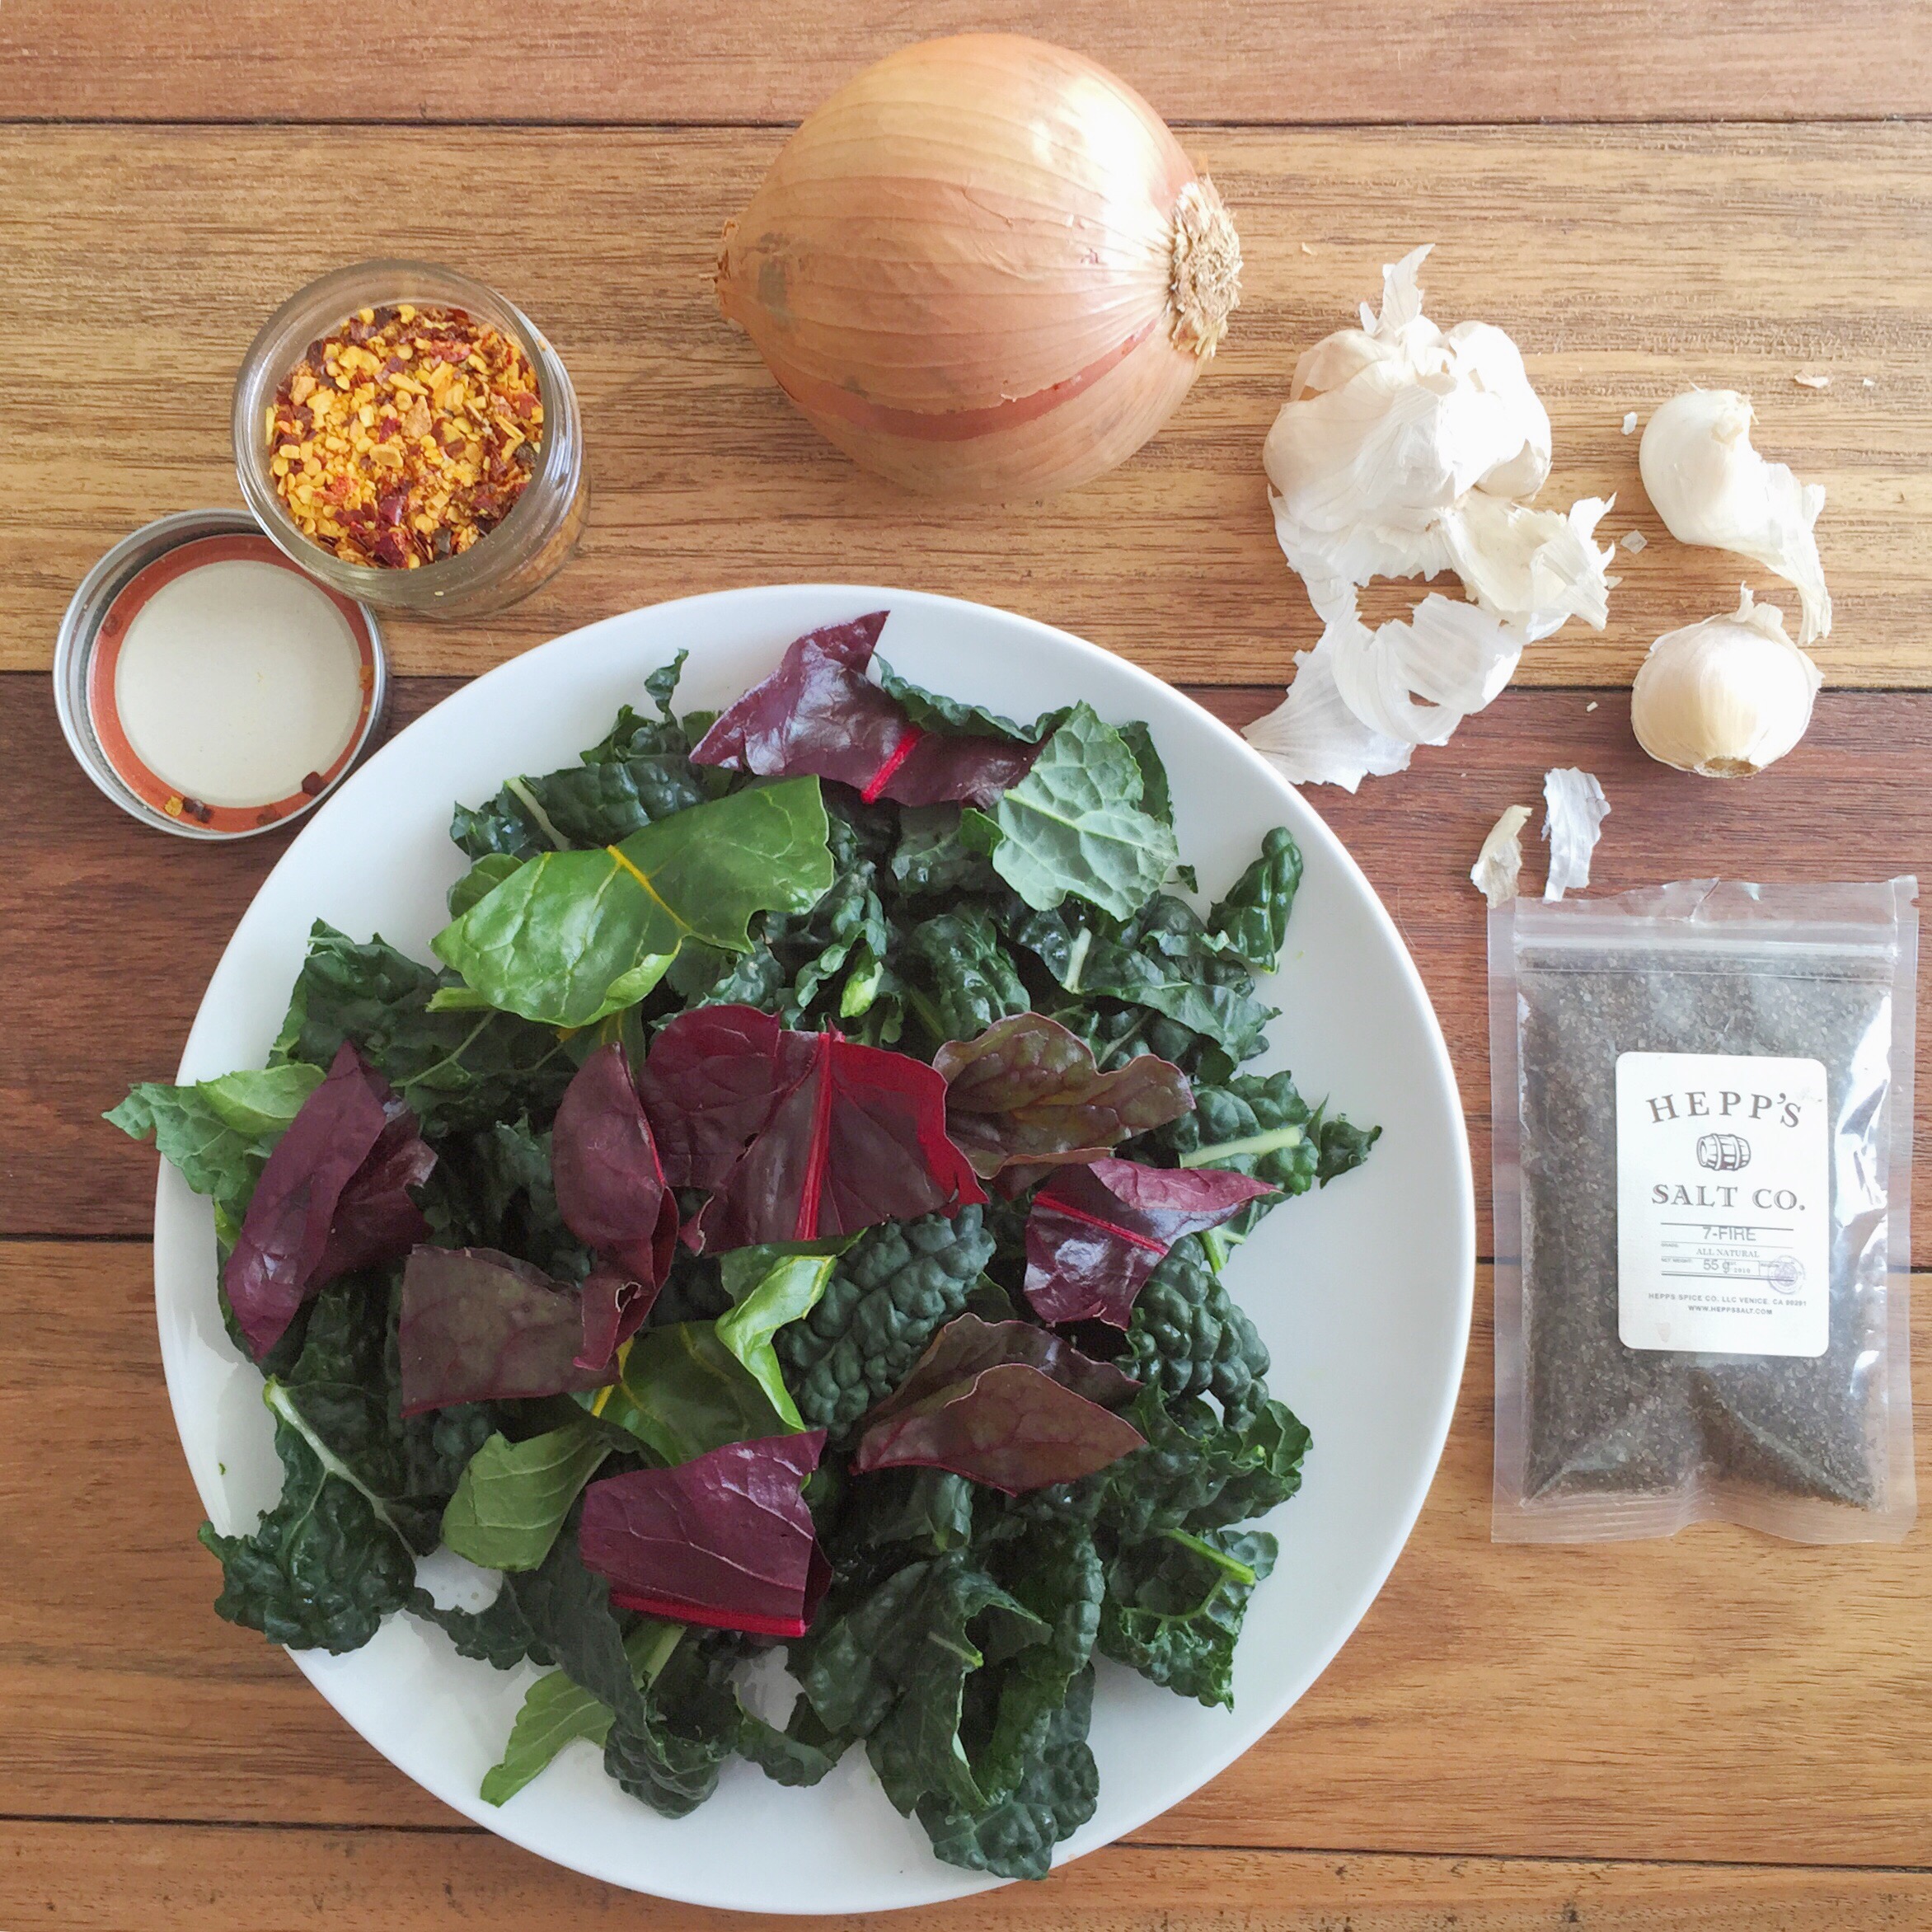
IMG_2248Sautéed greens with smoked salt are my new favorite thing to eat at the moment! Smoked salt adds amazing depth to the flavor to any vegetable dish. My absolute favorite is called “7-fire” from  Hepp’s Salt Co., available at farmer’s markets around Los Angeles and online, but you can also find smoked salt at Whole Foods, Walmart and most gourmet markets. You could also make some next time you BBQ. The greens are very tasty on their own, but even better with this warm cherry tomato vinaigrette and crunchy Marcona almonds. This makes a delicious and nutritious side or a light meal. You can also serve it over quinoa or brown rice to make it a hearty bowl.

Ingredients:  serves 2 as side 1 as a main dish

For the Vinaigrette:

1 cup Cherry Tomatoes, halved
1/2 Shallot, chopped
1 cloves Garlic
1 sprig Thyme
Salt & Pepper
Olive Oil
Red Wine Vinegar

For the Greens:

1 bunch Kale or Swiss Chard
1 cup packed Baby Spinach
1 Tbsp Olive or Coconut Oil
1/4 Onion, thinly sliced
2 Garlic cloves, chopped
Organic Vegetable Broth
Chili Flakes
Smoked Salt

Top with:

1/4 cup Marcona Almonds
Micro Greens and/or chopped Chives

Vinaigrette: Sauté the shallot in 1.5 Tbsp olive oil over medium heat for 2 minutes then add garlic and cook 2 minutes more. Add tomatoes and thyme leaves. Turn heat to Low and simmer until tomatoes begin releasing their juices but still hold shape, about 6 minutes more. Start on the greens in the meantime. When tomatoes start to wrinkle mash 4-5 tomatoes in the pan with a fork to release juices and stir in a splash of red wine vinegar and a sprinkle of Kosher salt and black pepper and remove from heat.

Greens: Chop up the greens keeping the stems and leaves separate. Heat the oil in a sauté pan over medium heat.  Add the stems and onion and sauté for about 6 minutes until the stems start to soften and the onion begins to brown then add the garlic, a splash of veggie broth, the chopped leaves, and a pinch of chili flakes. When the greens cook down, after about 5 minutes, add the baby spinach and toss until it wilts. Finish with a generous pinch of smoked salt and black pepper and toss again.

Serve: Pile greens on a plate and sprinkle with the almonds. Add the tomatoes on top and garnish with micro greens or chopped chives. Enjoy! xJacq

IMG_1453

REAL FOOD FAST- Ezekiel Hummus Wrap

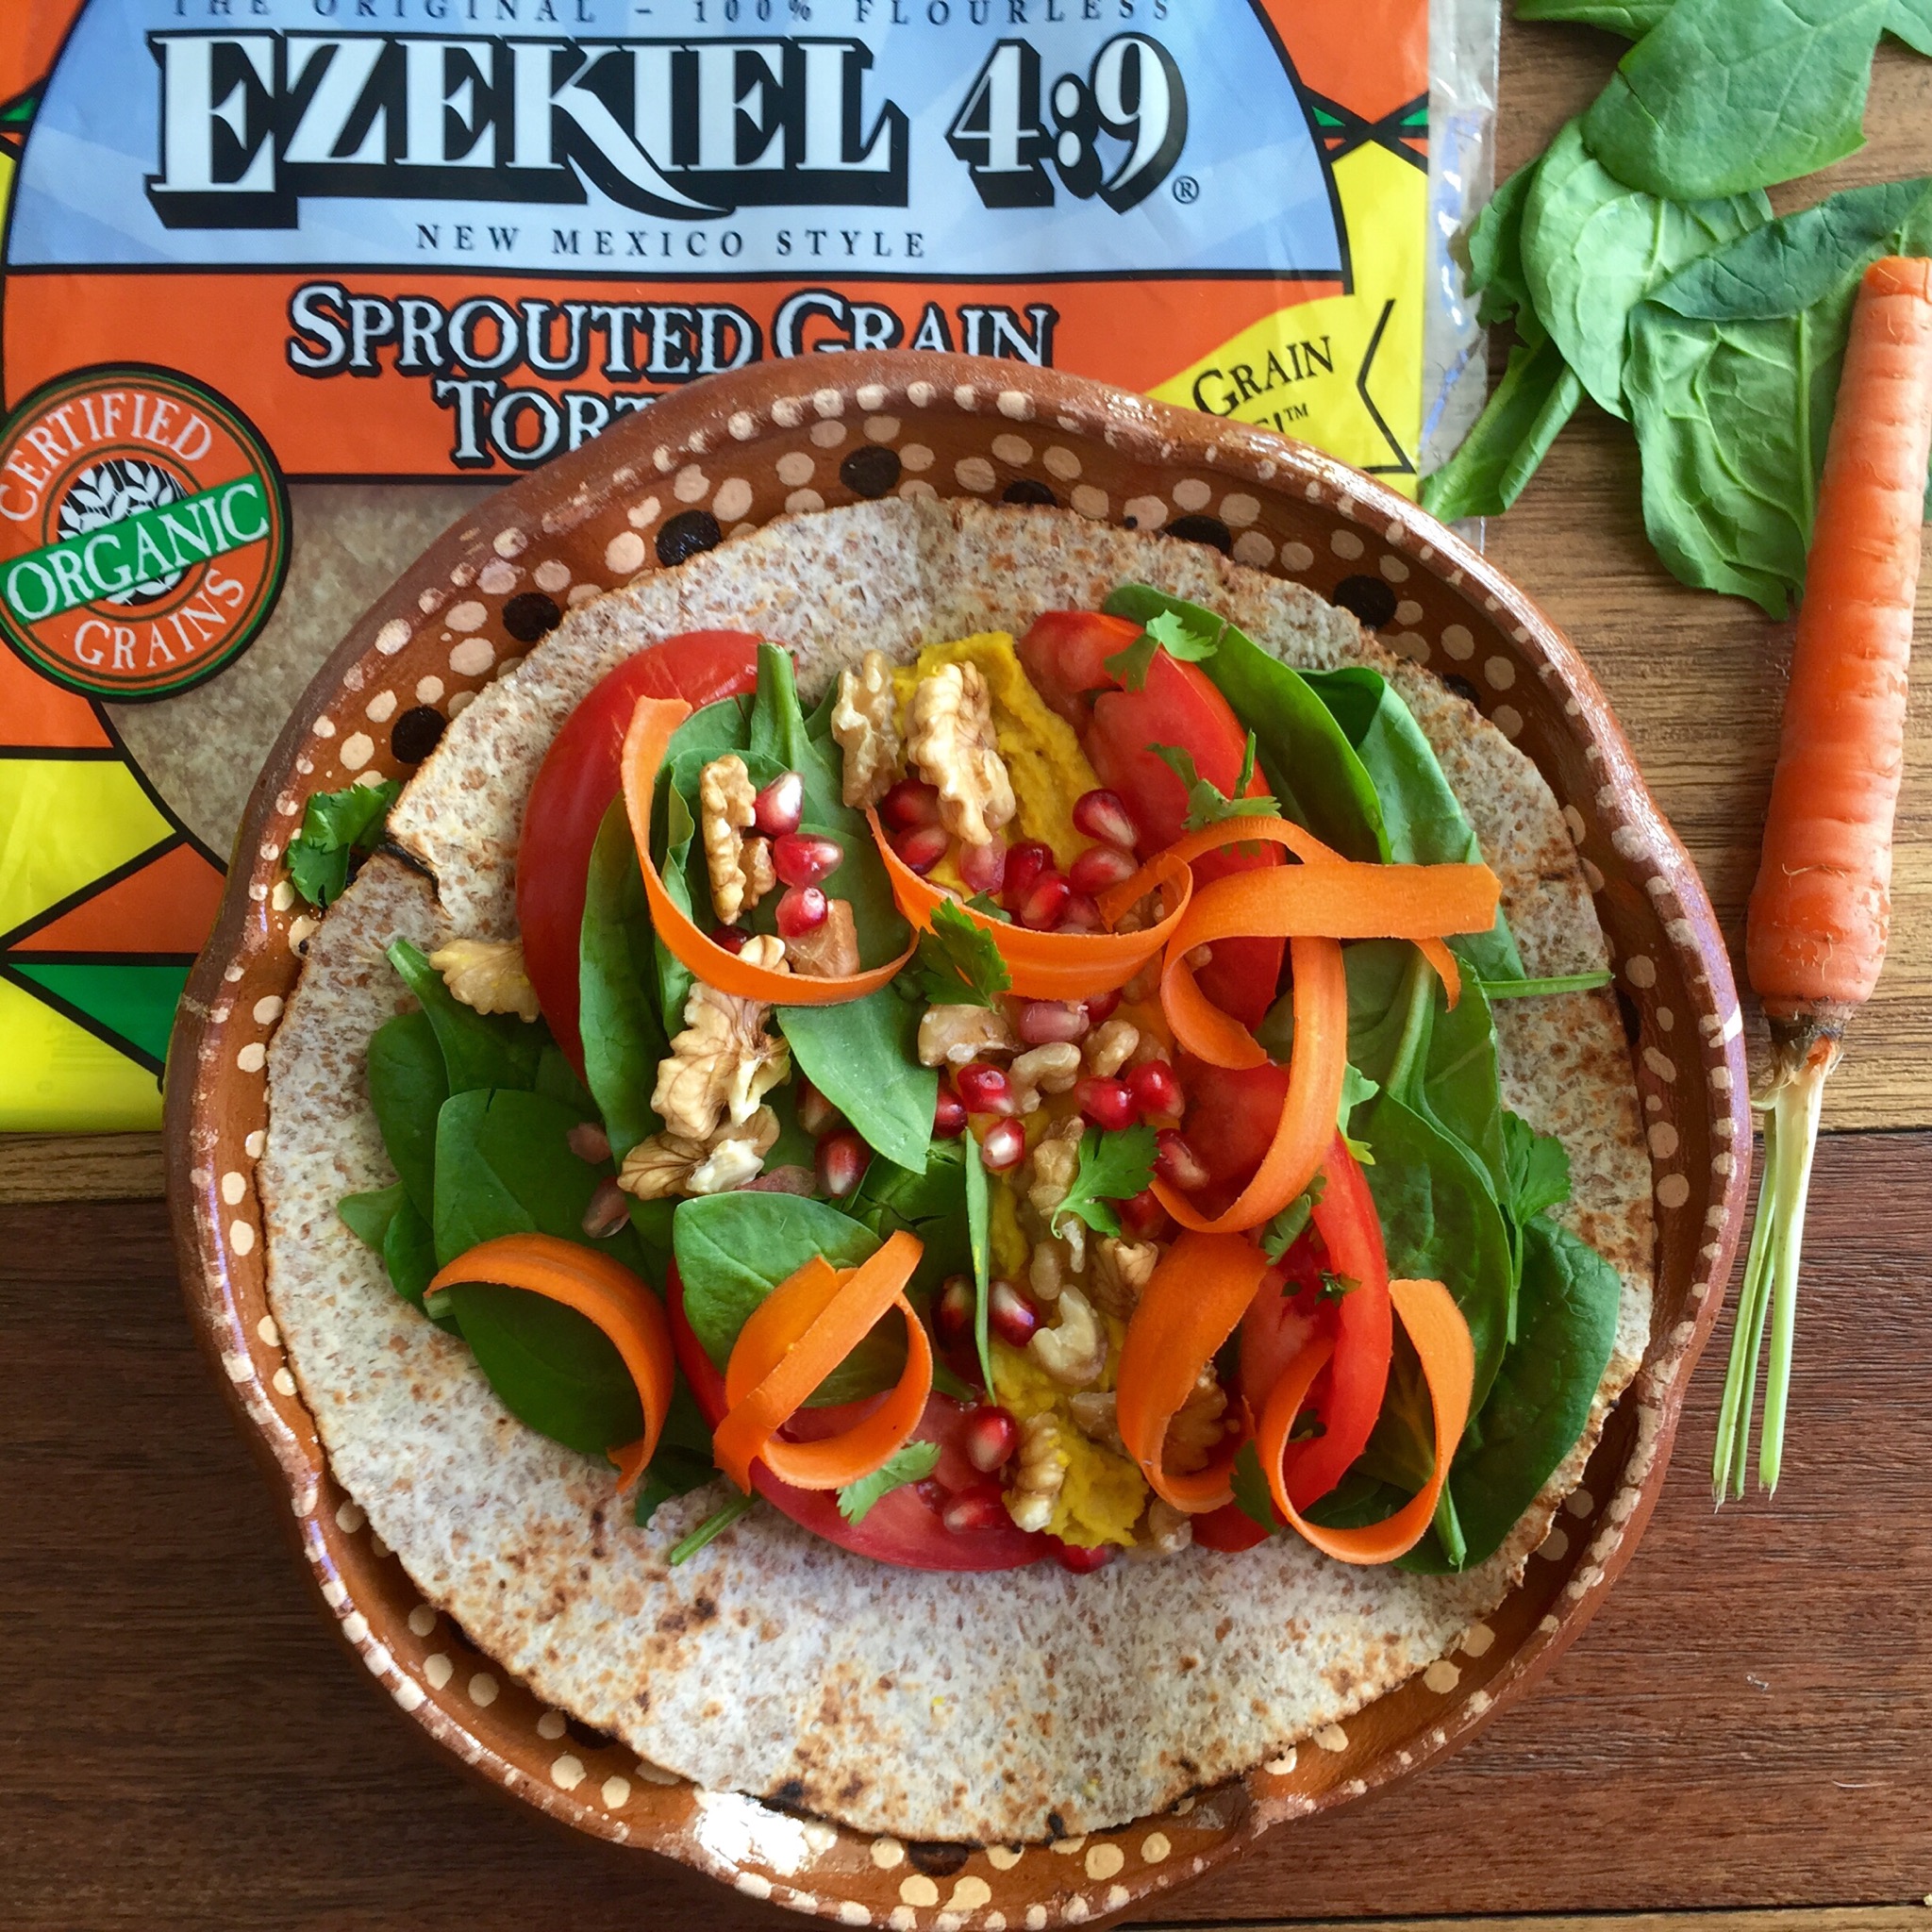
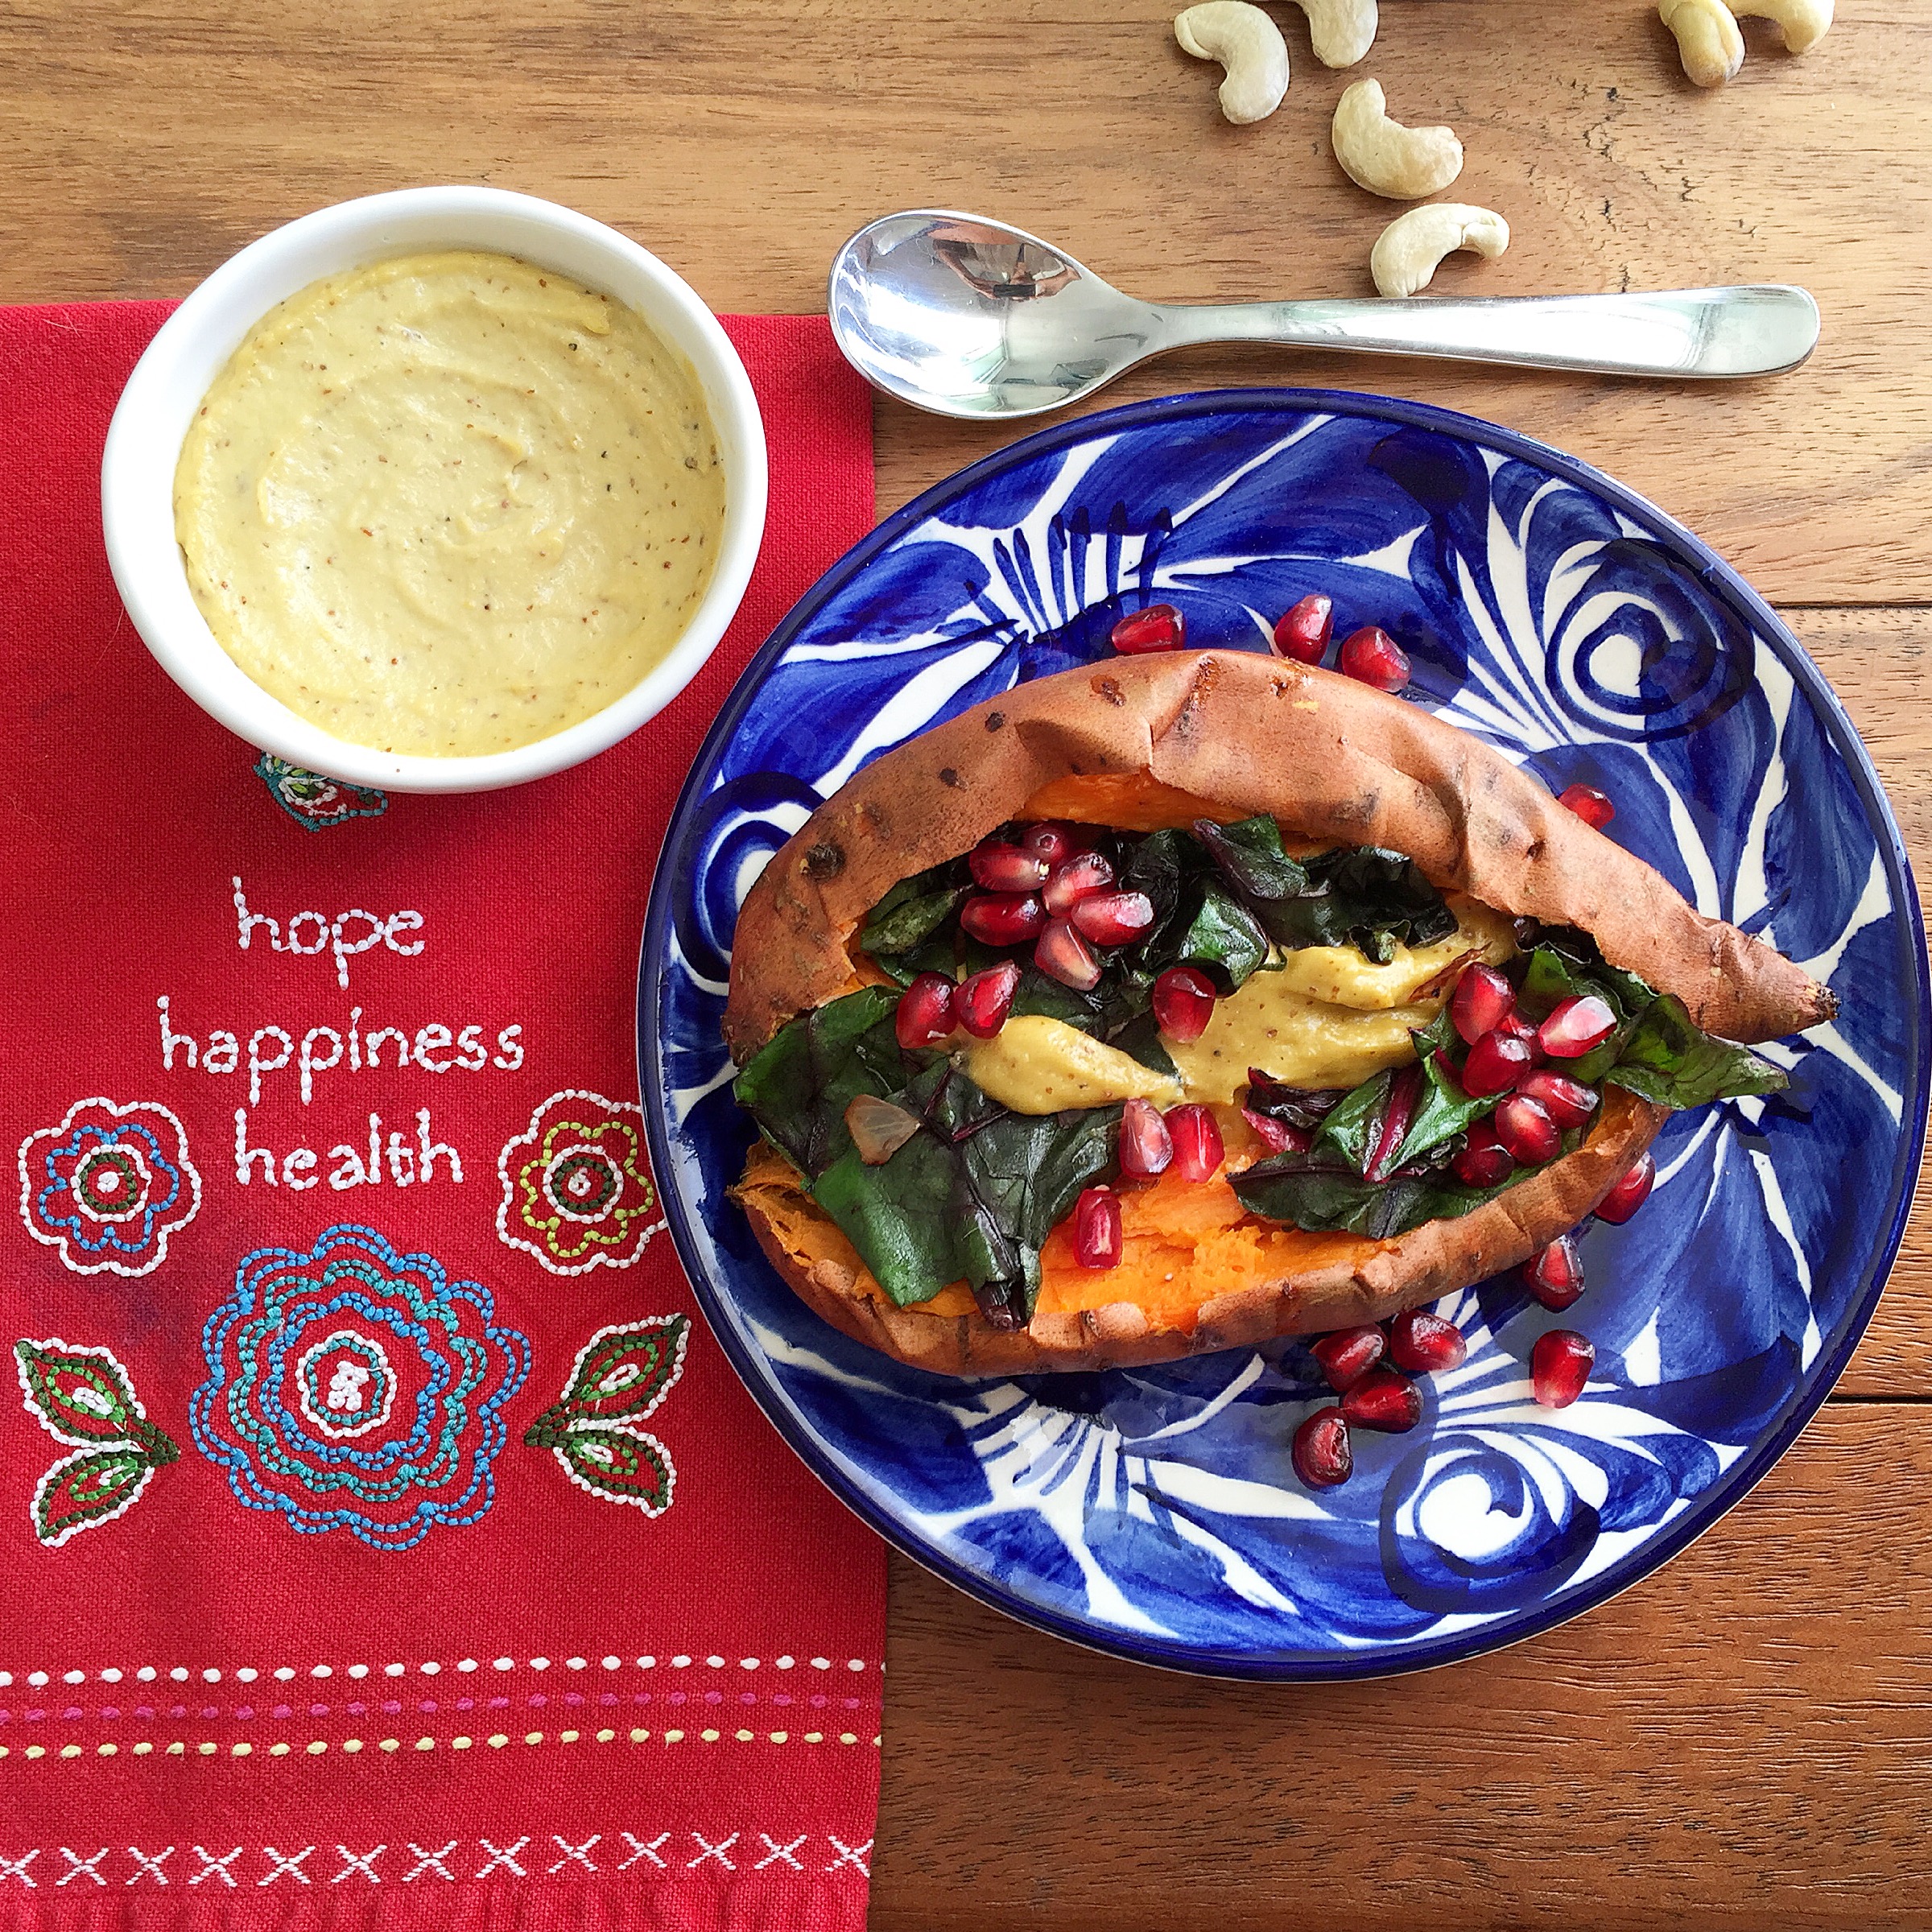
REAL FOOD FAST is a new series consisting of super fast, healthy, plant-based recipe ideas that take around 5 minutes to make. People often make excuses about being too busy to eat right, but there are lots of healthy meals and snacks you can make in less time than it would take to hit a drive through. These are my go-tos for a quick meal on the run.IMG_0152

Ezekiel Bread Hummus Wrap– What you’ll need:

1. Ezekiel Bread or other whole grain or gluten free tortillas – I love Ezekiel sprouted whole grain tortillas because they are preservative free, organic, and since they are made with a variety of grains and legumes they are actually a complete protein! You can find them at Whole Foods or Trader Joe’s.

2. Hummus- today I used lemon, but any flavor you like will work. Since hummus is so rich in protein and fiber, it fights off hunger and can balance blood sugar levels. Try my Artichoke Hummus  or my Canellini Bean Hummus  recipes.

3. Veggies- I like to start with a leafy green like spinach or kale, then add lots of sliced veggies that I have in the fridge. Radish, celery, broccoli, carrots, tomatoes, fennel, zucchini and cauliflower are some of my favorites. Anything you like to eat raw is a good choice.

4. Nuts or Seeds- for crunch, minerals and healthy fats. Walnuts are my favorite because they have a really meaty flavor and texture, but I also love, almonds, pecans, pepitas and sunflower seeds.

5. Something sweet, today I used pomegranate seeds, but berries, raisins, dried cranberries or apple slices and persimmon are all delicious.

I like to finish with a squeeze of lemon or a dash of vinegar and a sprinkle of salt & pepper. If you’re in the mood for spicy you can add your favorite hot sauce. It takes about a minute to throw together, is super flavorful and keeps you full and energized for hours!

Salad with Green Beans, Pickled Persimmon and Dried Cherries

Salad with Green Beans, Pickled Persimmon, Dried Cherries, and Pistachio

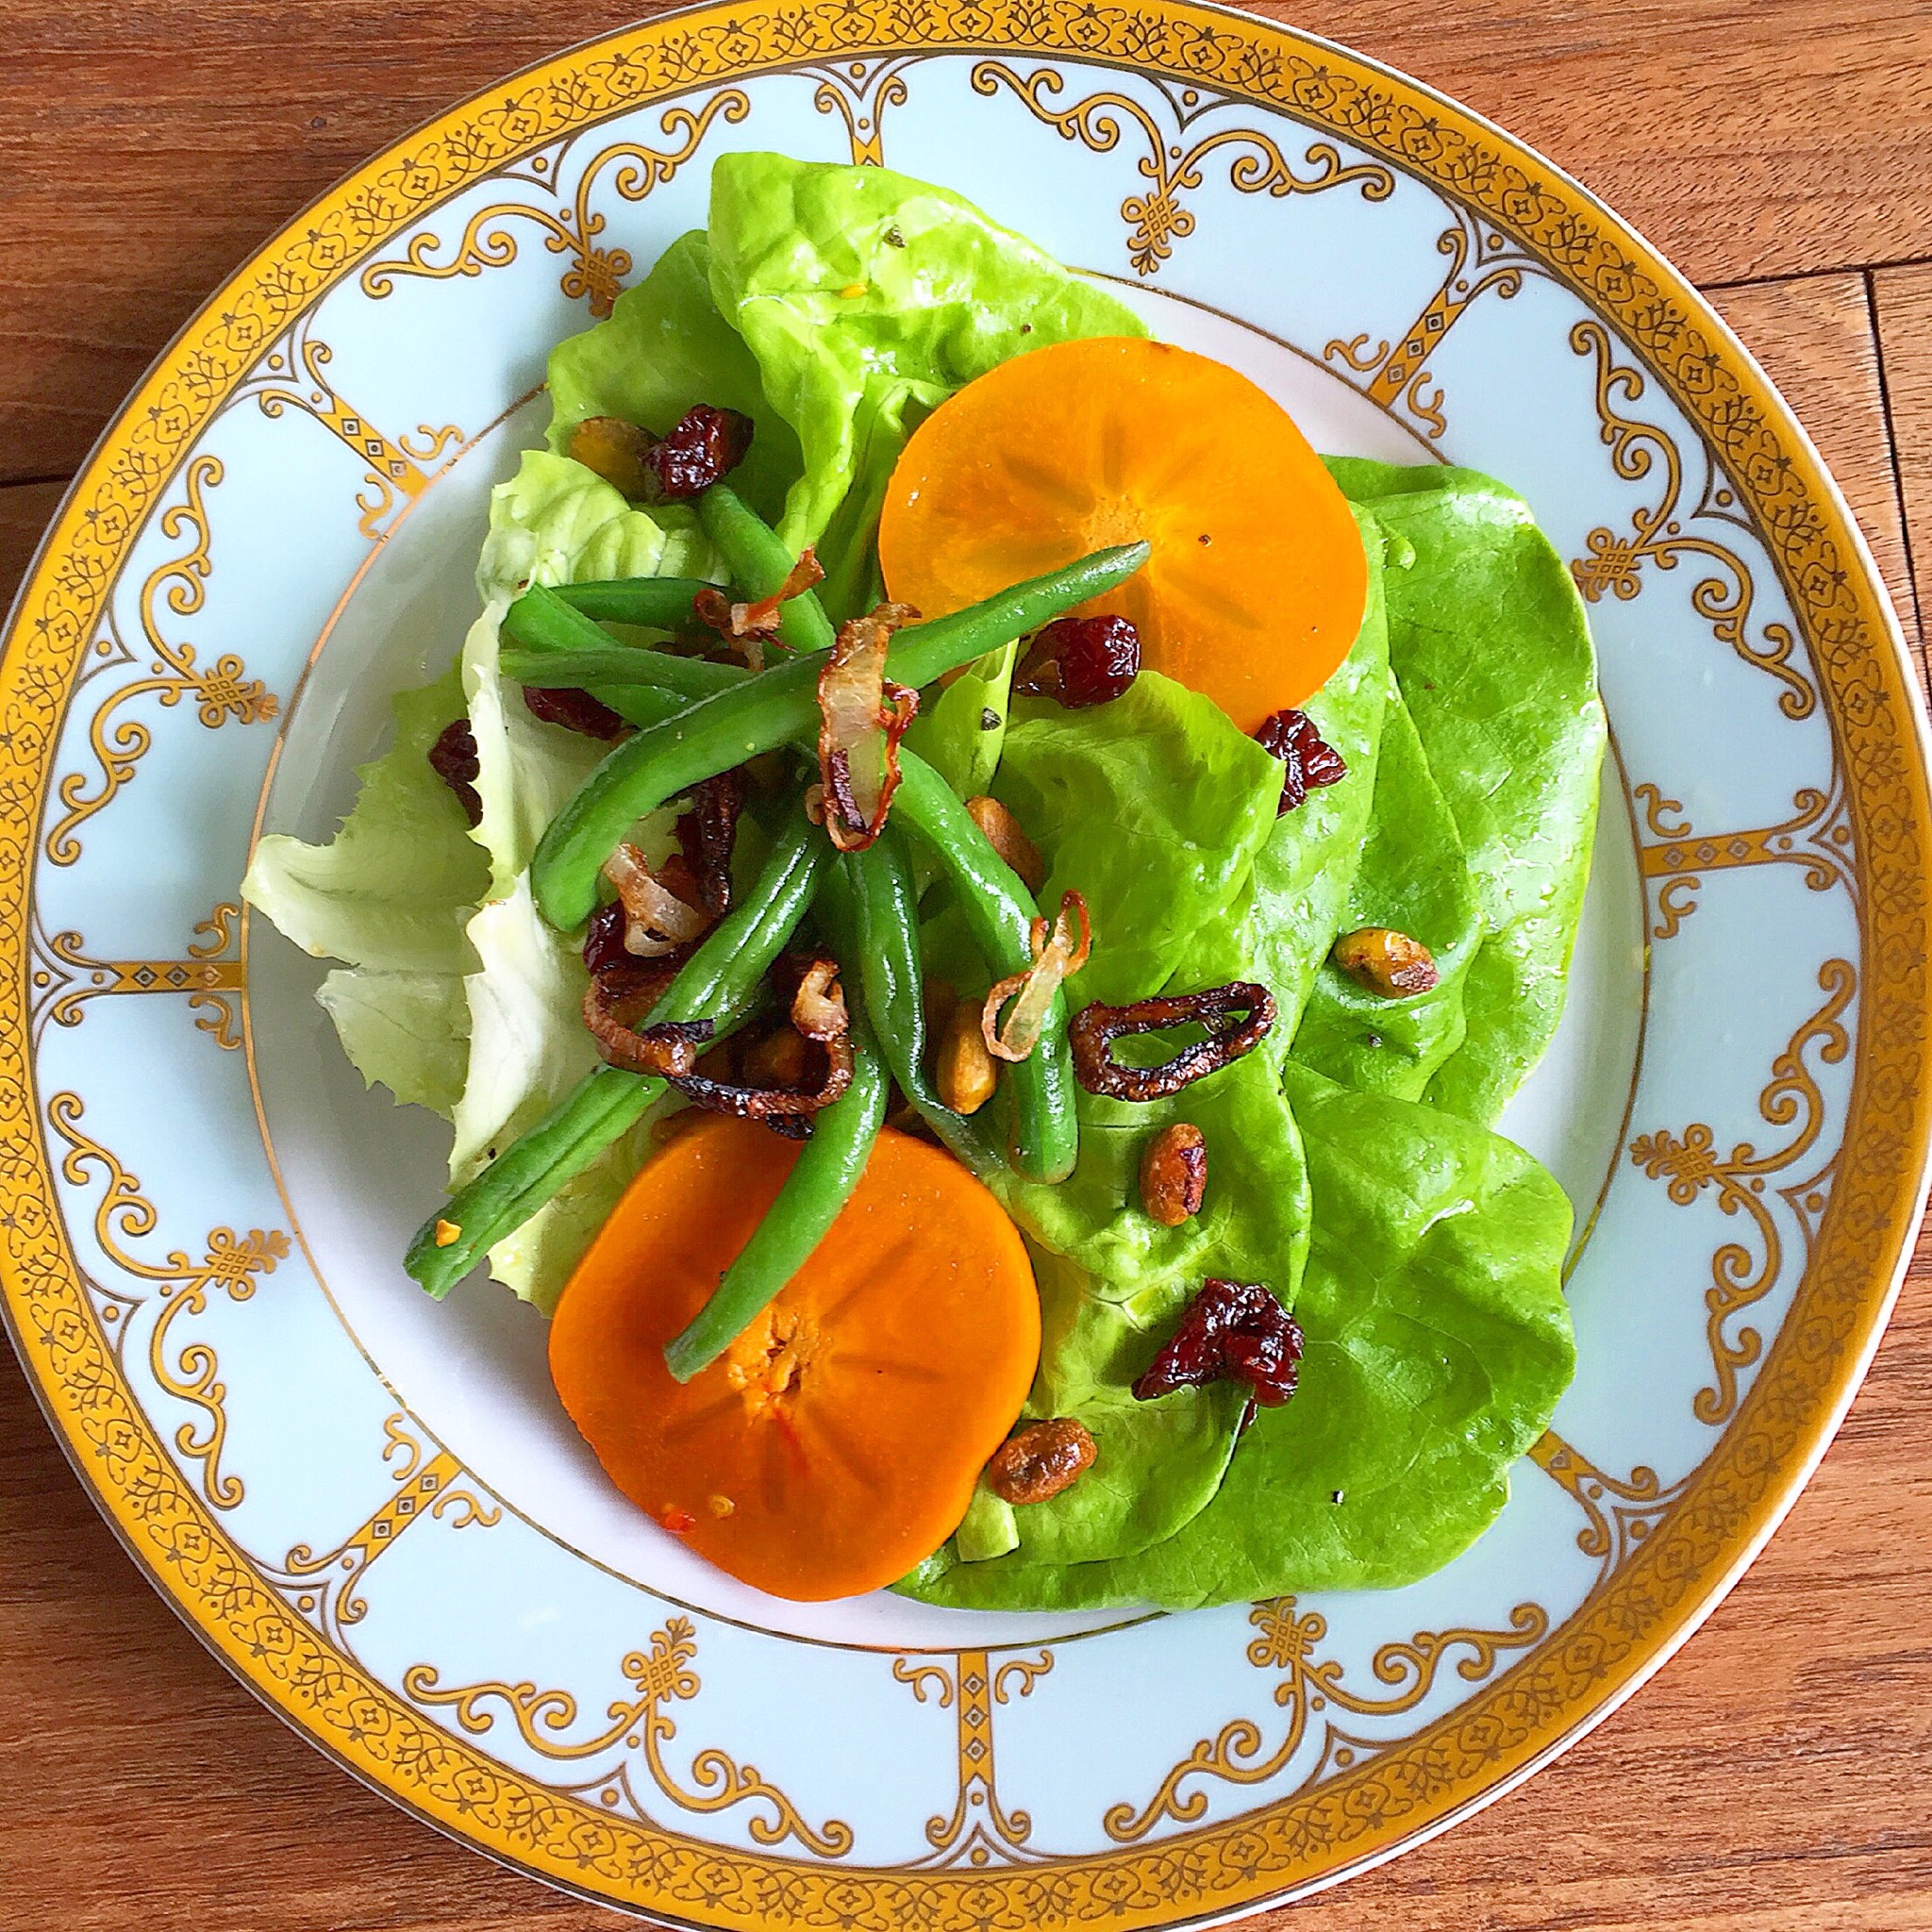
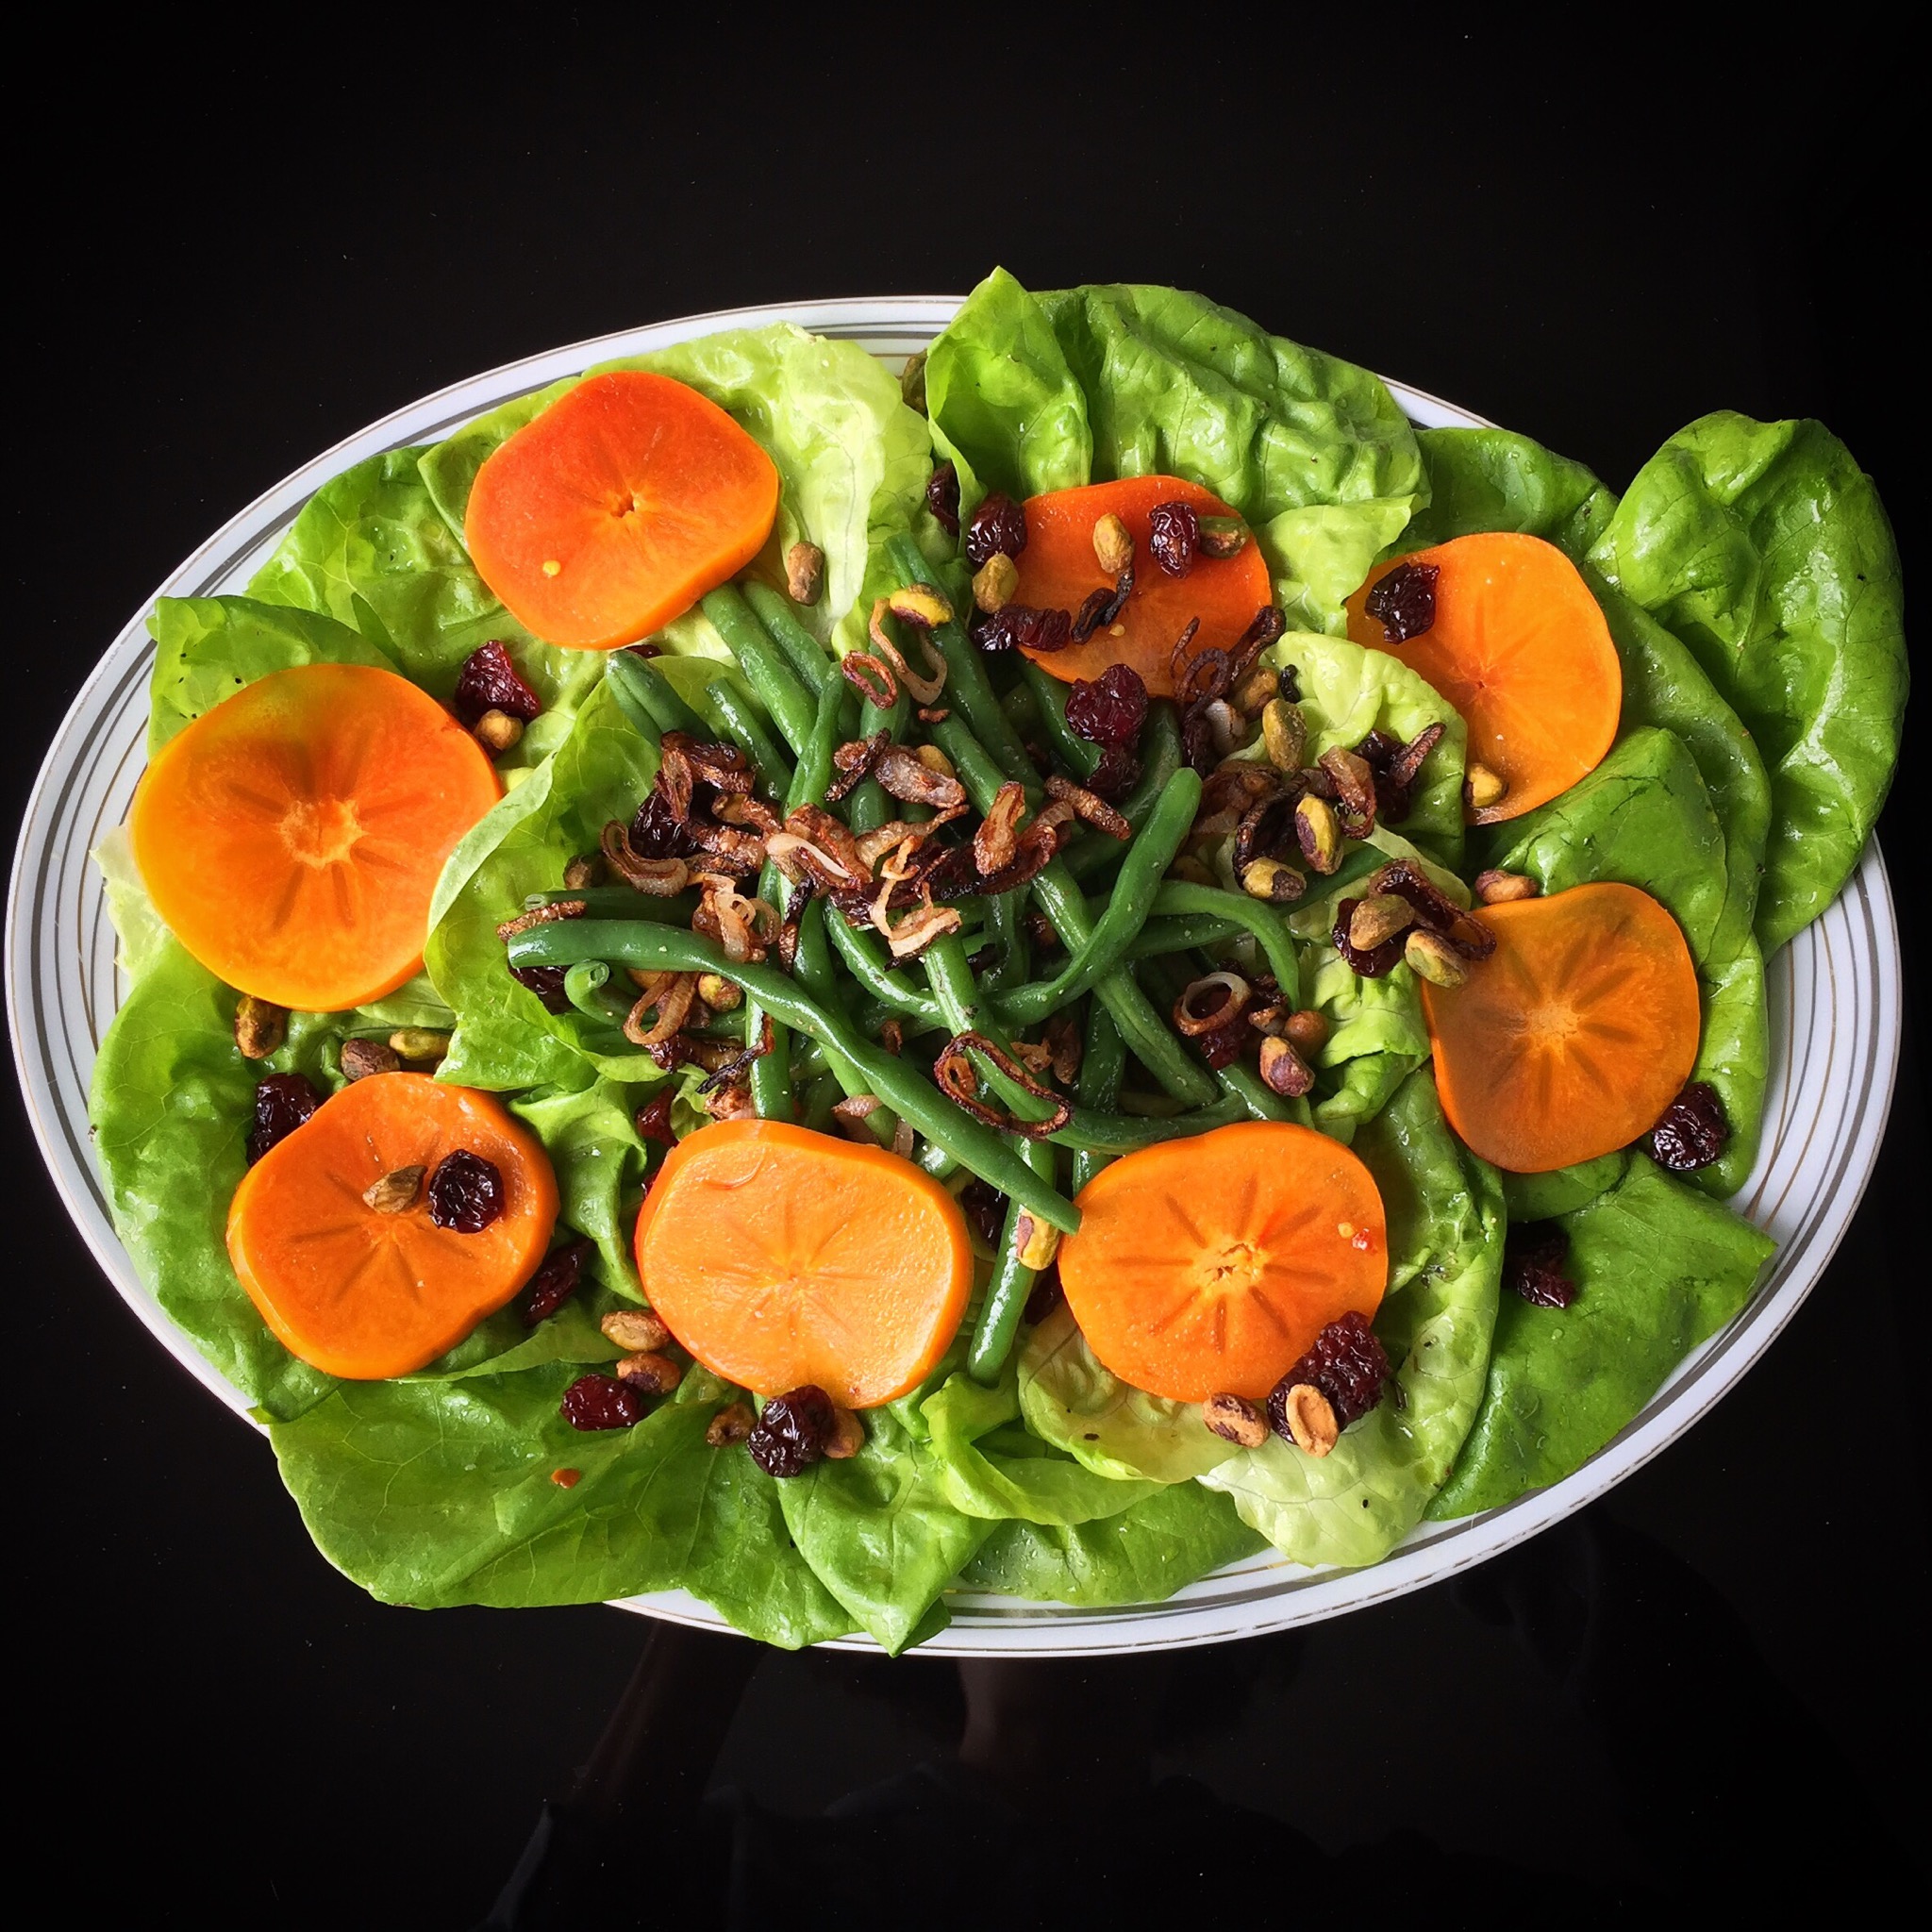
This is my favorite fall salad! It’s so scrumptious and full of vitamins, minerals, and antioxidants. The lettuce has a delicate, mildly sweet flavor that works beautifully with the sweet/tart flavor of the persimmon and dried cherries. The green beans add substance and the pistachios and shallot add a ton of flavor and crunch. It’s so good that I’ve decided to add it to my Thanksgiving menu this year. The great thing about making this for a holiday or dinner party is you can make the persimmon pickles and cook the green beans a couple of days ahead of time, making it really easy to put together on the big day.IMG_0751-2

Ingredients: Serves 4

 Green Beans: 

 1/2 lb Green Beans, trimmed
 1 tsp salt
 
 Shallot:

 3-4 Tbsp Olive Oil
 1 Shallot, thinly sliced, separated into rings
 
 Salad:

 1 head Butter or Green Leaf Lettuce
 1/4 cup Pistachios
 1/4 cup Dried Cherries
 8 slices Ginger-Chili Pickled Persimmon
 Sea Salt & Black Pepper

 Dressing:

 3 Tbsp Vinegar from the Pickles
 1/4 cup + 2 Tbsp Olive Oil
 Juice of 1/2 Orange
 Pinch of Herb d' Provence
 1 tsp coarse ground Mustard

Green Beans:

Add a tsp of salt to a pot of water, bring to a boil and add green beans. Cook for 2 minutes exactly then drain in a colander and rinse with cool water.

Shallot:

Heat a thin layer of oil in a small frying pan over medium. Add shallot rings and fry until browned, about 2 minutes. Remove with a fork and set on a plate covered with a paper towel in a single layer to drain and crisp up. (You can use the leftover oil to sauté greens or drizzle on top of veggies or meat.)

Dressing:

Measure 3 Tbsp of vinegar from the persimmon pickle jar into a bowel. (I used a strainer to keep out the chili flakes.) Add the olive oil, orange juice and pinch of herb d’ Provence.

Salad:

In a large bowel toss the lettuce with half the dressing and a pinch of salt & pepper. Add mustard to the remaining dressing, whisk and toss with green beans in a separate bowl.

Layer the lettuce leaves on a platter, arrange green beans and persimmon on top, sprinkle with pistachios, cherries and fried shallot rings. Enjoy! 🙂IMG_0750

Roasted Spiced Cacao Beans

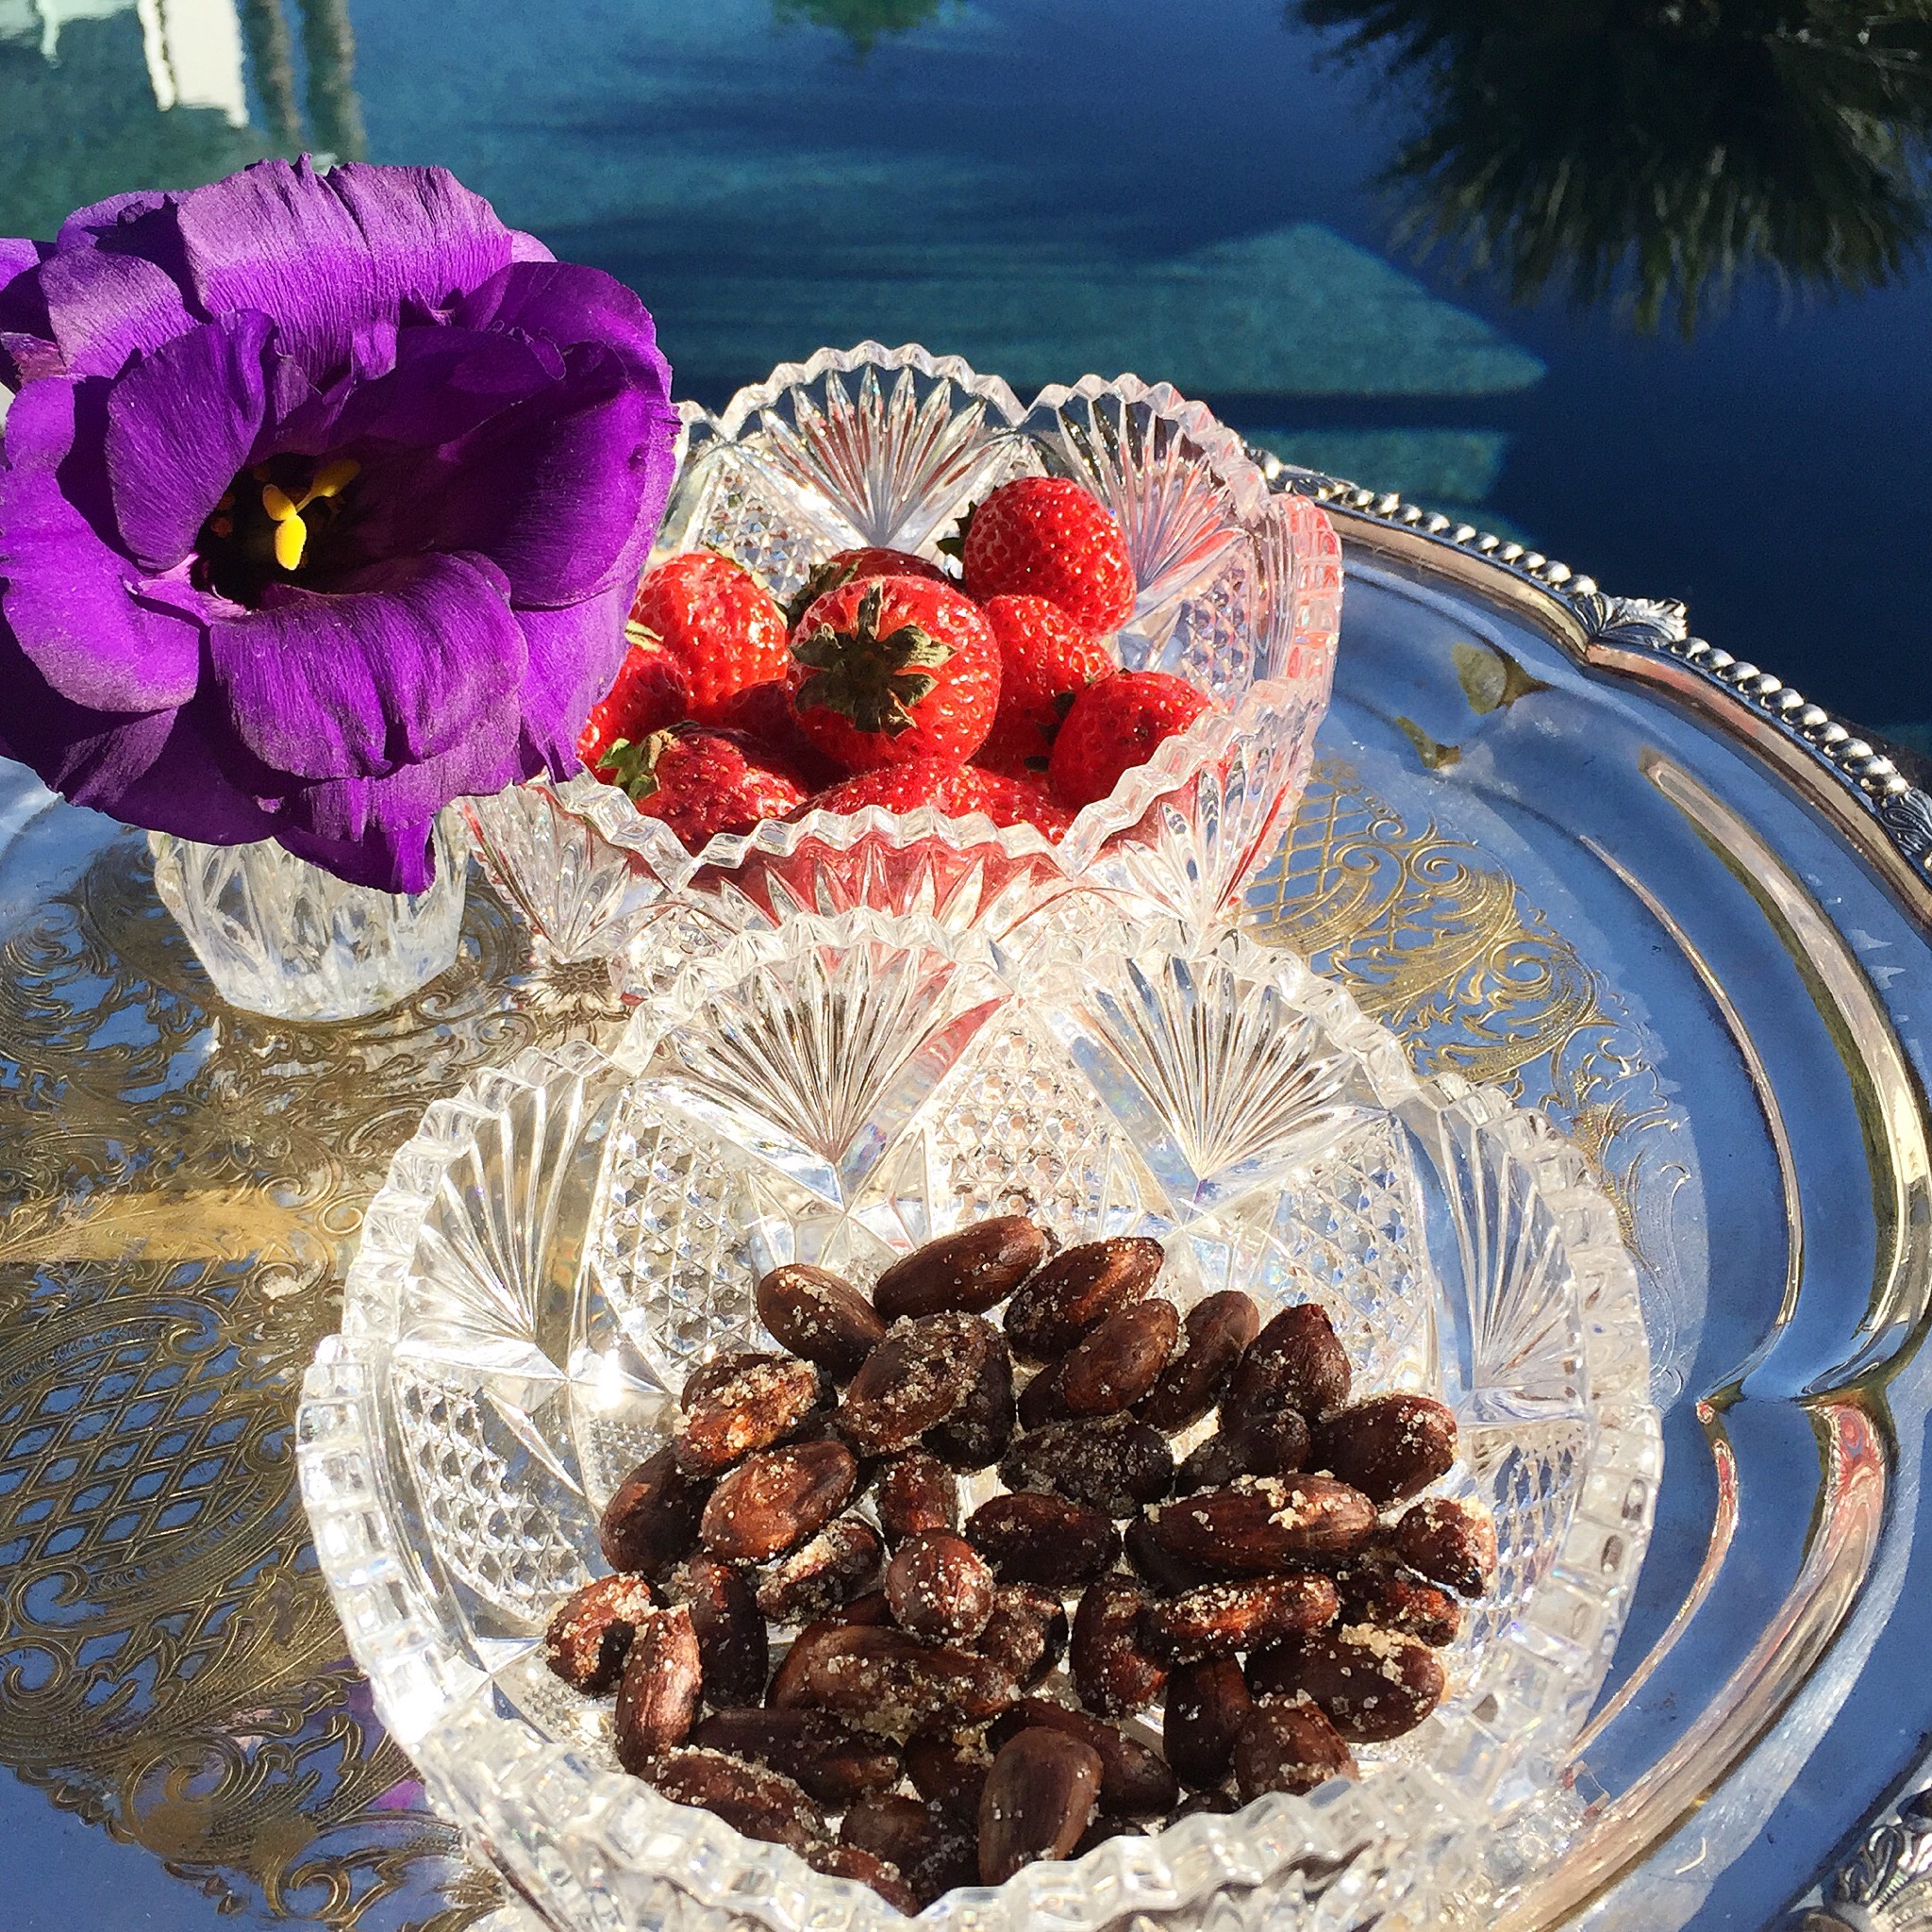
I only recently found out chocolate grows on trees. I guess I sort of knew beforehand, but it wasn’t until I tasted whole raw cacao beans that I really got it. It’s pretty miraculous. If you haven’t tried them before, think of chocolate at its purest with nothing fluffy, like milk or sugar, to get in the way of some serious chocolate flavor. Roasting brings out the flavor even more, mostly because the aroma created by roasting is to die for.  These beans are energizing thanks to caffeine’s milder cousin theobromine, which has been used to treat high blood pressure and which some believe can treat depression. This makes them a great mid-morning or afternoon snack but avoid eating too many before bed or they can keep you up, as I found out the hard way. WARNING: These are for dark chocolate lovers only and can be totally addictive. Luckily they just so happen to be full of antioxidants and essential fatty acids so you can enjoy a guilt free fix. 🙂IMG_0215


Ingredients:

1 cup Raw Cacao Beans

1 tsp Coconut Oil

2 tsp Raw Cane Sugar

Pinch Each- Kosher Salt, Cardamom, Ginger, Cayenne, Nutmeg and Cinnamon.

Toss cacao beans with coconut oil. Mix 2 tsp organic cane sugar with a pinch of salt, cardamom, ginger, cayenne, nutmeg and cinnamon. Toss beans in the spices then roast on a cookie sheet at 275* for 6 minutes ,stir then roast 6-8 minutes more. Basically when your whole kitchen smells like chocolate deliciousness they are ready. Be careful not to let them burn, as with nuts, this can happen quickly. Let cool before eating. They will be crunchy and delicious once cooled. Enjoy!

Foodie Heaven Cashew Cheese Spread

I love cheese, but like many people, have decided to avoid dairy for both health and ethical reasons. I’ve tried several different versions of cashew cheese and they have all been…okay, just okay. And sorry, but if you are trying to replace something as delicious as cheese, then you better be freaking delicious, so I decided it was time to head to the kitchen to make up my own recipe, and holy moly, wait till you try this!  Serve it on veggies, in wraps, as a sandwich spread, on crackers, stir it into creamy risottos or pastas, or pretty much anywhere you would use a soft cheese. This recipe is packed with protein, good fats, fiber, vitamins and minerals including B12, Vitamin C and Calcium, but most importantly it’s lick-the-spoon delicious.   IMG_0367

Ingredients:

1 cup raw cashews soaked in warm water for an hour then drained

1/4 cup Water

1/4 cup Nutritional Yeast*

2-3 Garlic Cloves

1 Tbsp + 1 tsp Bragg Liquid Amino* or Tamari

1 Tbsp fresh Lemon Juice

1 Tbsp Raw Apple Cider Vinegar

1 Tbsp White Wine

1 heaping tsp Dijon Mustard

pinch of Salt & Pepper

Blend all the ingredients together in a blender or food processor until smooth. It will have more of a thick sauce consistency at this point but will firm up into a cream cheese texture when refrigerated. Keep in the fridge for up to a week. Enjoy! J

*If you can’t find liquid amino, raw apple cider vinegar, or nutritional yeast at your regular supermarket you can them order online at Thrive Market.

Better Than Nutella

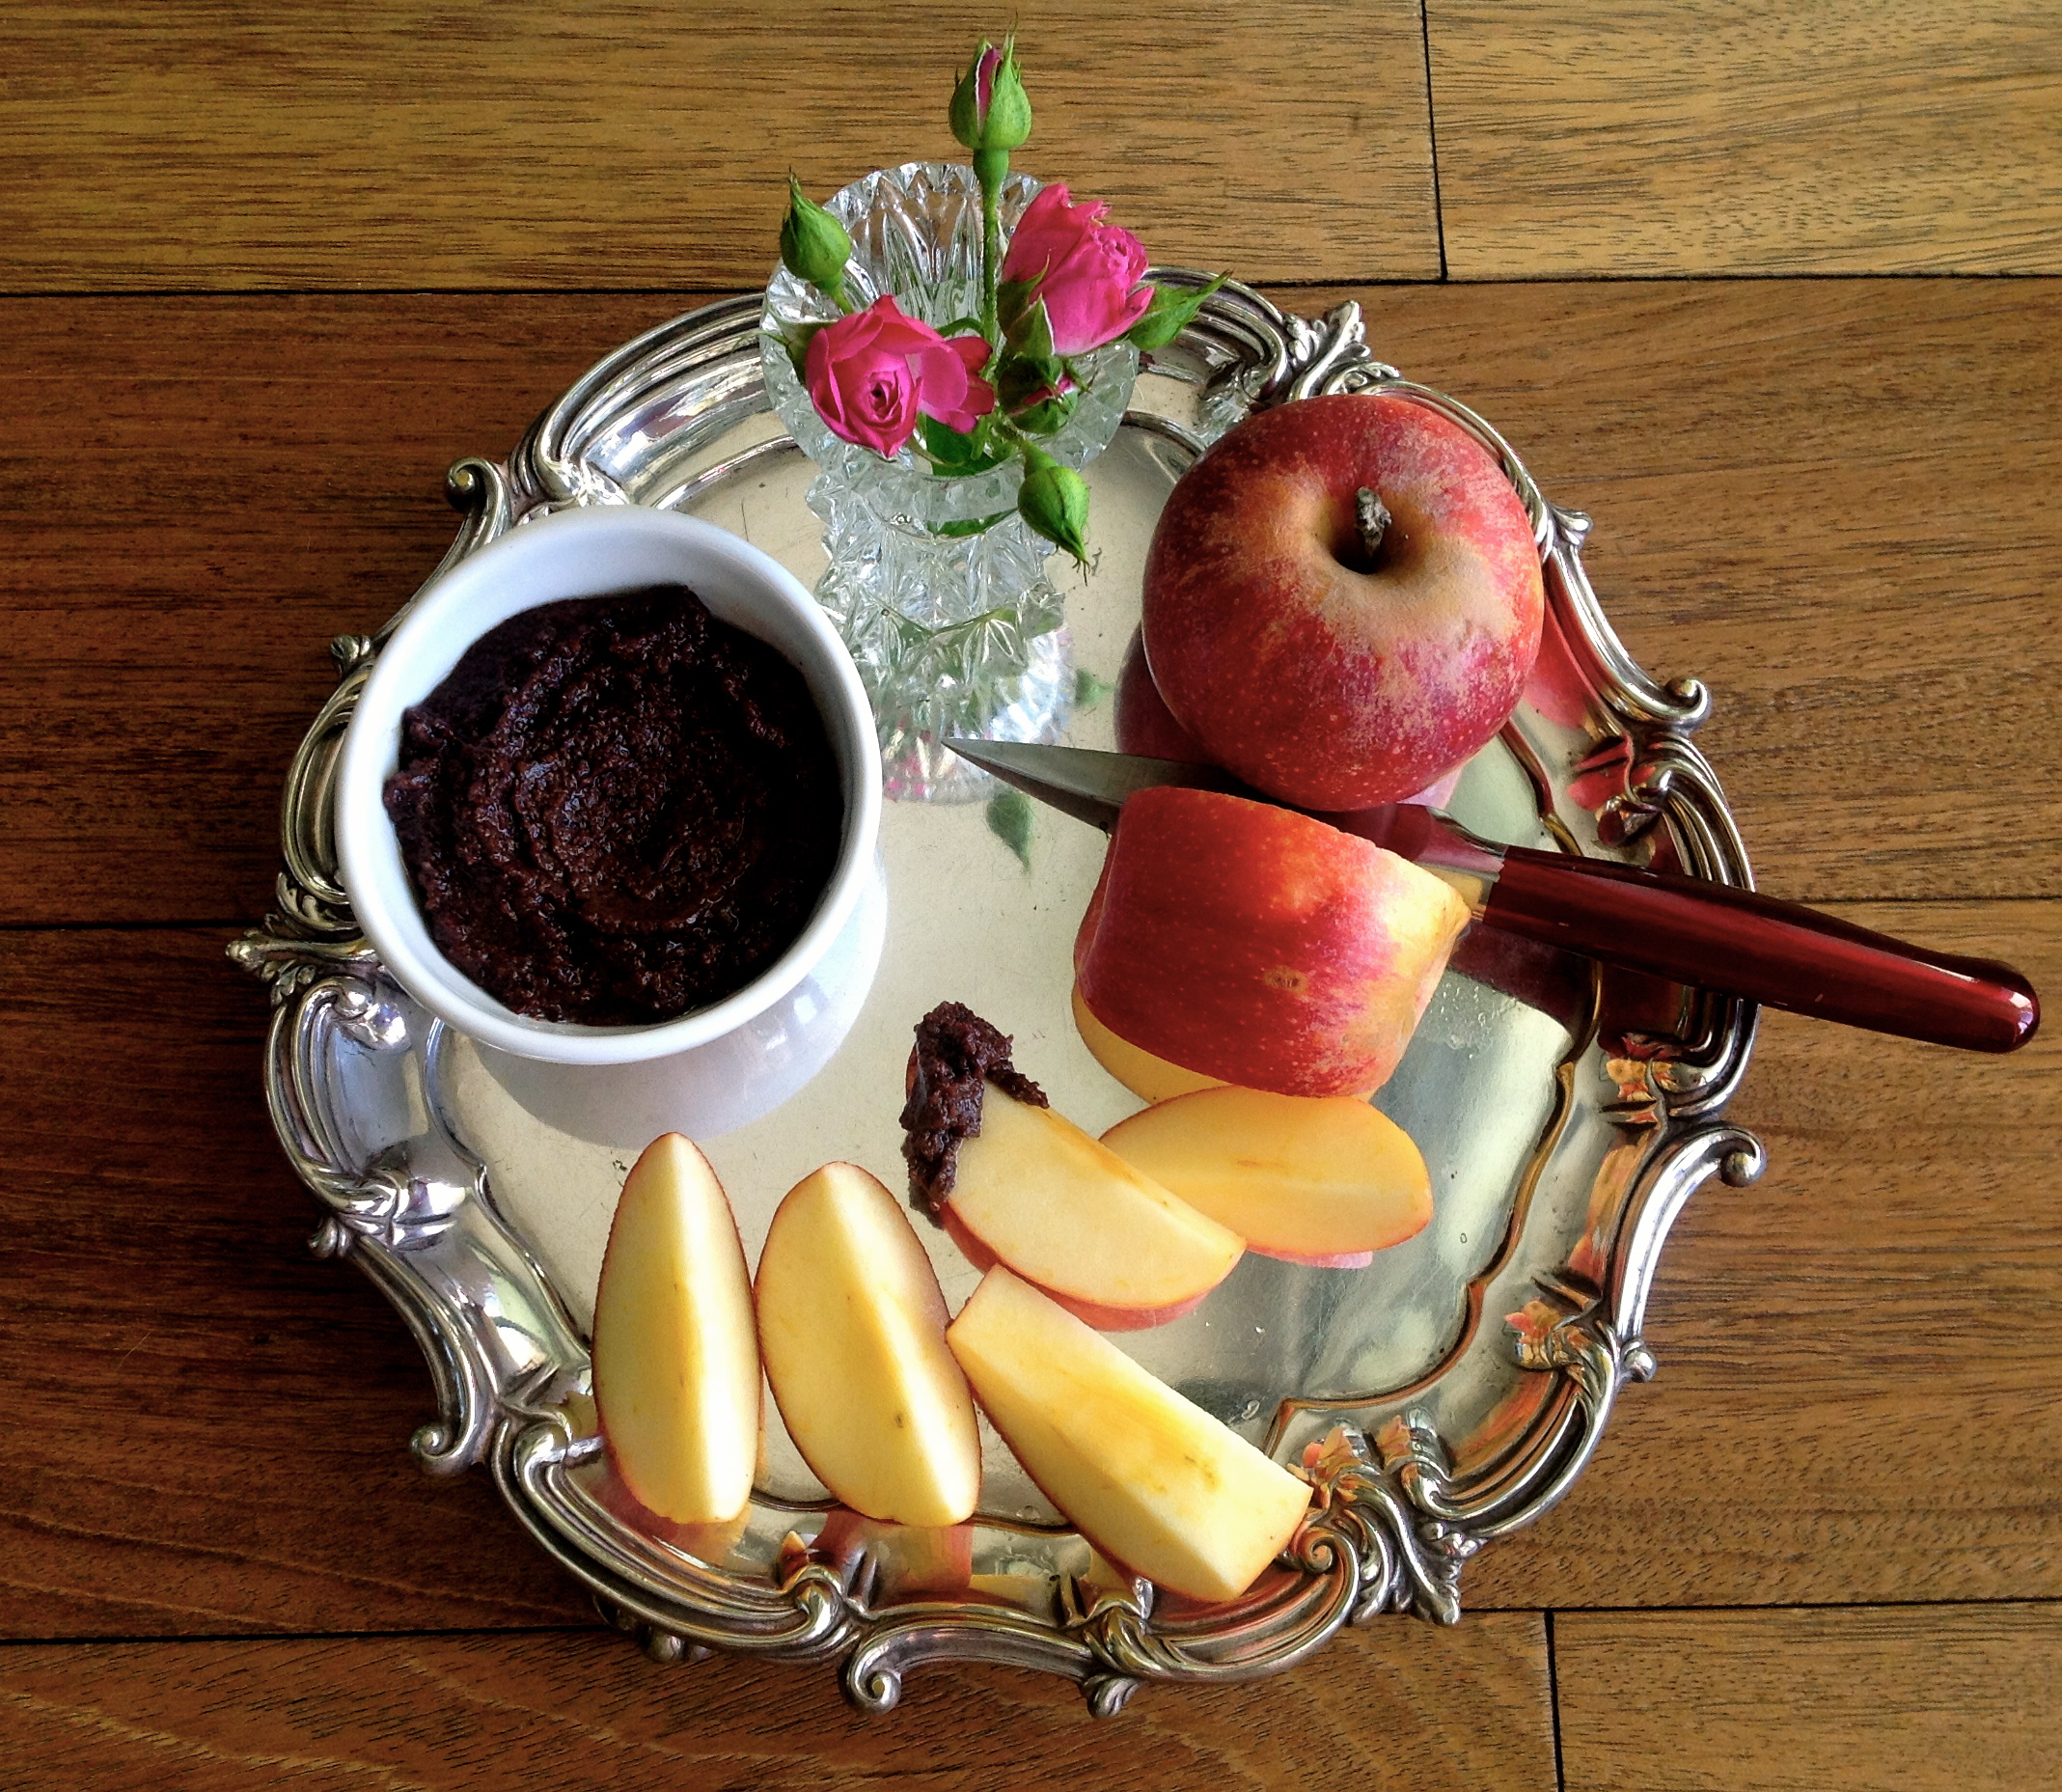
This spread is absolutely heavenly. It’s super quick to put together and full of anti-oxidants thanks to the raw cacao nibs, minerals thanks to the nuts and healthy fat from coconut oil. That’s why I think it’s better than Nutella, which is 54% sugar and contains palm oil. I love it with apple slices or thinly spread on toast with fresh strawberries sliced on top. Yum! photo-9  Ingredients:

1/3 cup EACH Hazelnuts, Pecans, Cacao Nibs, Honey, Coconut oil

Pinch of Salt

1 Tbsp water

Blend all ingredients together until smooth. Enjoy!

This spread hardens when refrigerated because of the coconut oil, so allow leftovers to come to room temp before serving.

Kale Tom Collins a.k.a. “The Balancing Act”

This is my healthy, refreshing version of the classic cocktail, a Tom Collins, which is mentioned in the 1877 Bon Vivant’s Companion, by Jerry Thomas, the George Washington of American mixology.  I love it for it’s simple elegance, few drinks are as refreshing on a summer afternoon. 
Quick history of the Tom Collins:
A certain John Collins, a waiter at Limmer’s Old House in Hanover Square in London get’s his name attatched to a drink with lemon, sugar, soda and Holland gin. Later, someone had the bright idea to make it with Old Tom gin and switched the name accordingly. So there we have it, A Kale Tom Collins. -Cheers!

Springtime in a glass.

Springtime in a glass.

Ingredients:
2 oz Gin  (preferably Hendrick’s)
1/2 oz each fresh squeezed Lemon, Kale and Green Apple Juice
1/4 – 1/2 oz pure Maple Syrup (depending on taste, I like 1/4 oz)
Sparkling Mineral Water
Combine the ingredients in a Collins glass 3/4 full of cracked ice.  Stir briefly, then top with club soda or sparkling mineral water.  Garnish with a lemon wheel with a small kale leaf poked through the middle, balance it on the top of the glass and serve with a straw or a stirring rod.

Easy Homemade Corn Tortillas

Homemade tortillas taste infinitely better than store-bought. The dough is super simple to make and takes all of 5 minutes to come together. When I first started making them I shaped them by hand, but since I invested in a tortilla press I haven’t looked back. That was $15 well spent! I bought mine at a great restaurant supply store called Surfas in Los Angeles but they are widely available at Mexican markets and online.

Corn tortillas are made with a special corn flour called Masa Harina  which is made with corn that is dried and then treated in a solution of lime (calcium hydroxide) and water to loosens the hulls from the kernels, soften the corn and make it more easily digestible. My favorite brand is Bob’s Red Mill because of its fresh corn taste. They also make a certified gluten-free version. Masa Harina is naturally gluten free but using a certified version is best for those with celiac disease as it ensures it has been processed in a gluten-free facility. As with all Bob’s Red Mill products it is non-GMO.

Most recipes you find for corn tortillas include only masa harina and water, but I’ve found a bit of fat helps the flavor and pliability of the tortillas and a little salt makes them extra savory, but if you are avoiding either you can omit them. Enjoy! -Jacqphoto-4

Ingredients:                      Yield 12 to 16 tortillas

2 cups masa harina
1/2 teaspoon salt
2 tablespoons vegetable oil
Approx. 1.5 cups warm water

1. Add masa and salt to a bowl. Pour the oil in and mix with your hand. Slowly pour the warm water in and continue mixing until the dough comes together into a ball. It should come away from the sides of the bowl. If it is sticky add a bit more masa, if it is dry and crumbly add a bit more water.

2. Knead about 1-2 minutes until the dough is smooth and soft. Wrap in plastic wrap and let it rest at room temperature for at least 30 minutes- 1hour.

3. Break off golf-ball sized pieces of the dough. Put them between 2 sheets of plastic wrap or wax paper and press them in a tortilla press or roll them out with a rolling-pin. You can also press them with your hands, but they come out a little thicker . Begin to cook the tortillas as you finish pressing the dough.

4. Put a large skillet ( preferably cast iron) over medium-high heat.  Once hot, cook the tortillas until brown spots appear on the bottom, about a minute. Flip, and do the same on the other side. Wrap the cooked tortillas in a towel to keep them warm and serve immediately. To store, tightly wrap and keep in the fridge for up to a few days or store between layers of wax paper and freeze.

Sweet & Savory Sun-Dried Tomatoes

photo-33We’ve had a warm fall so far so the tomatoes just keep coming. This is an easy and delicious way to preserve fresh tomatoes. Sun-dried tomatoes make a great addition to salads, pastas and wraps but these are so good you’ll want to eat them like raisins as a snack. I like using cherry tomatoes because they dry relatively quickly and since you can dry them skin side down, they don’t get sticky. You can  use Roma tomatoes cut in half, they will just take much longer. If you dry slices of larger tomatoes, you will want to lay them on foil so they don’t stick to your baking sheet.

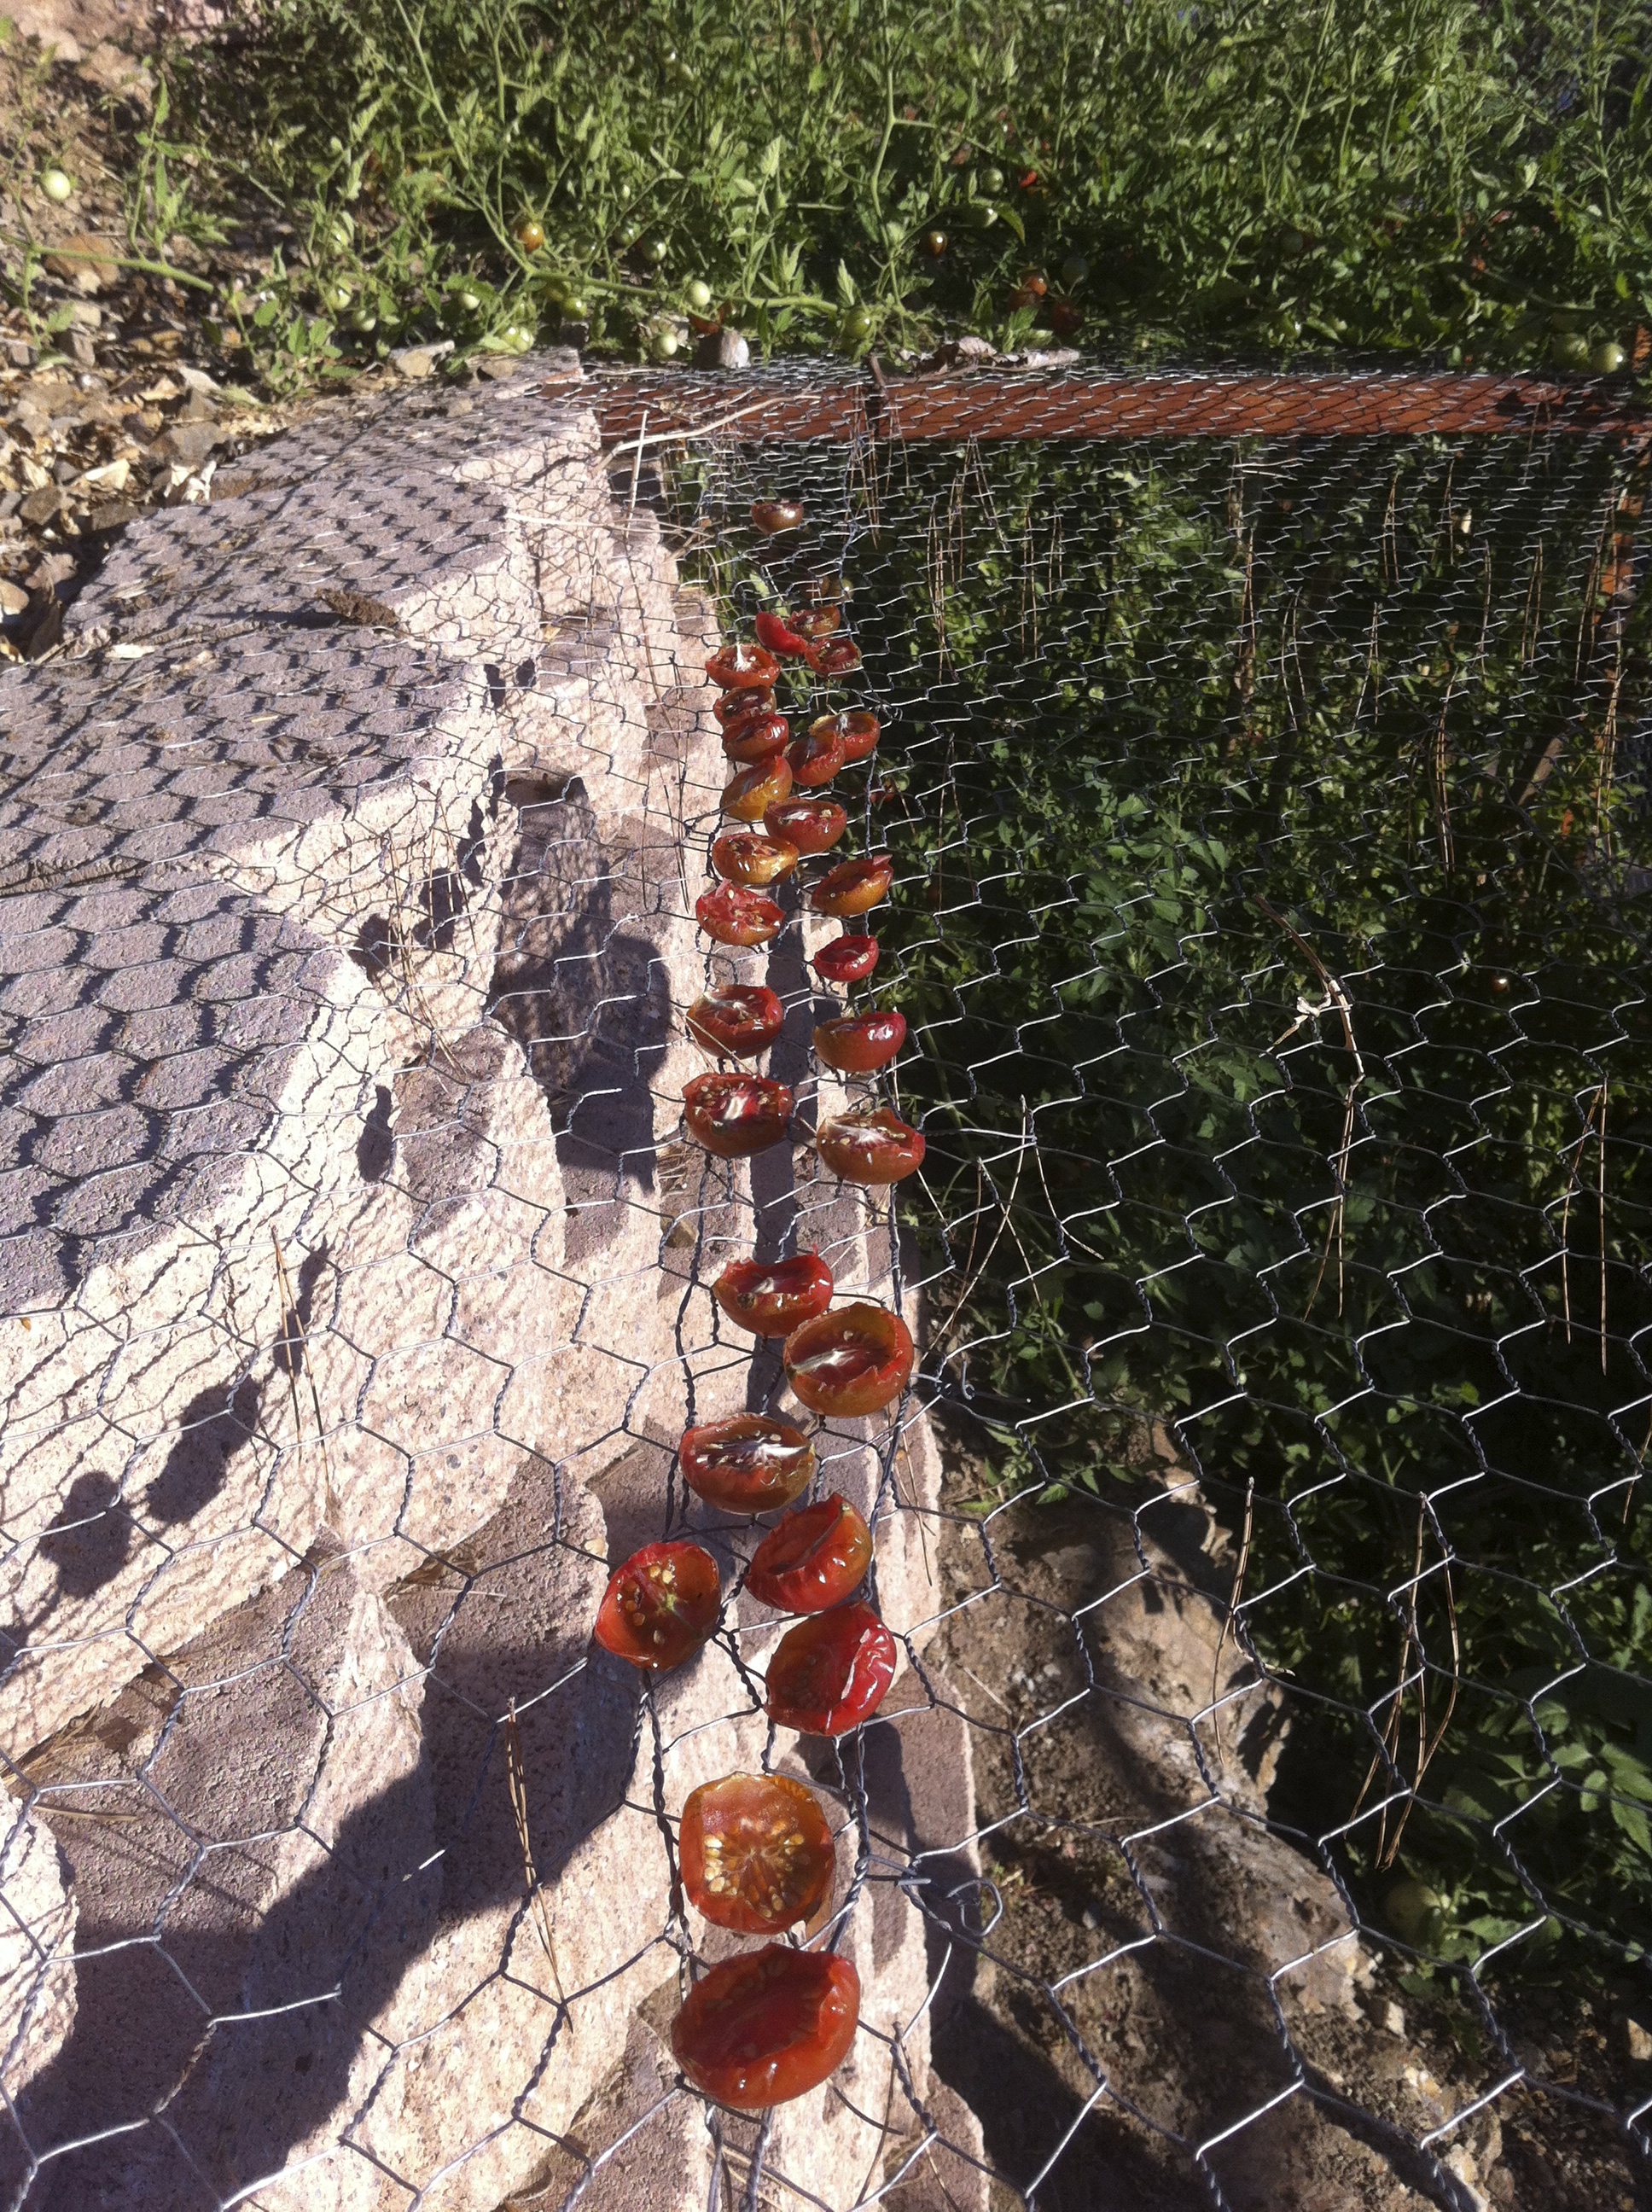
When temperatures are hot enough you can dry them outside in the sunIMG_9585 on a wire rack. Use cheese cloth raised on bricks so it doesn’t stick to the tomatoes to keep the bugs and birds off and bring them in at night. I did this when temperatures were hovering around 100*F and it took 2 days for my cherry tomatoes to dry. Larger tomatoes can take between 4 days and 2 weeks depending on conditions. But the fastest and easiest way to make sun-dried tomatoes (if you don’t own a dehydrator) is in the oven.

photo

Oven Sun-Dried Tomatoes

Ingredients: 

IMG_1490Cherry Tomatoes

Sea Salt

Coconut or Date Sugar

Fresh Thyme Leaves

Olive Oil (optional)

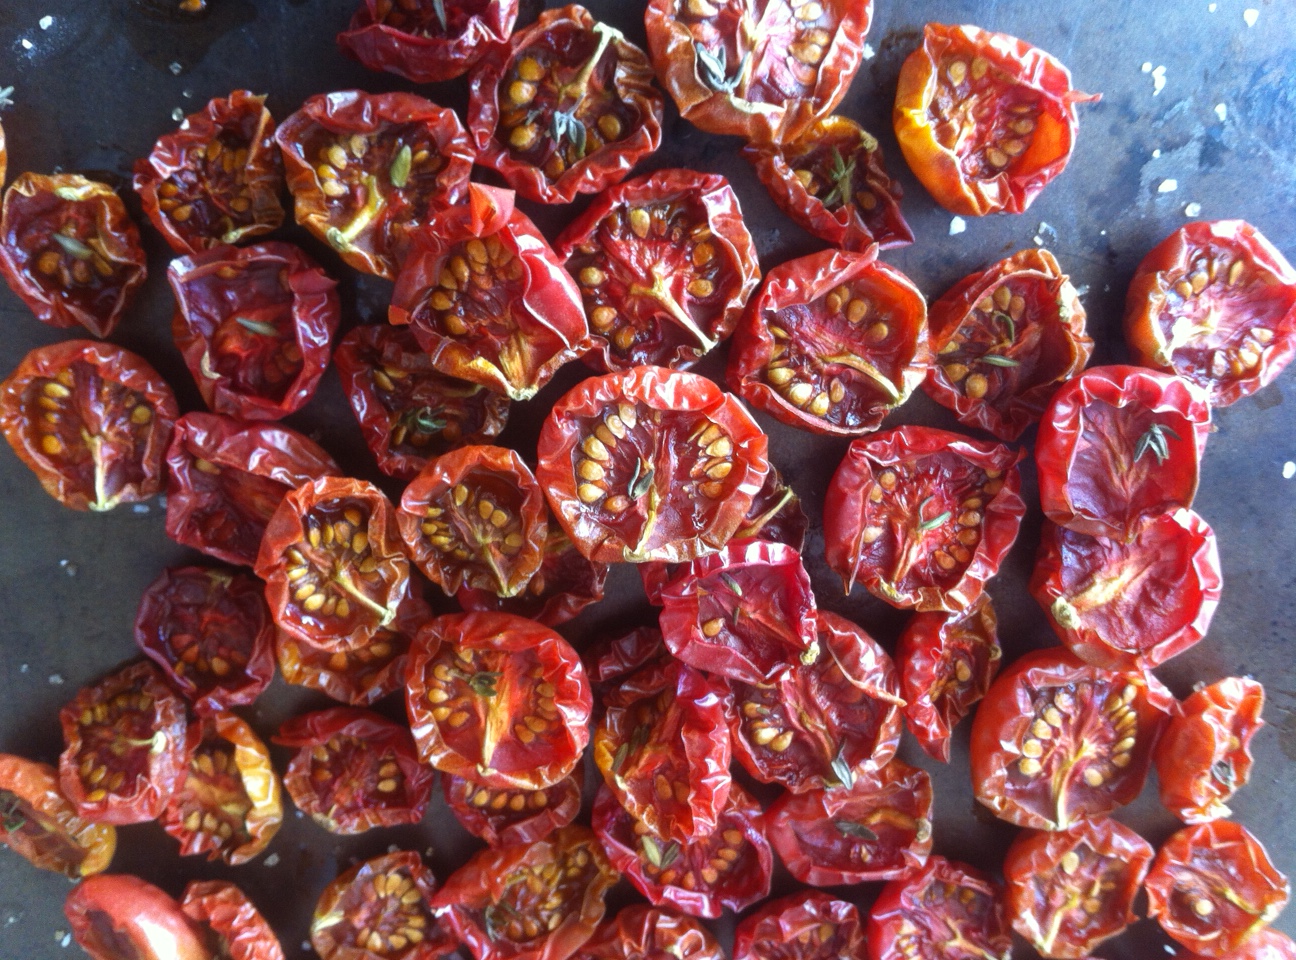
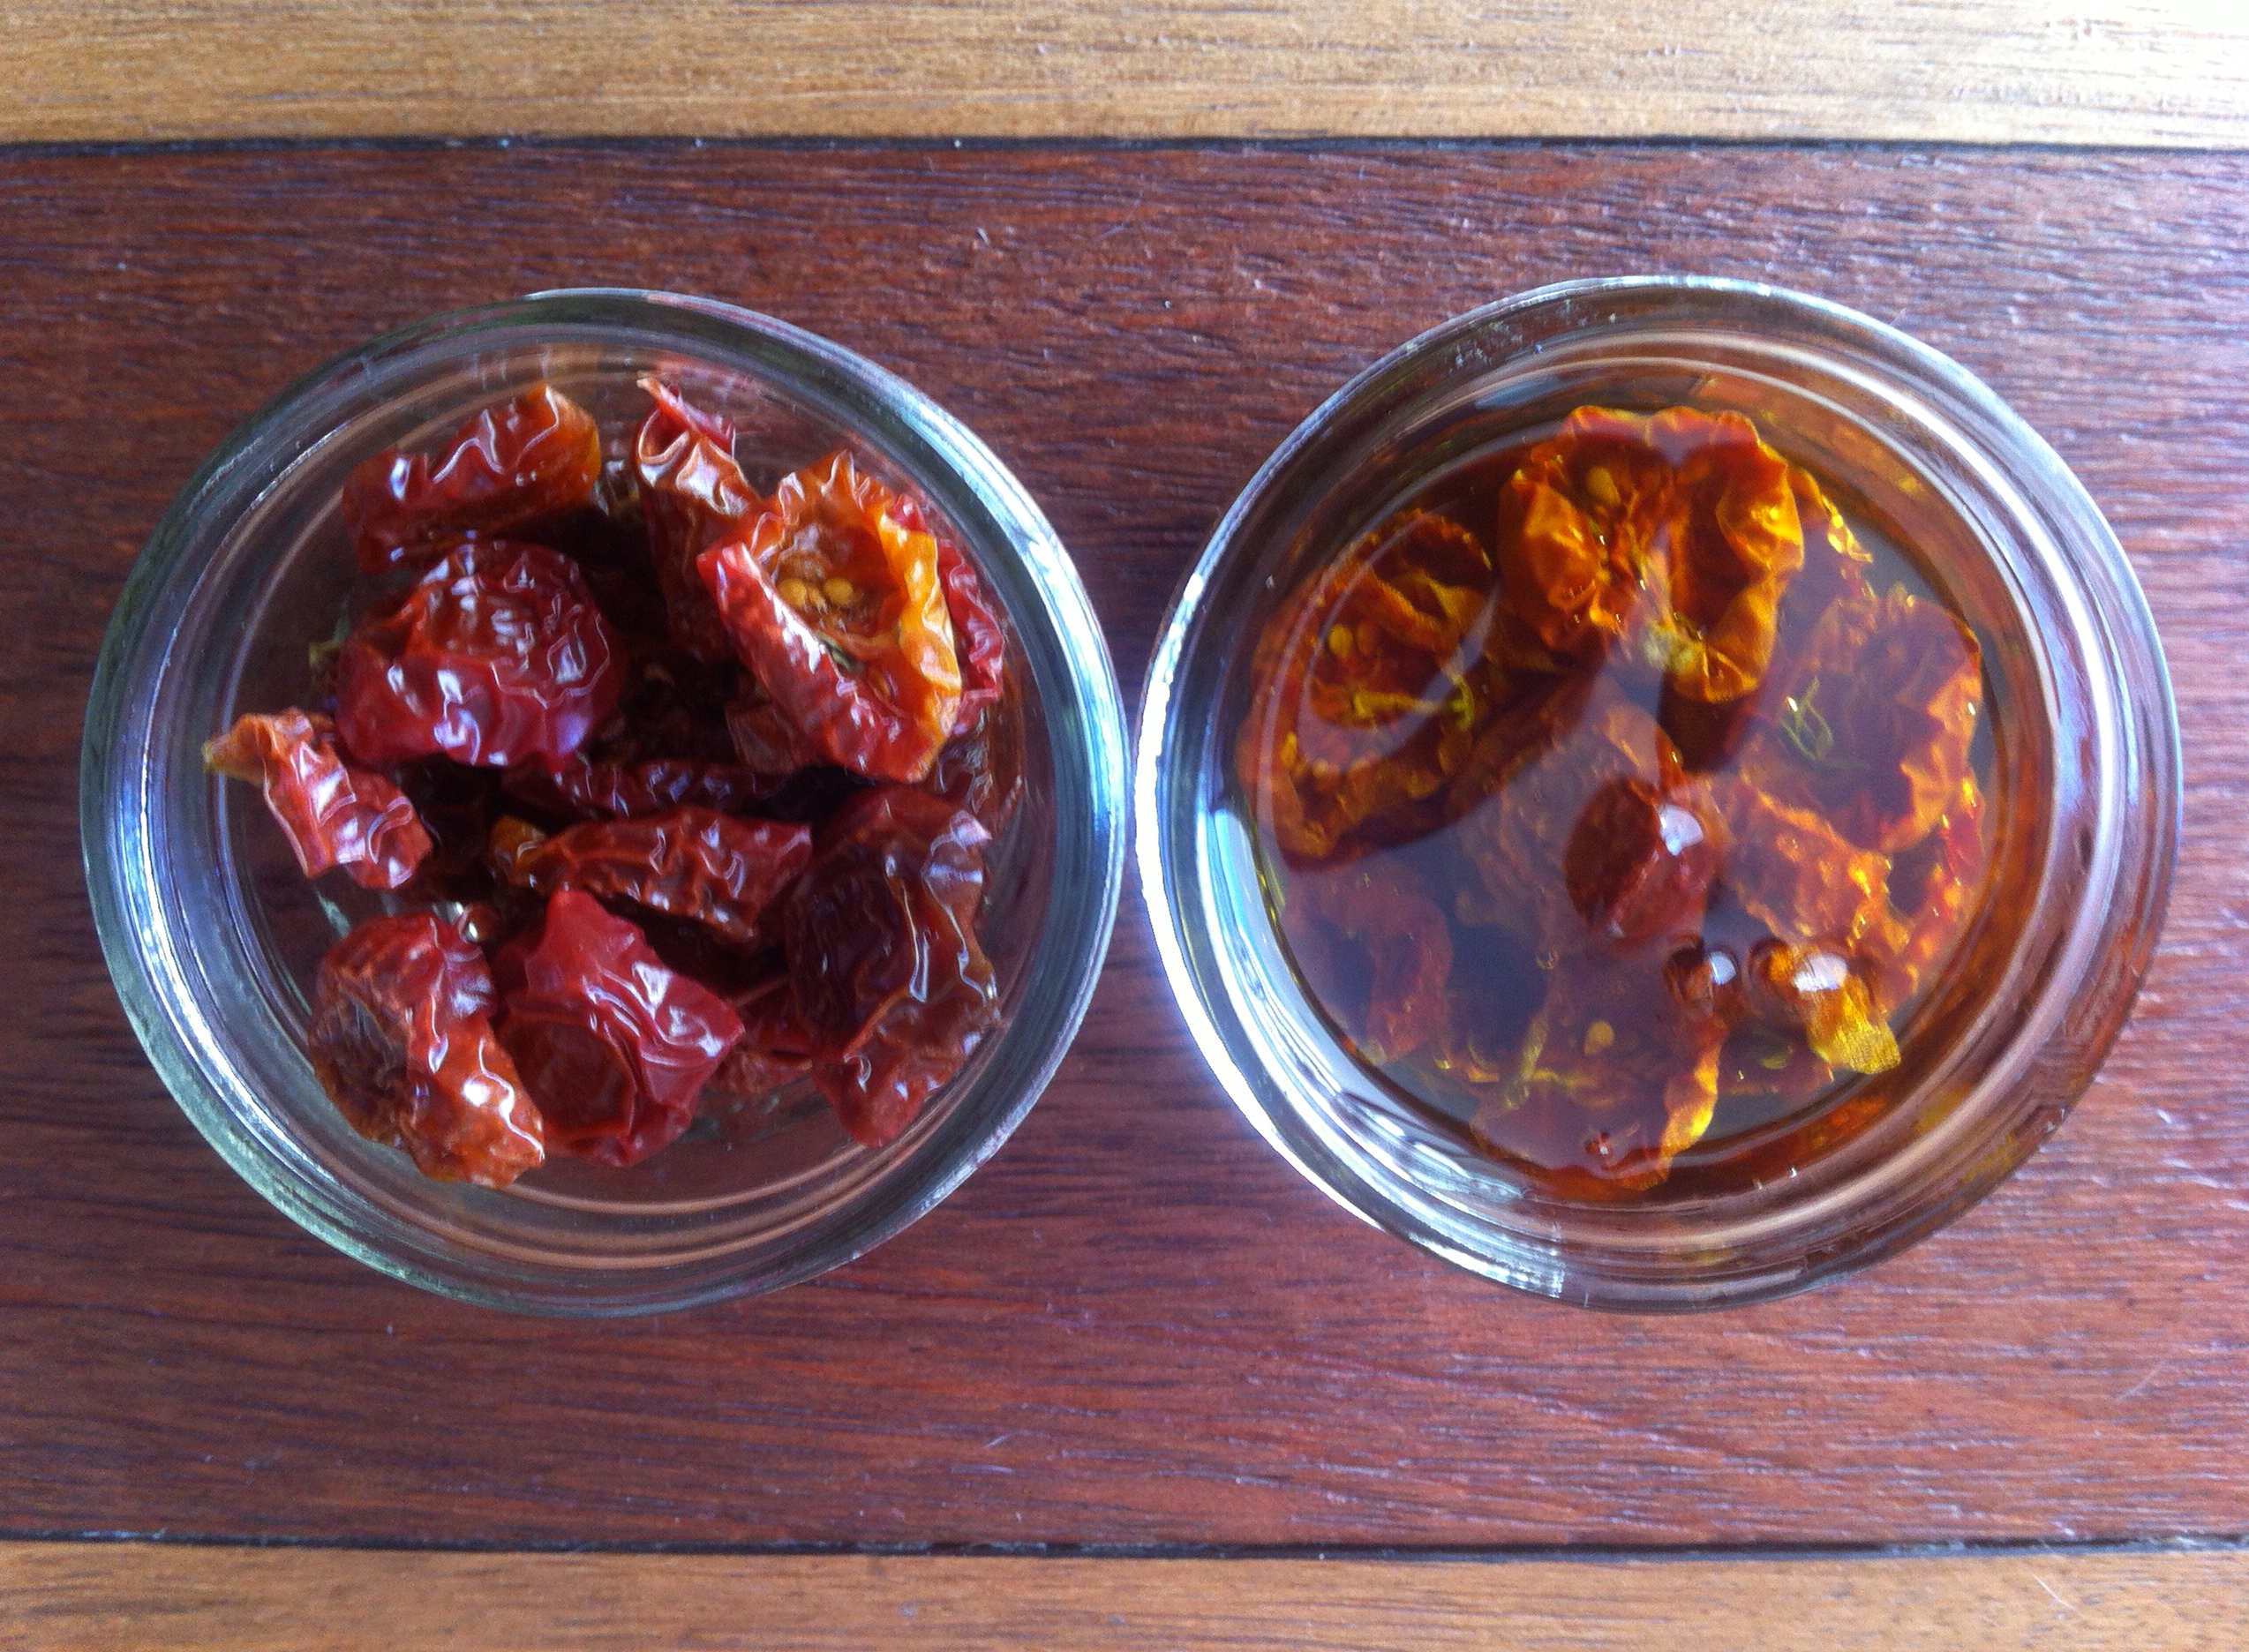
Turn oven to 150*. Cut tomatoes in half and place skin side down onto a baking sheet so they are close but not touching. Lightly sprinkle with salt, sugar and thyme leaves and place them in the oven for approximately 2 hours until dry and chewy. Once cooled, transfer them to a Jar and cover with oil if desired. Refrigerate and use within 8 months for optimal taste. Enjoy!

The Supermarket Where You Pick Your Own Produce – Modern Farmer

How cool is this?!-Jacq

By Jordan Kushins @modernfarmer.com

At the Farmery, shipping, packing, and handling are eliminated in favor of right here, right now, cultivation. In a series of stacked shipping containers, vertical growing panels and hydroponic tech and come together to form a fully immersive shopping experience. The various climate-controlled areas are equipped to support baby greens — a “high value crop,” Greene says — as well as lettuces, strawberries, dwarf chili peppers, and herbs, which customers can select themselves, along with custom shiitake, oyster, and seasonal mushroom containers. Fostering this intimate relationship with edibles will only serve to enhance the experience, while increasing understanding of how things grow. He anticipates half of the sales will come from this “u-pick” set-up, with the rest from local, artisanal goods stocked on-site — a nice way to craft a sense of community in the middle of a bustling metropolis.

read more @The Supermarket Where You Pick Your Own Produce – Modern Farmer.