Latest Posts

Abbie Cornish and Jacqueline King Schiller

The Story Behind Pescan: A Feel Good Cookbook (Available Now!)

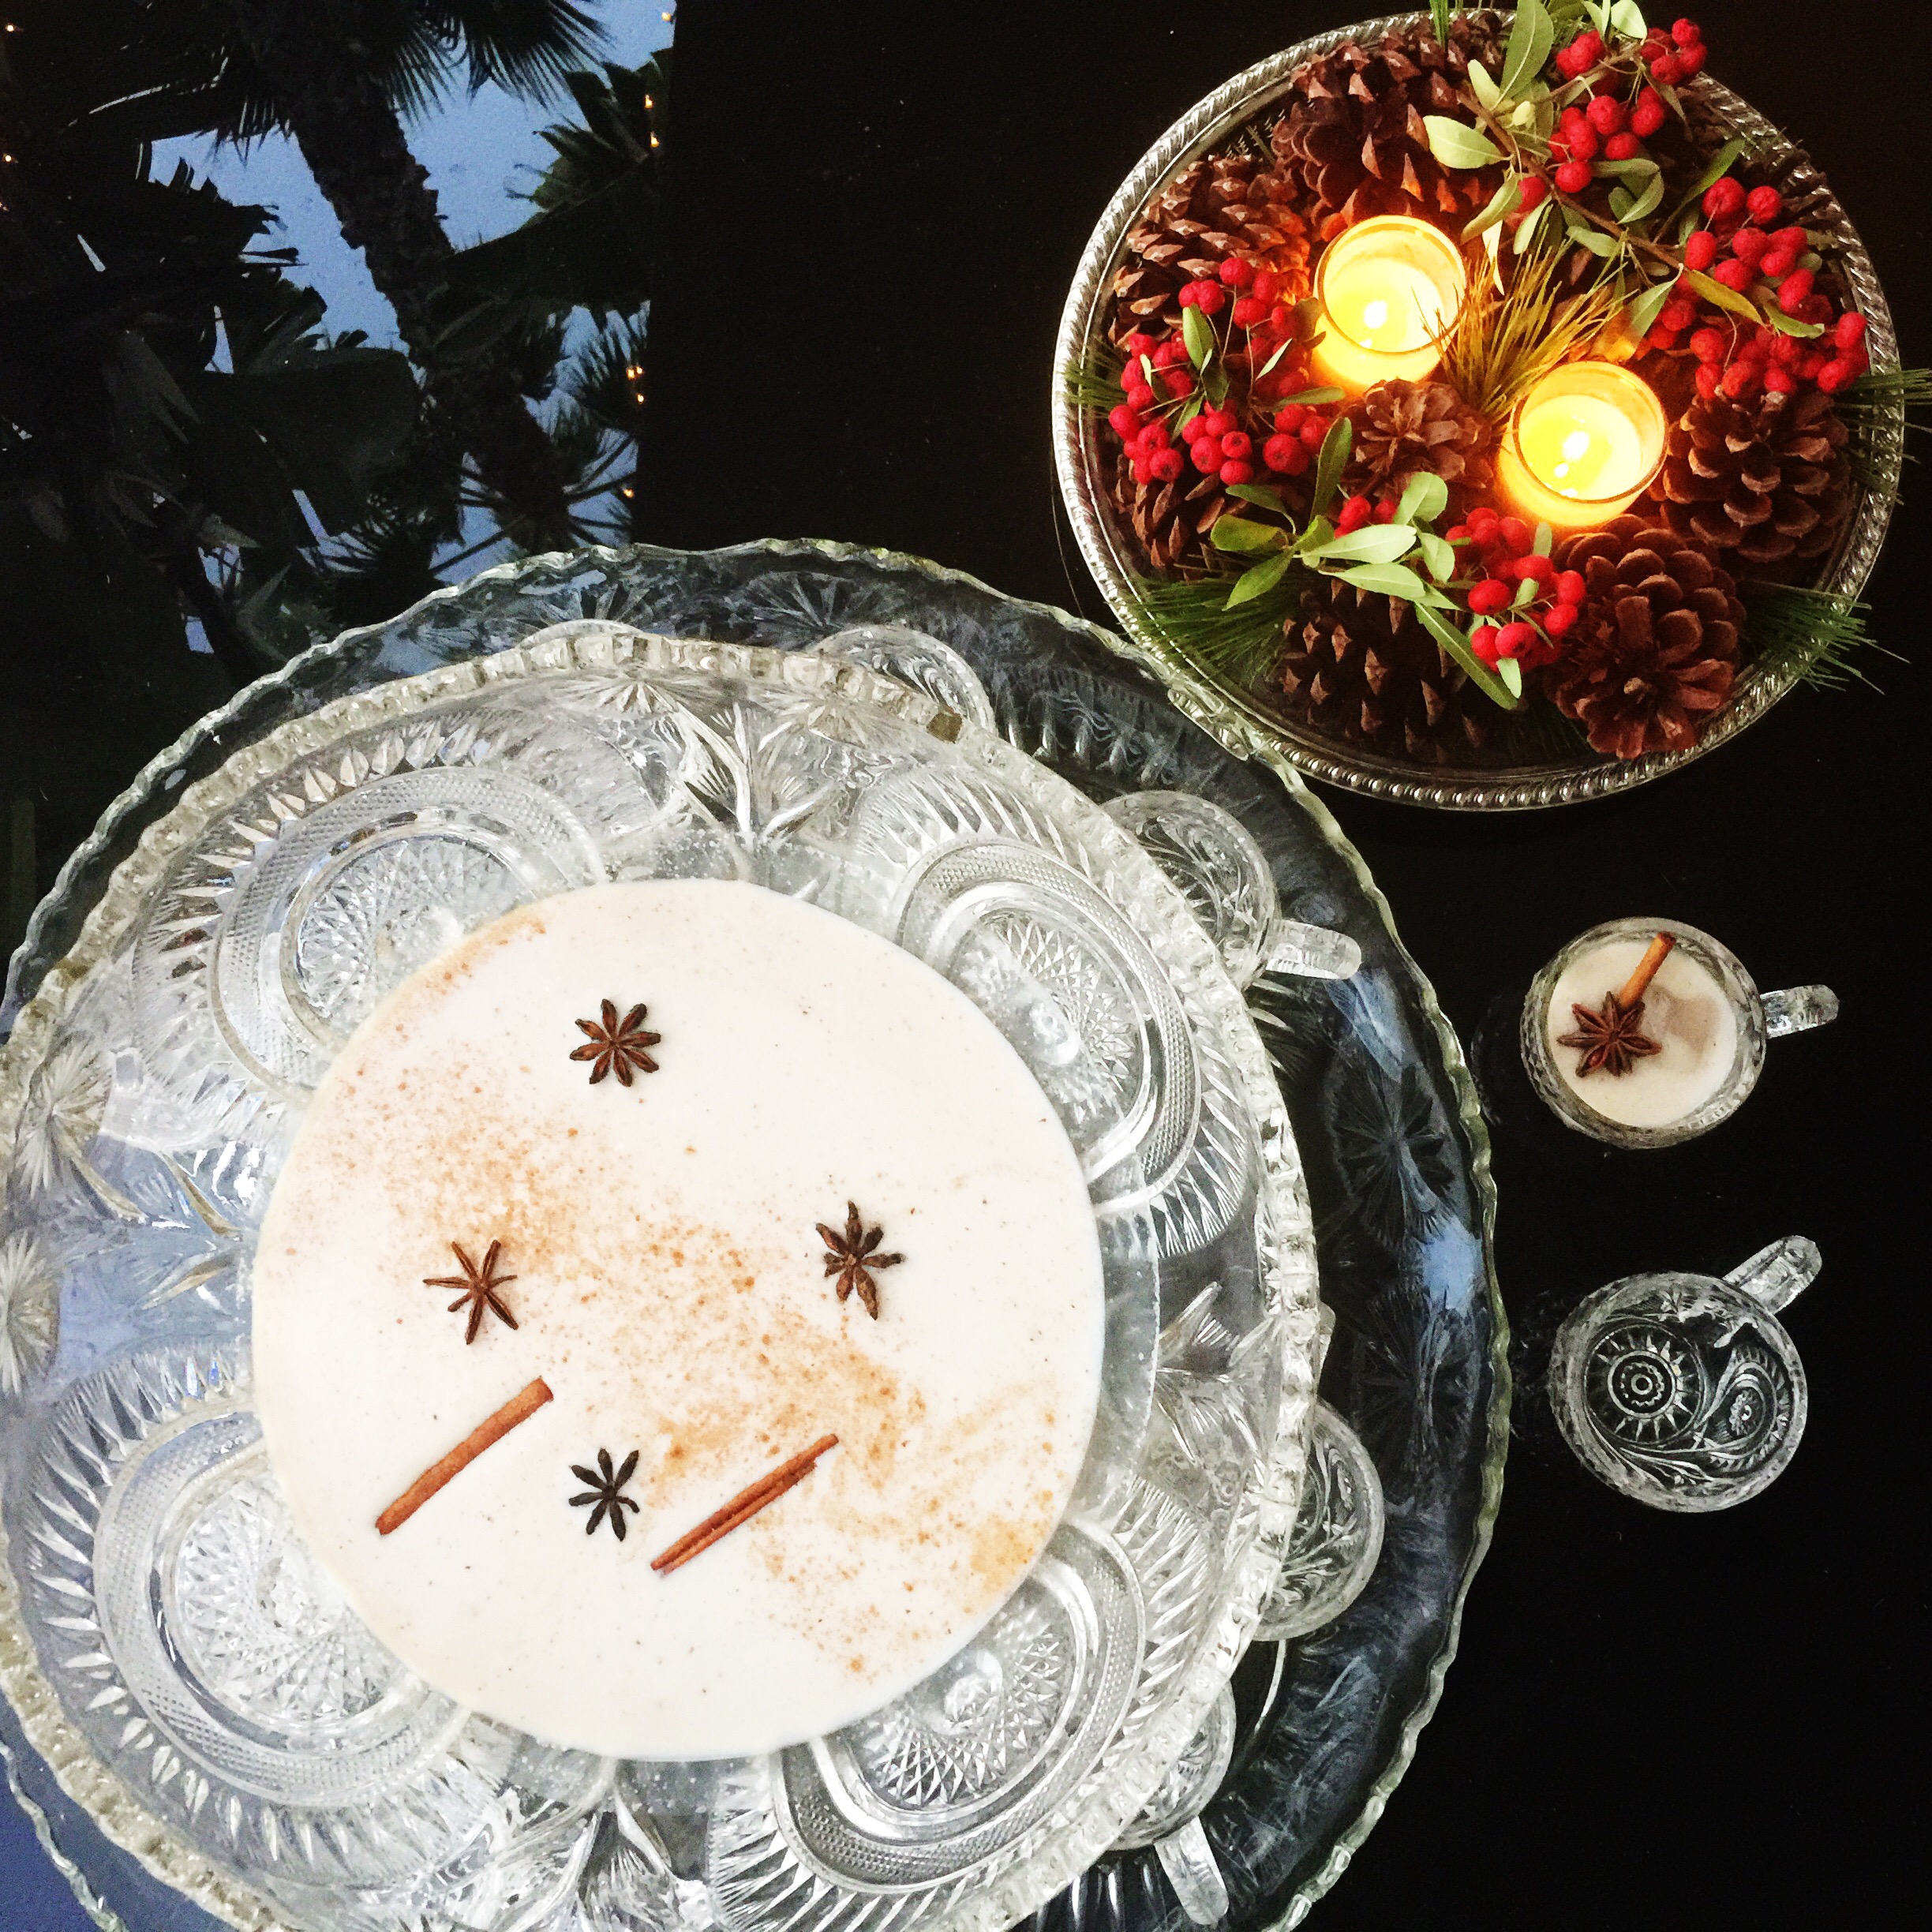
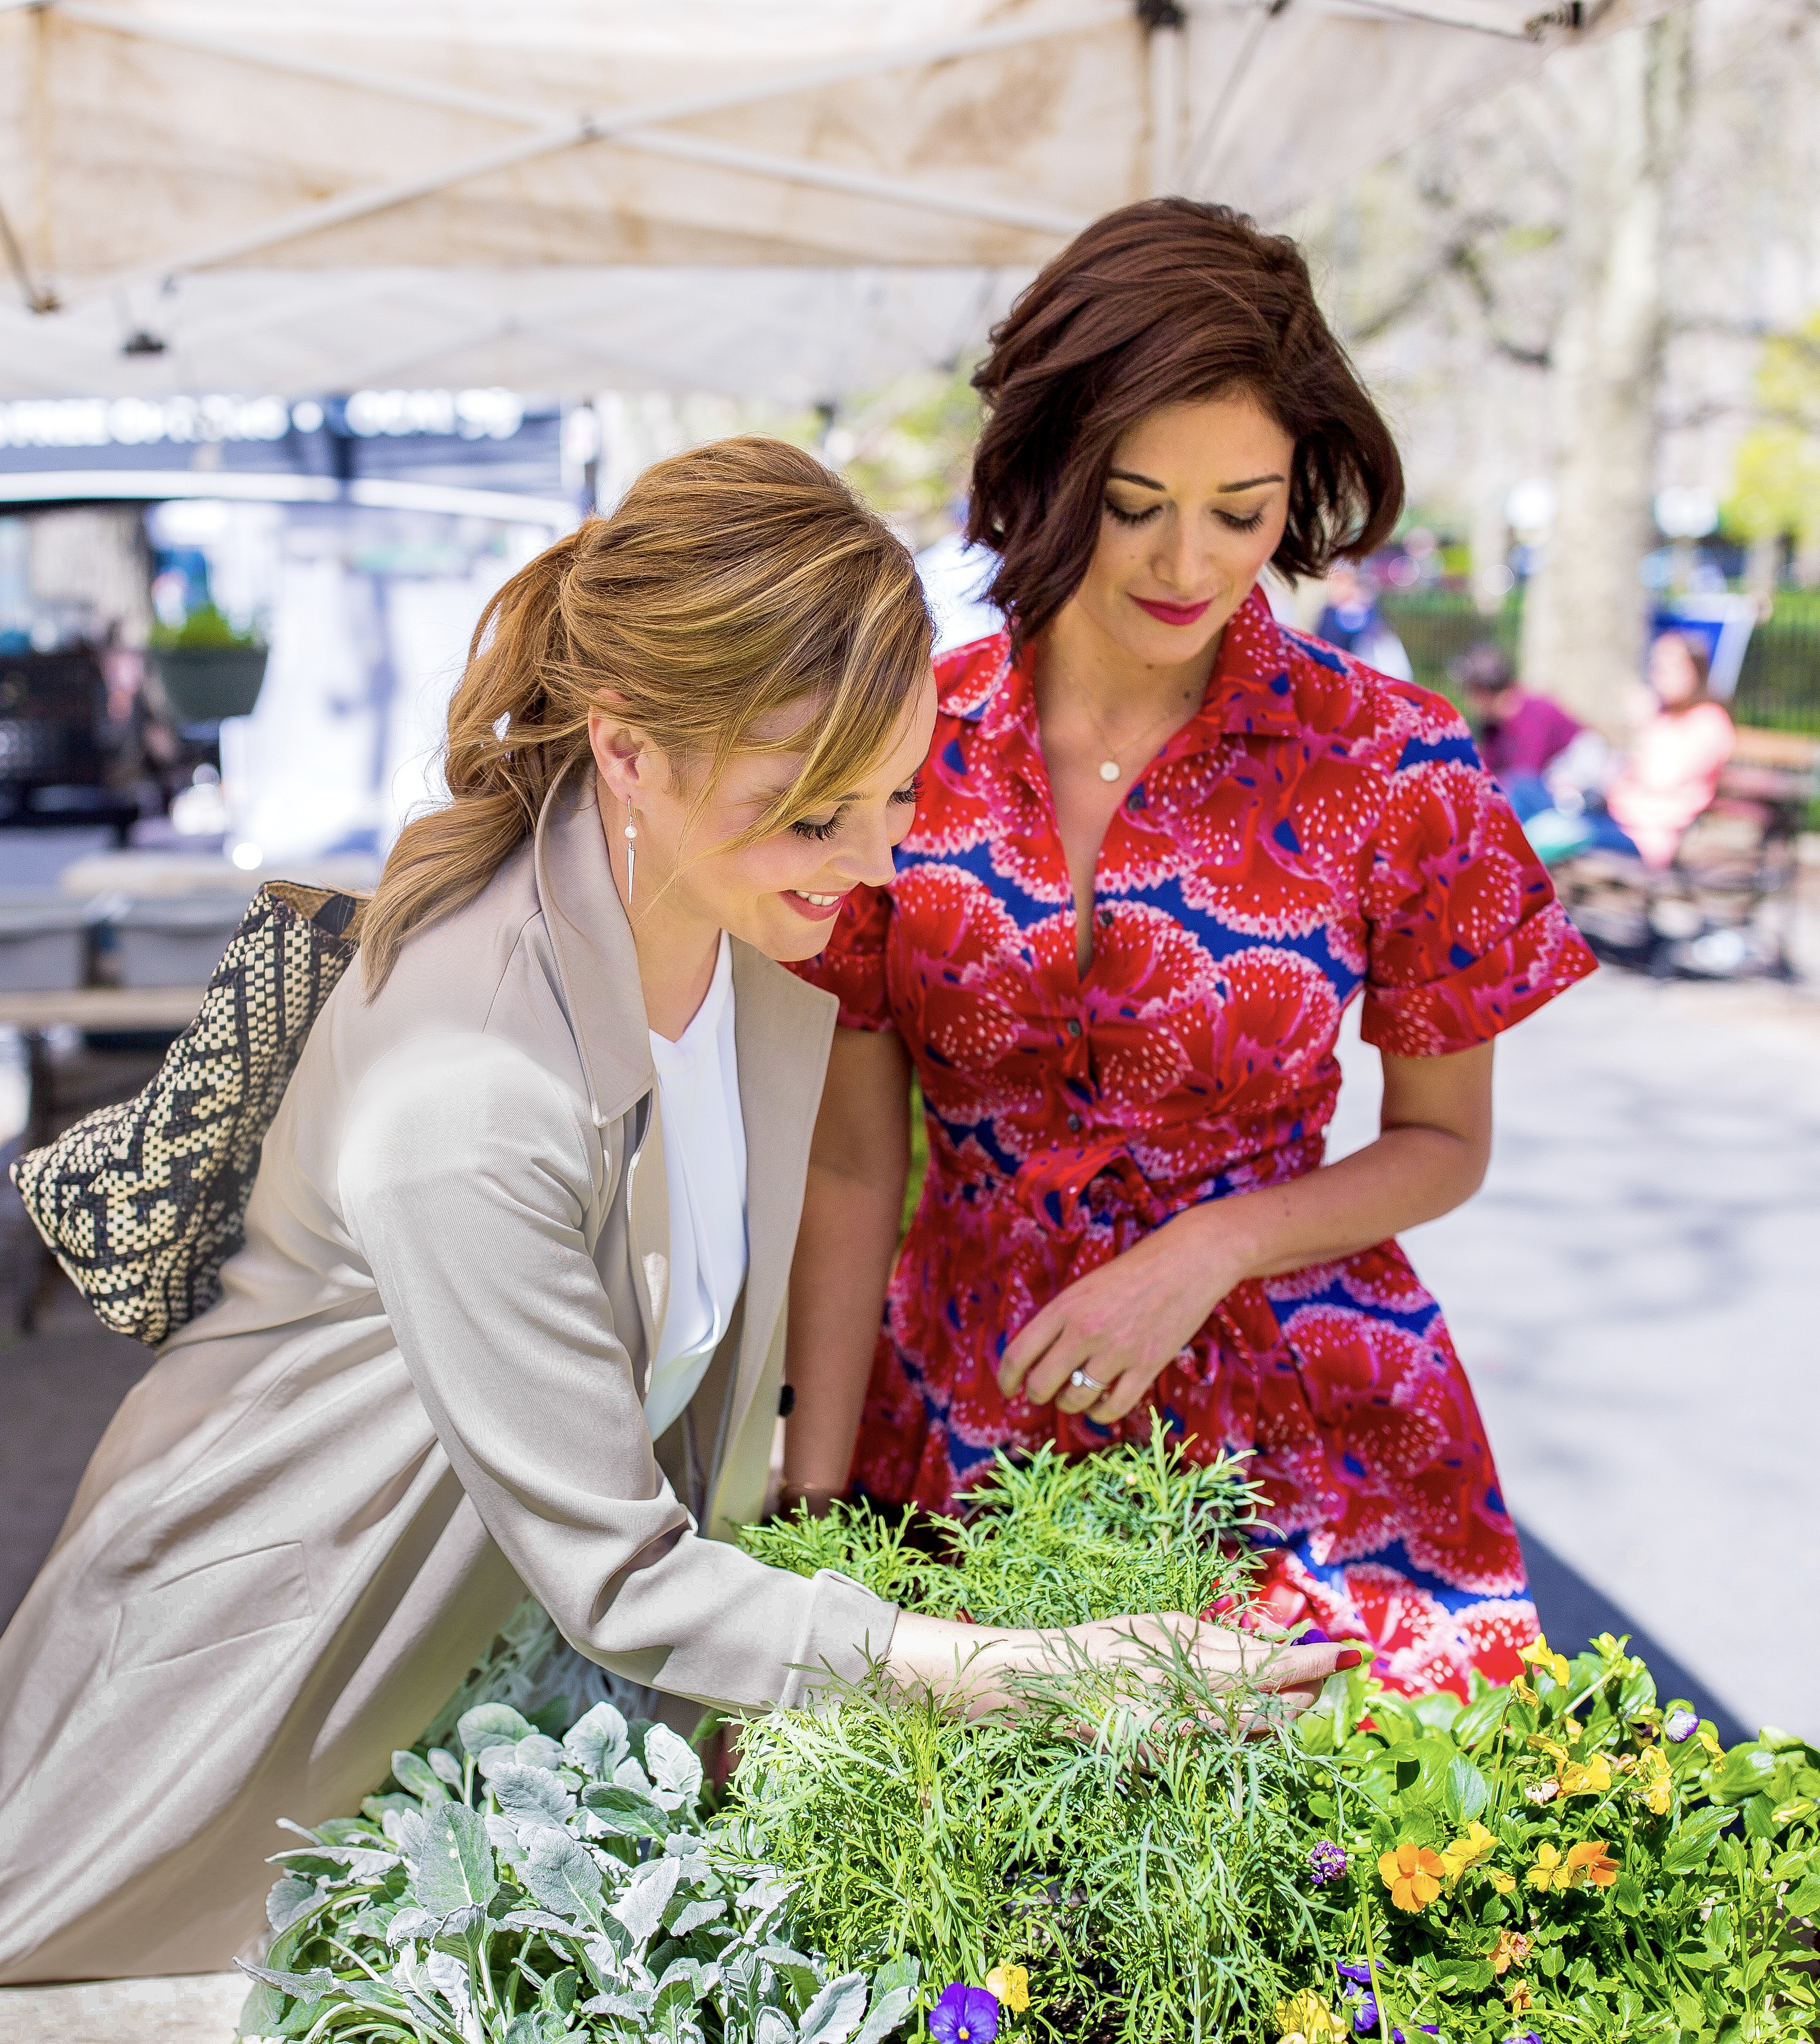
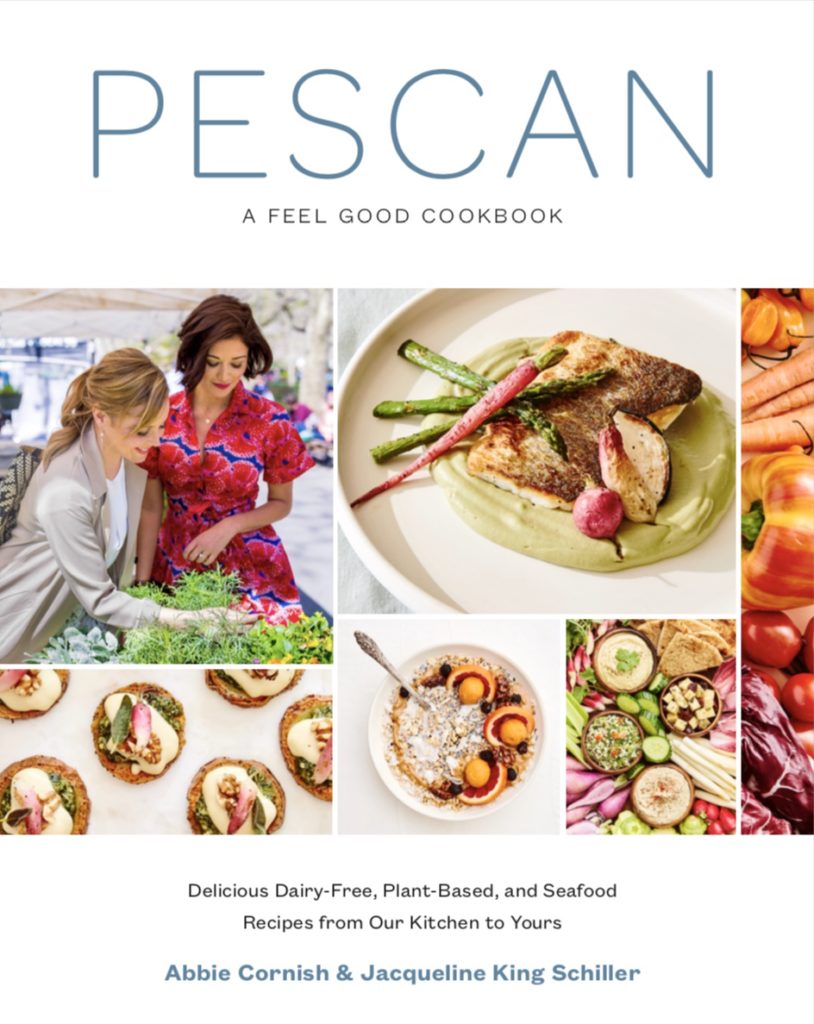
It was nearly 3 years ago that my best friend Abbie Cornish and I started working on the proposal for what would become Pescan: A Feel Good Cookbook. In fact, in the photo below, which we shot for the proposal, I was 3 months pregnant and now my baby is 2 years old! In the proposal we shared a bit of backstory and outlined our vision for the stories and recipes in the book. Now that the book has been written and is available now, I thought it would be nice to share that overview here to give you an idea of how we came to this project and what the book is all about.

Abbie Cornish and Jacqueline King Schiller

From Abbie:

A few years ago I was standing in the family kitchen of a lakeside cottage in the wilds of Canada. It was one of those beautiful end of summer days. Dappled sunshine filtered through the pine trees and reflected off the well-worn pots and pans simmering on the stove, giving the room an ethereal glow. In one hand I was reading “Bring me the Rhinoceros”, a collection of Zen koans by John Karrant, and with the other I was helping to serve dishes made by my best friend Jacqueline King Schiller. I was in the midst of a chapter in my book about a women who had found enlightenment in the kitchen. As a novice cook who could barely cobble together a good breakfast, I wondered…was this really possible? So I asked, “Jacq, is it possible to find enlightenment here in the kitchen”… to which she replied with merely a knowing smile. It was in this moment that I knew there was something great and beautiful to learn here in the kitchen through cooking.

At my request, Jacqueline began to teach me. I had watched her lovingly prepare food for our family and friends for years. I had witnessed them delight and indulge in her natural culinary creativity and hospitality; now I wanted to delve into that world with her.

From Jacqueline:

I came to cooking from the unlikely background of working in the fashion world. I began modeling at the age of 15 and, like many young women, quickly came to see food as an enemy. Skinny was the ultimate goal, without a thought about being healthy. By the time I was in my early 20s I felt tired all the time and started to feel moody and have anxiety attacks. Though I was living what seemed like a glamorous life on the outside, I couldn’t enjoy it fully because I didn’t know how to really take care of myself. After nearly fainting at work one day I knew something had to change. That’s when a friend introduced me to yoga. I began a regular practice which led me to understand that in order to feel good mentally and emotionally, you have to take care of yourself physically. Seems obvious enough, but at the time it was a revelation!

Learning to cook was an extension of learning to take care of myself, to literally find the nourishment I needed. Over time, I came to realize that the food we prepare, whether cooking for ourselves or sharing with others, can be an expression of love. Heavy stuff, I know…but, think about it. What could be a greater sign of affection than putting together ingredients from nature that not only give us the pleasure of delicious flavor, but that also contribute to our well-being! Finding joy around food rather than the anxiety that used to surround it made me want to share what I had learned with the world. So of course I was thrilled when my best friend asked me to give her cooking lessons. From that day on I had my perfect partner in the kitchen.

Pescan cookbook

Our Book:

What came of this venture between us were weeks, months, and soon to be years of farmer’s markets, Sunday cooking lessons, brunches, parties, dinners, and special occasions that have evolved into this project. This book is an expression of the cooking that we have explored together. Food that tastes comforting and indulgent, but that is also incredibly health supportive and makes everyone feel good.

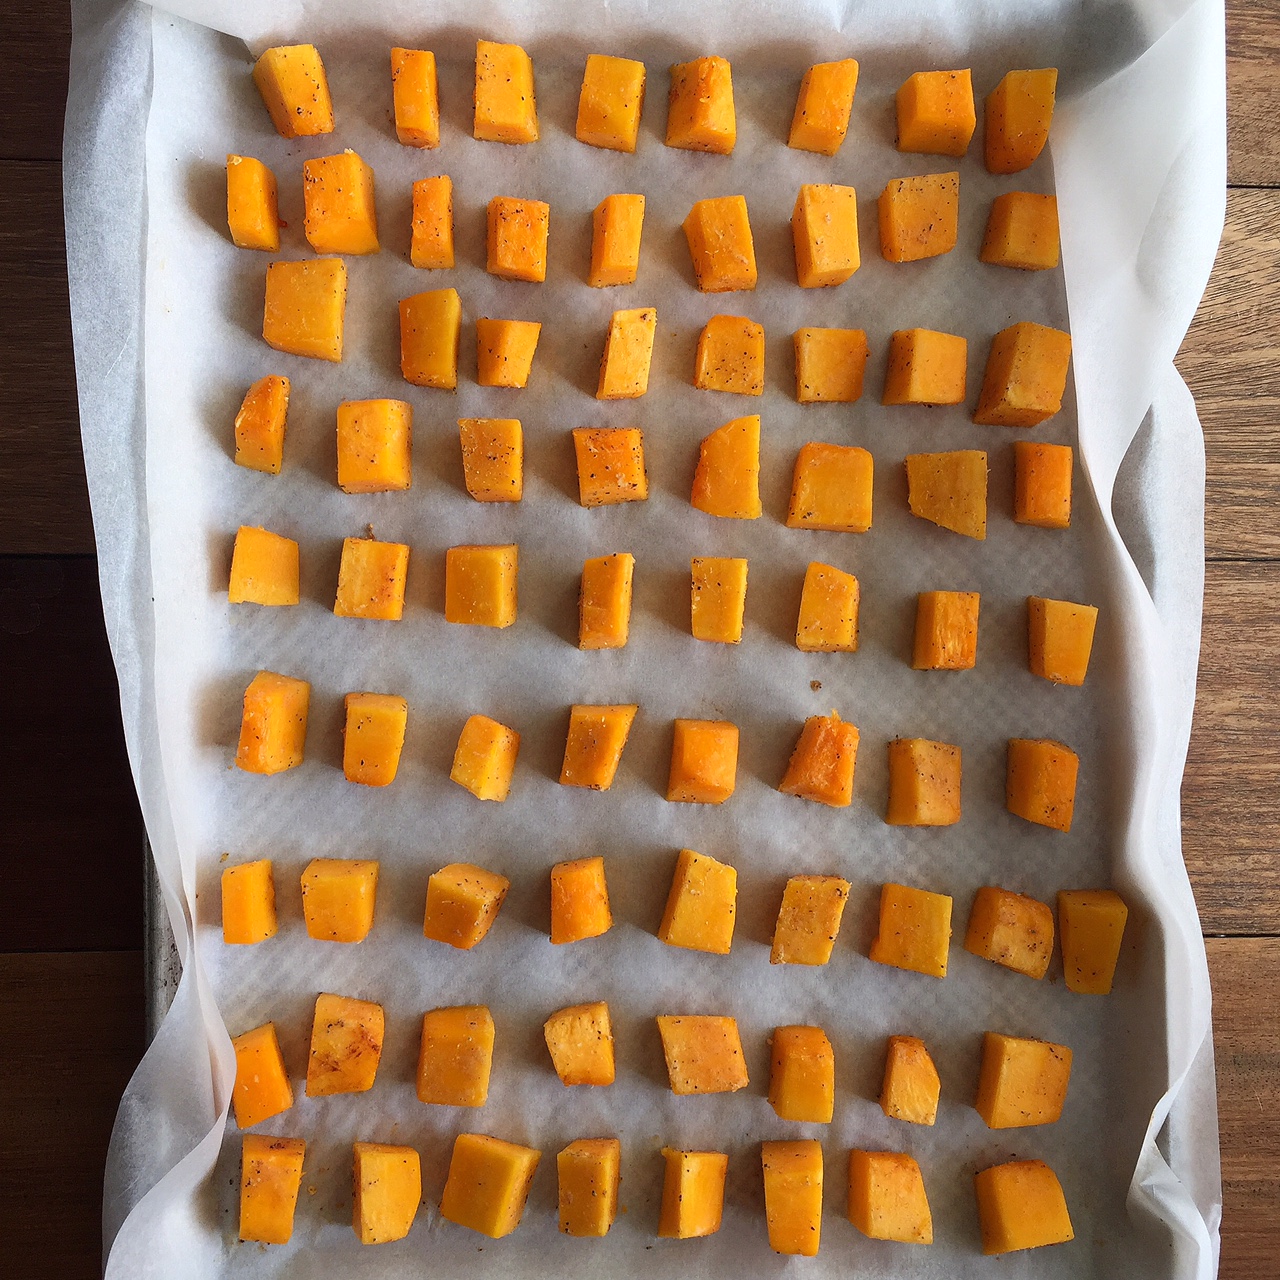
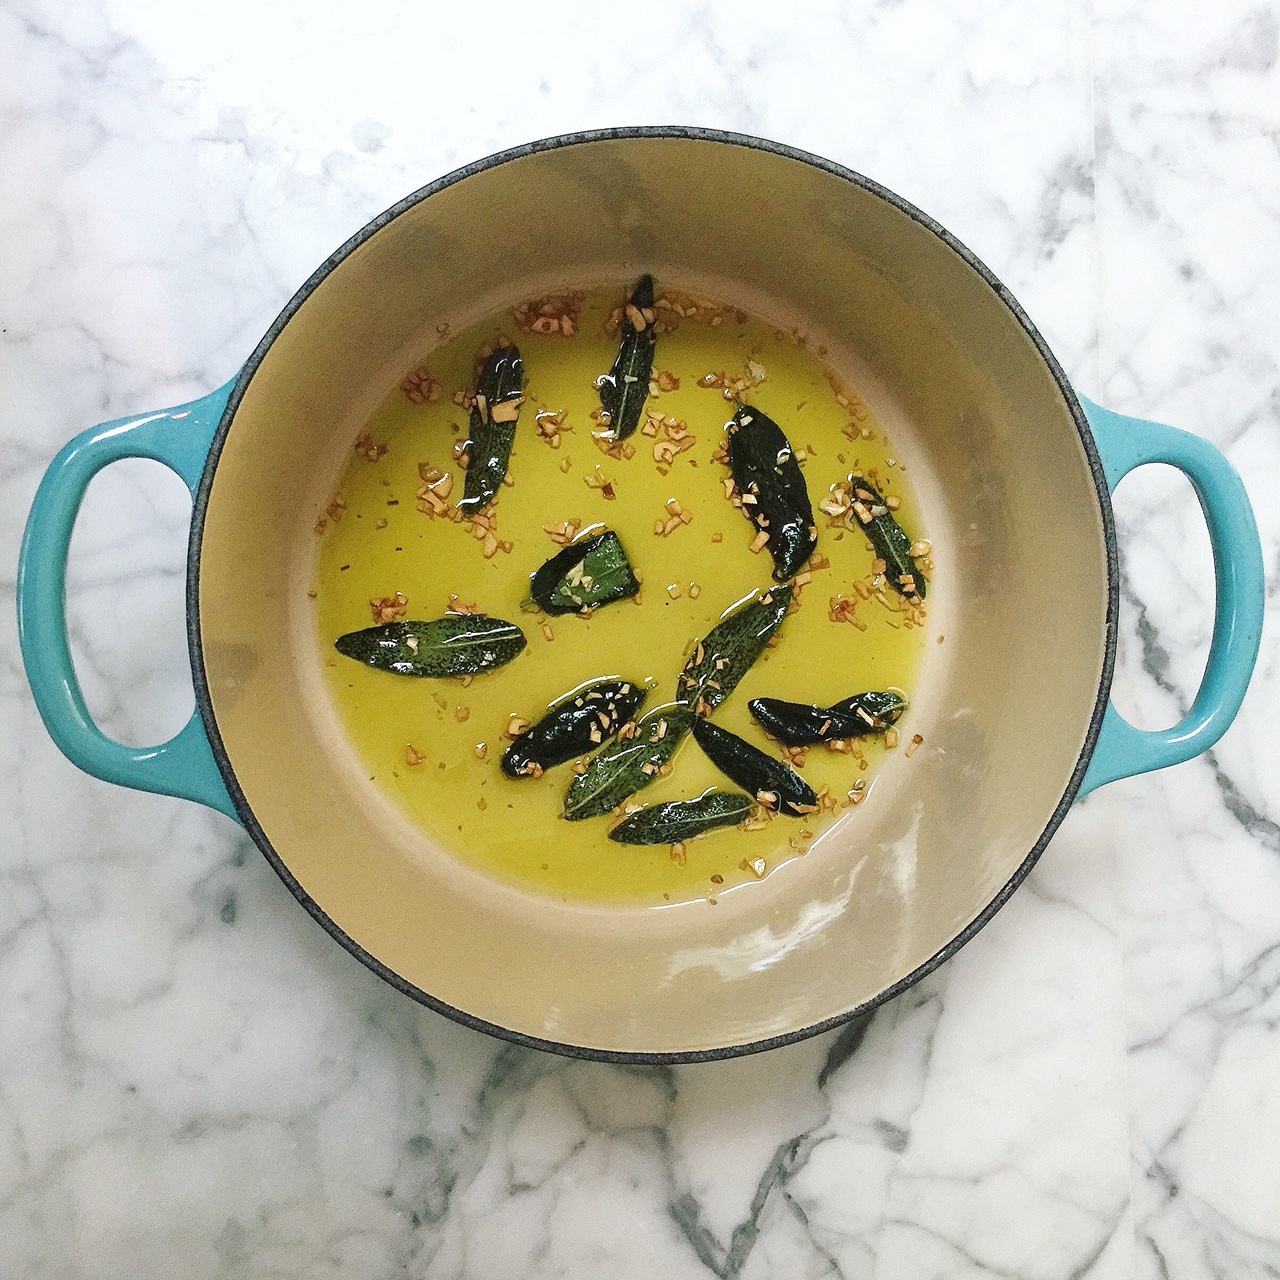
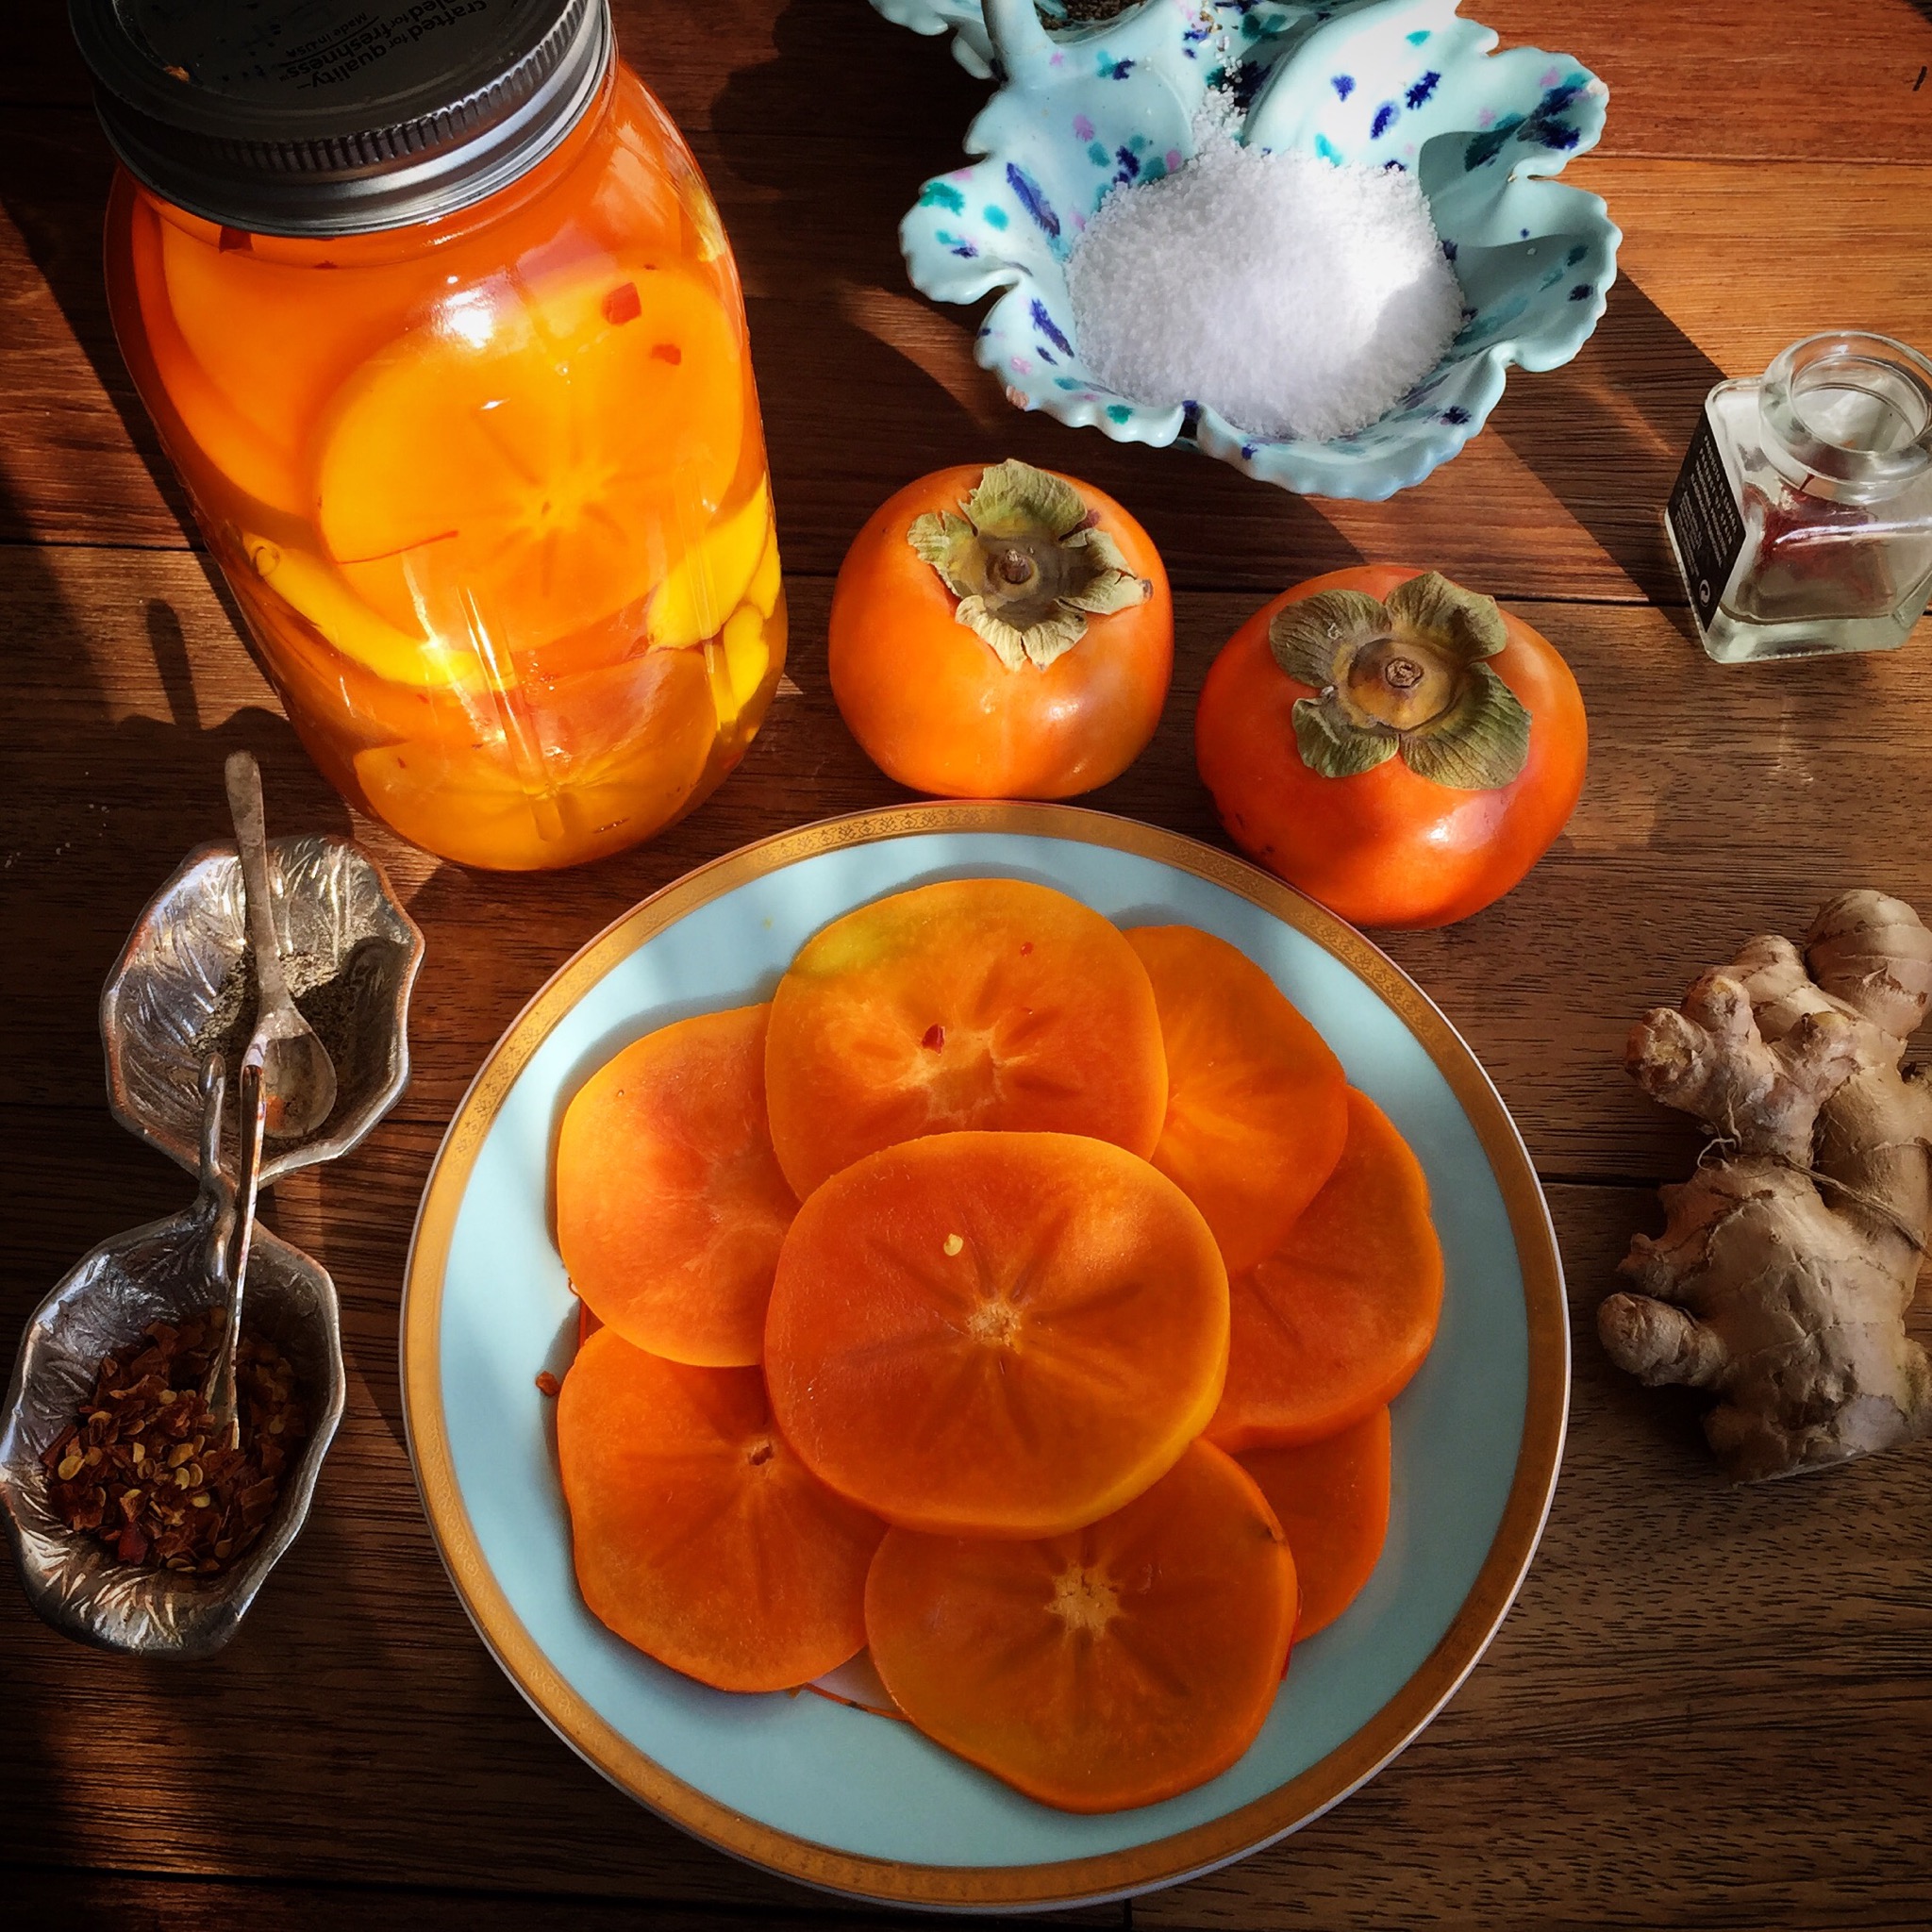
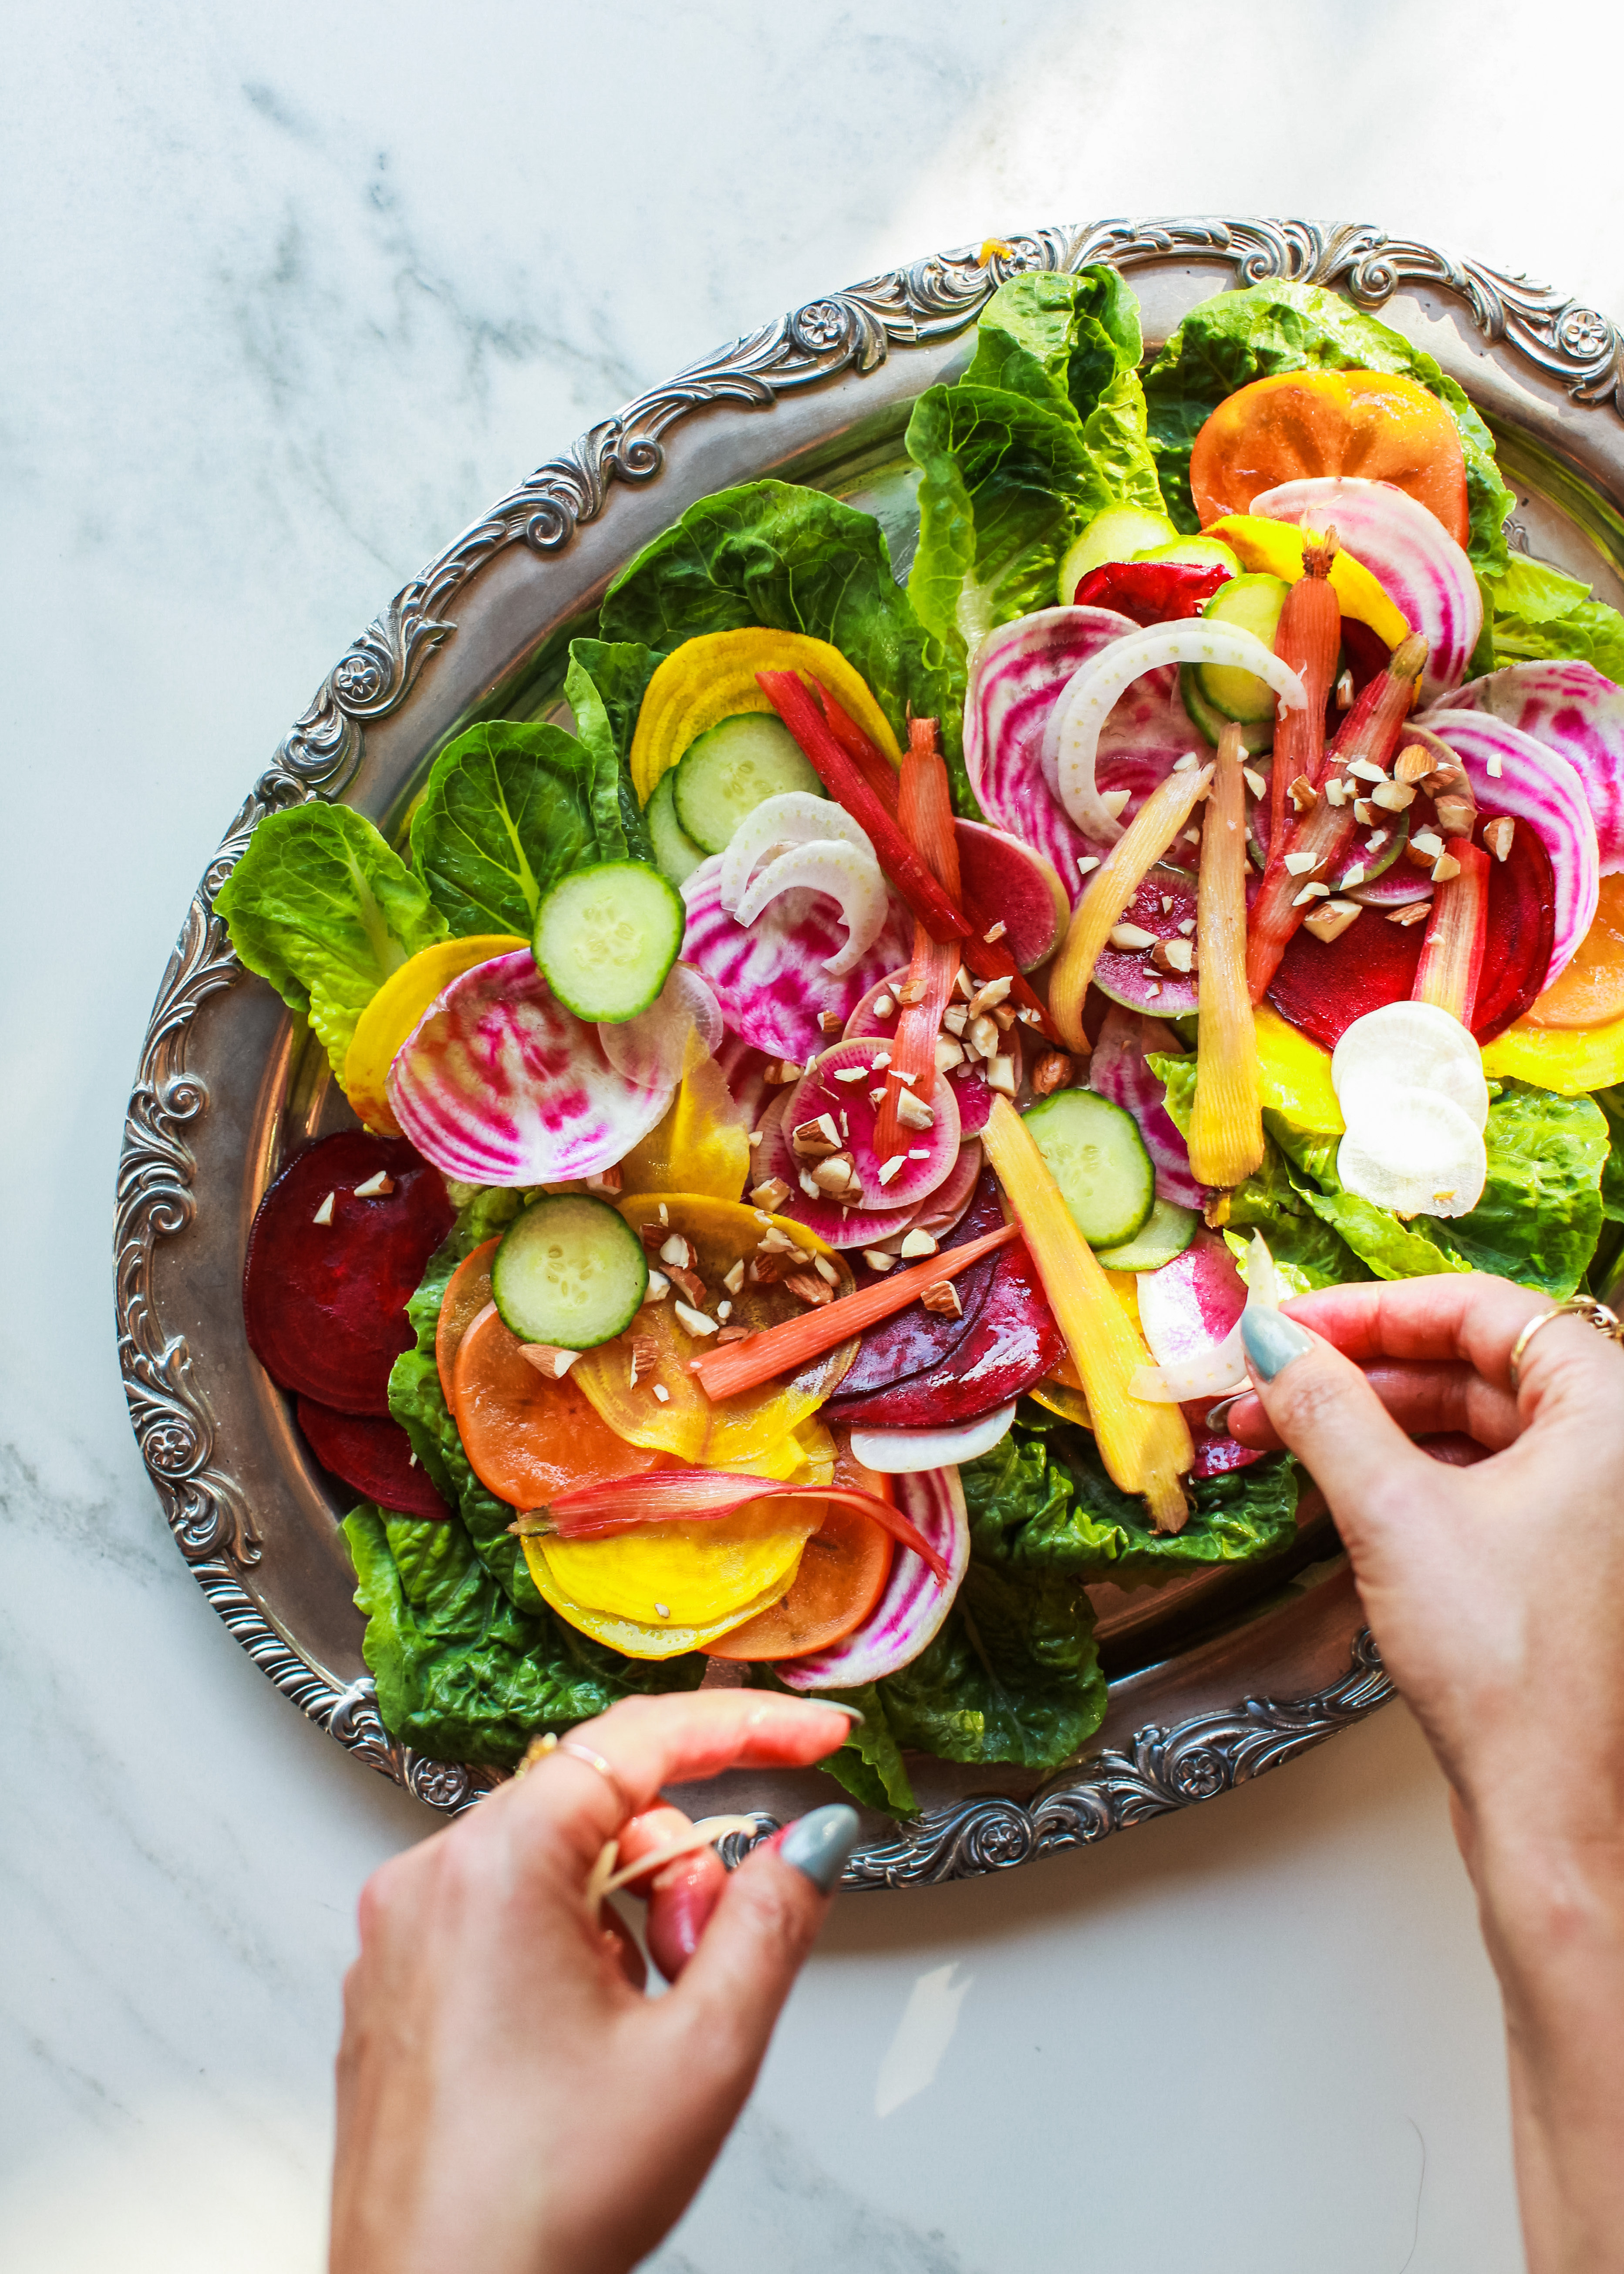
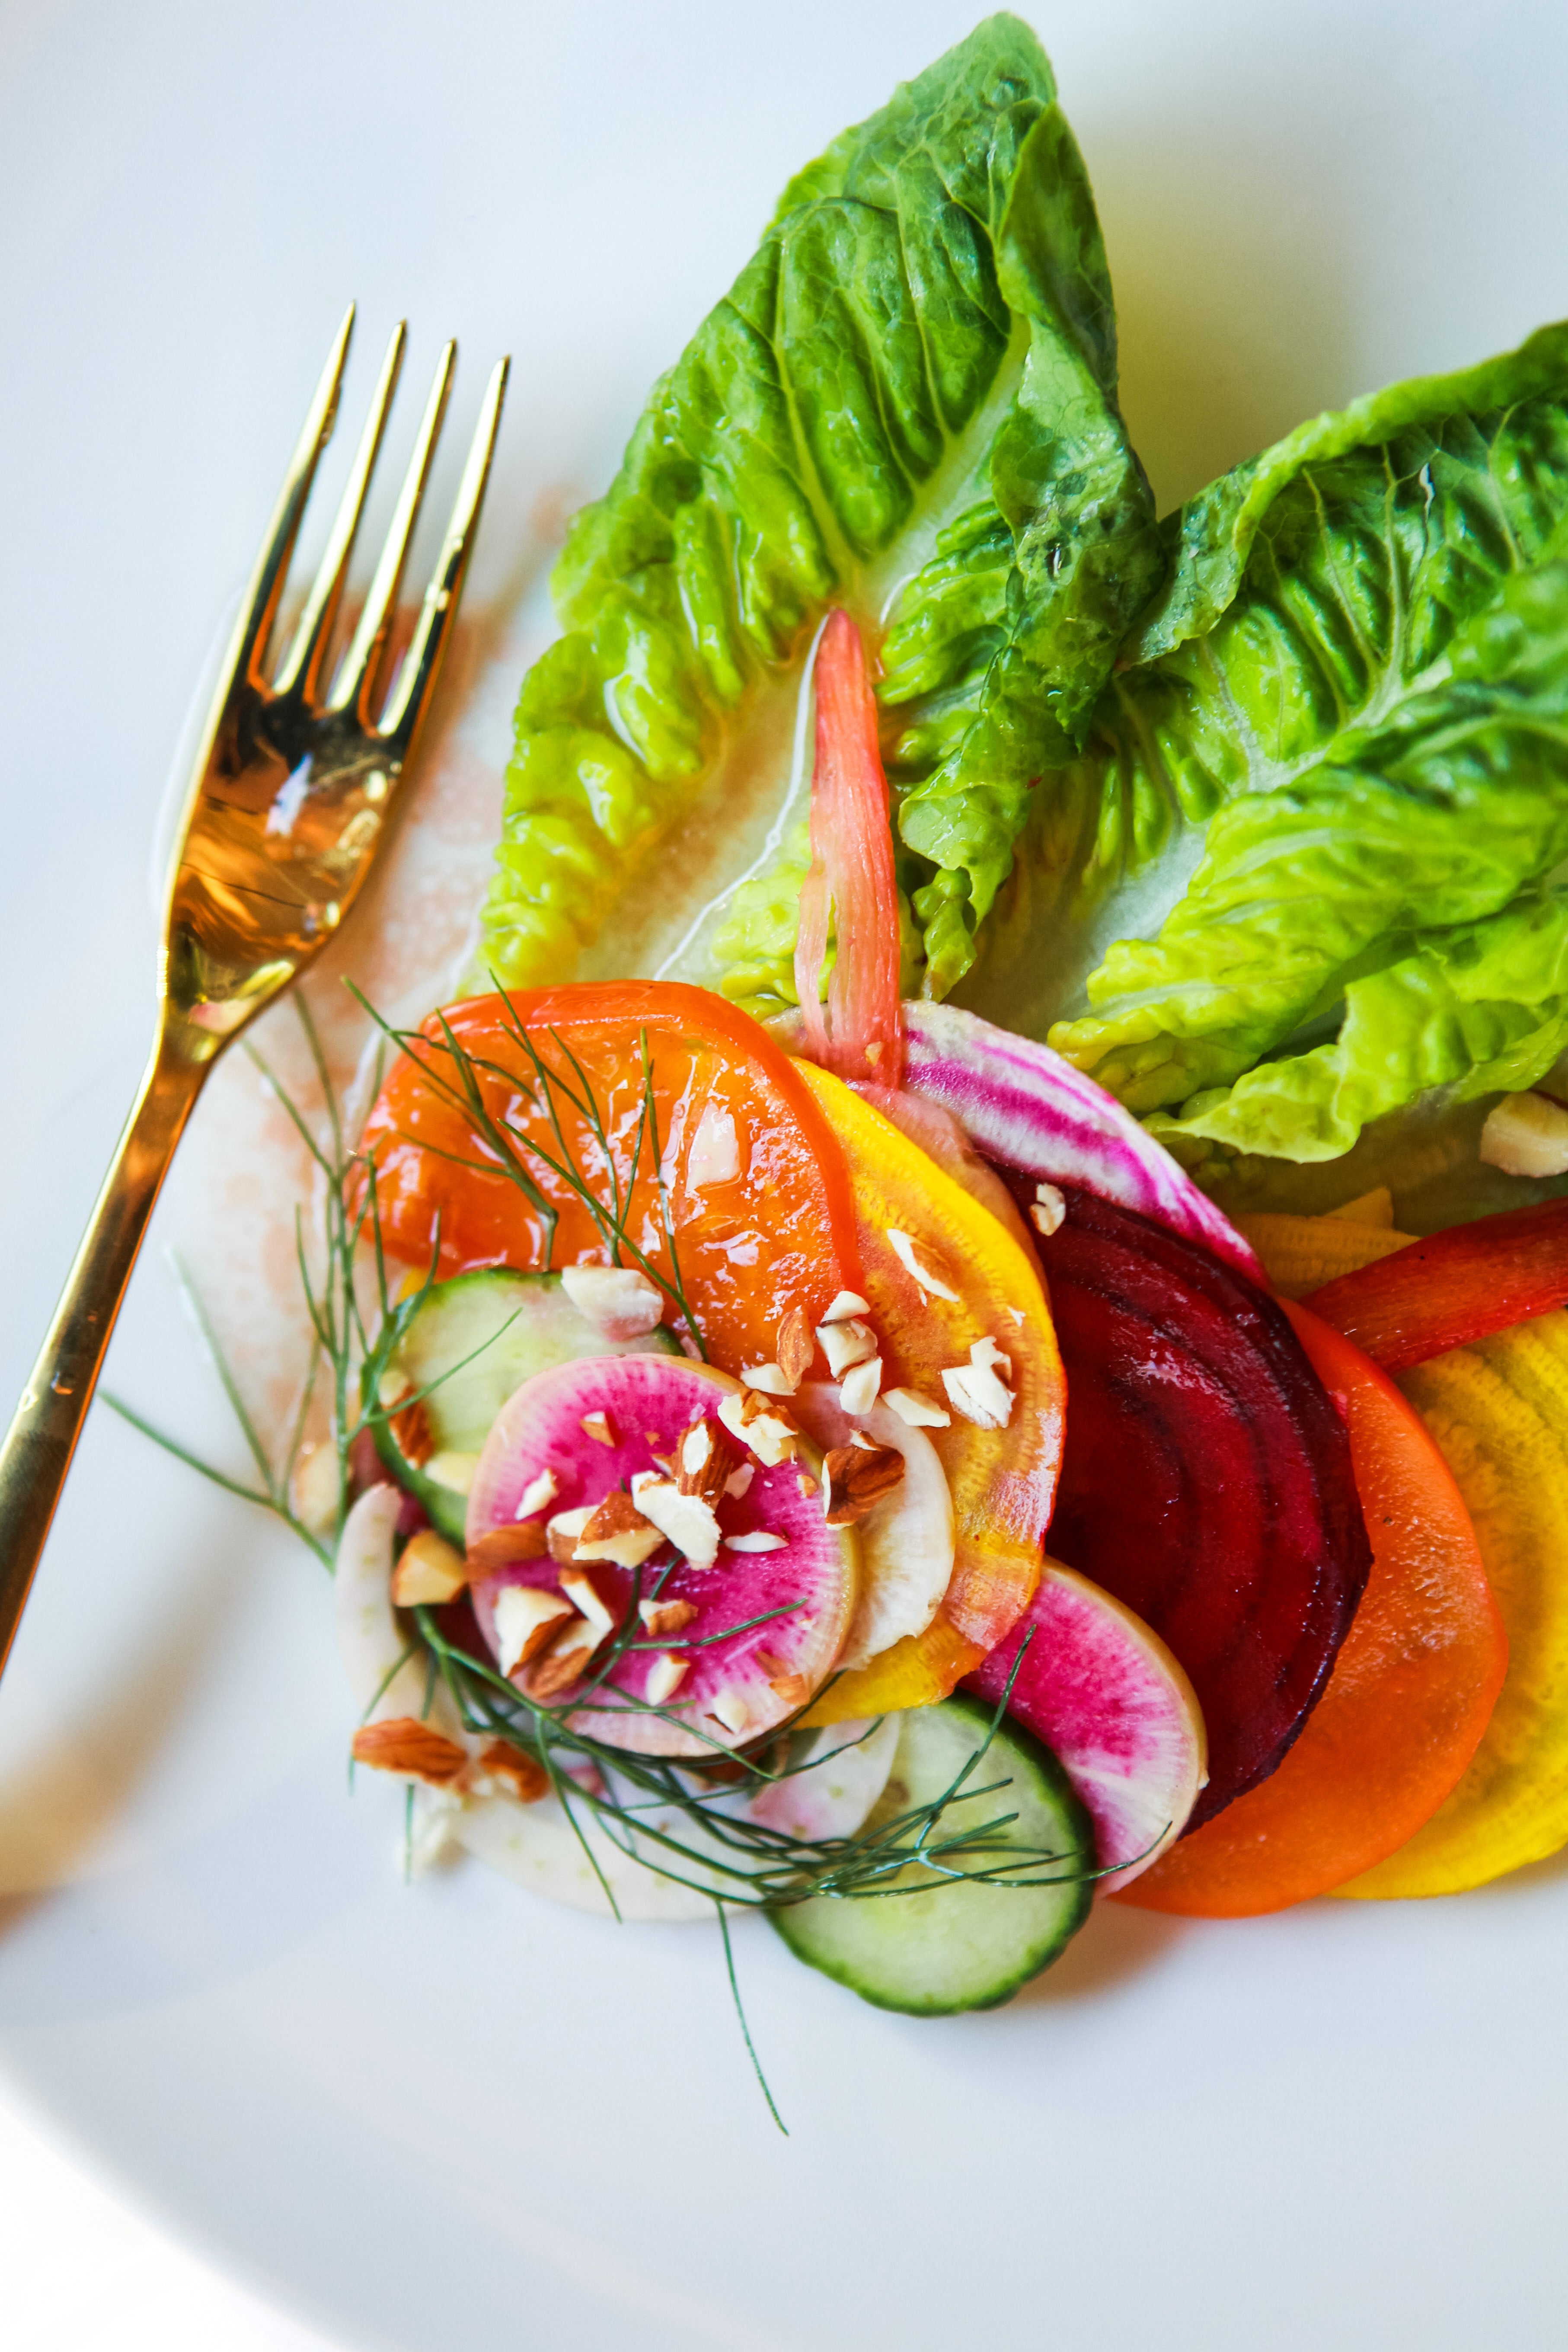
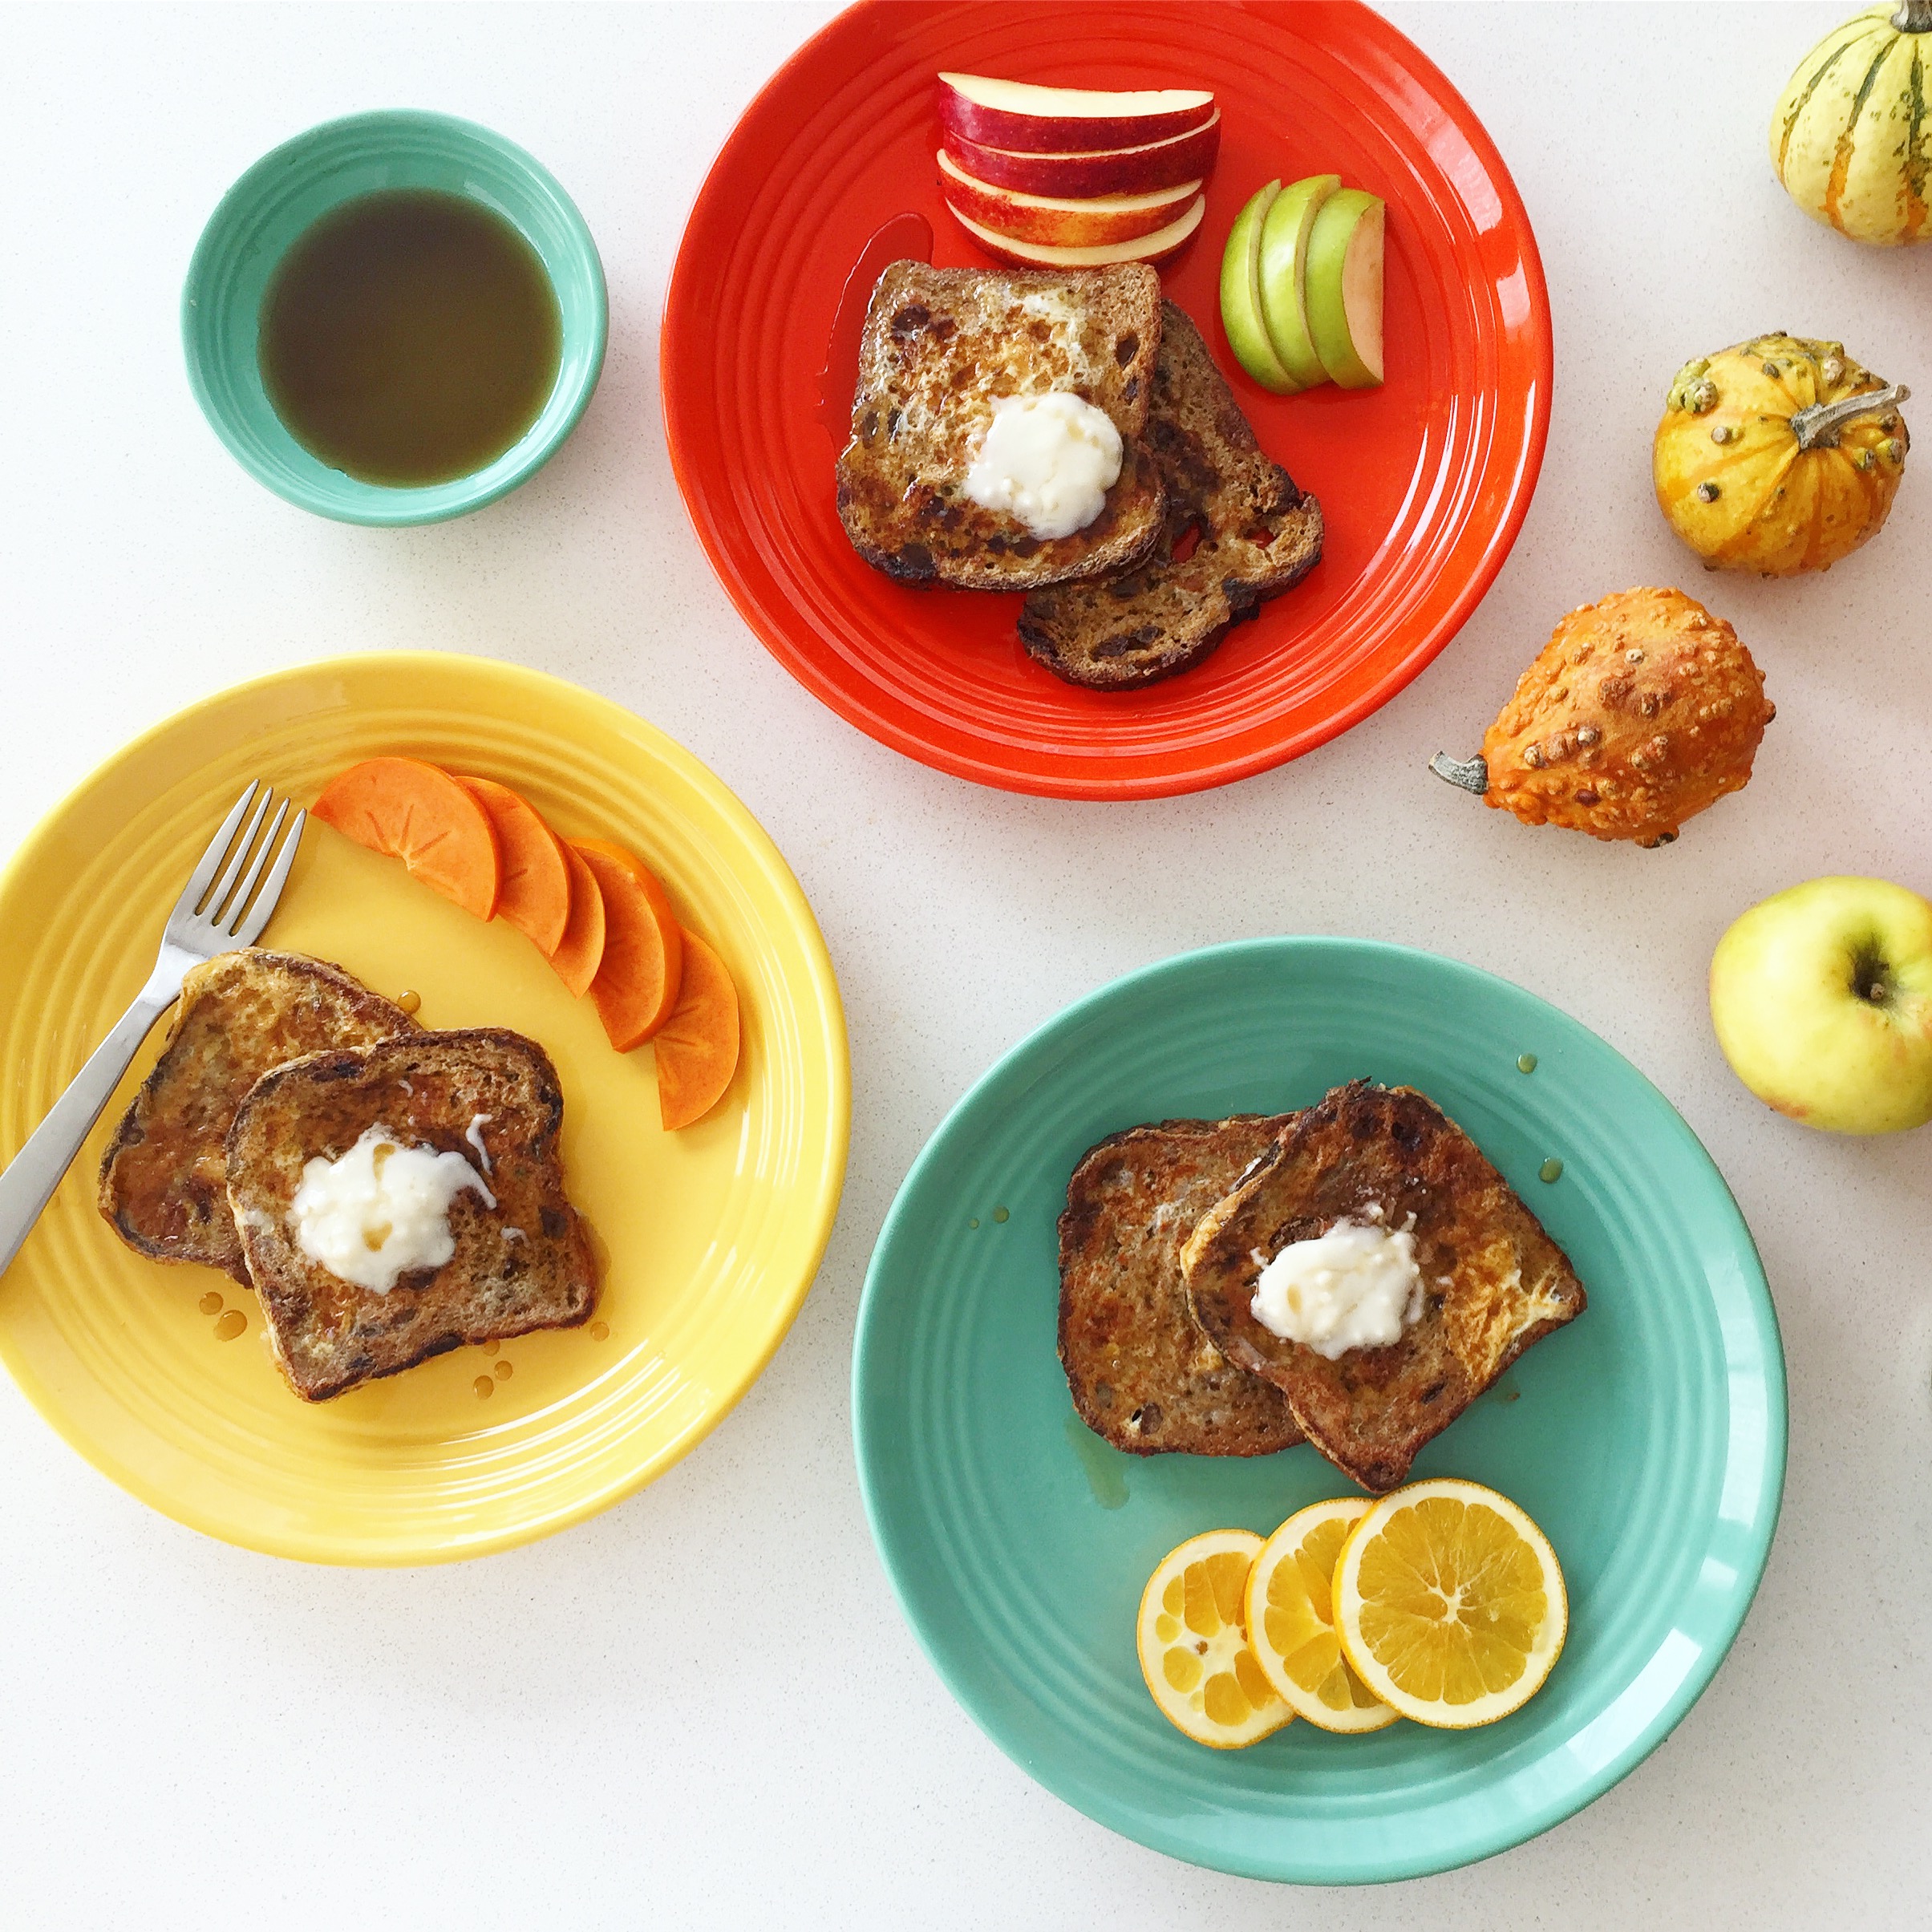
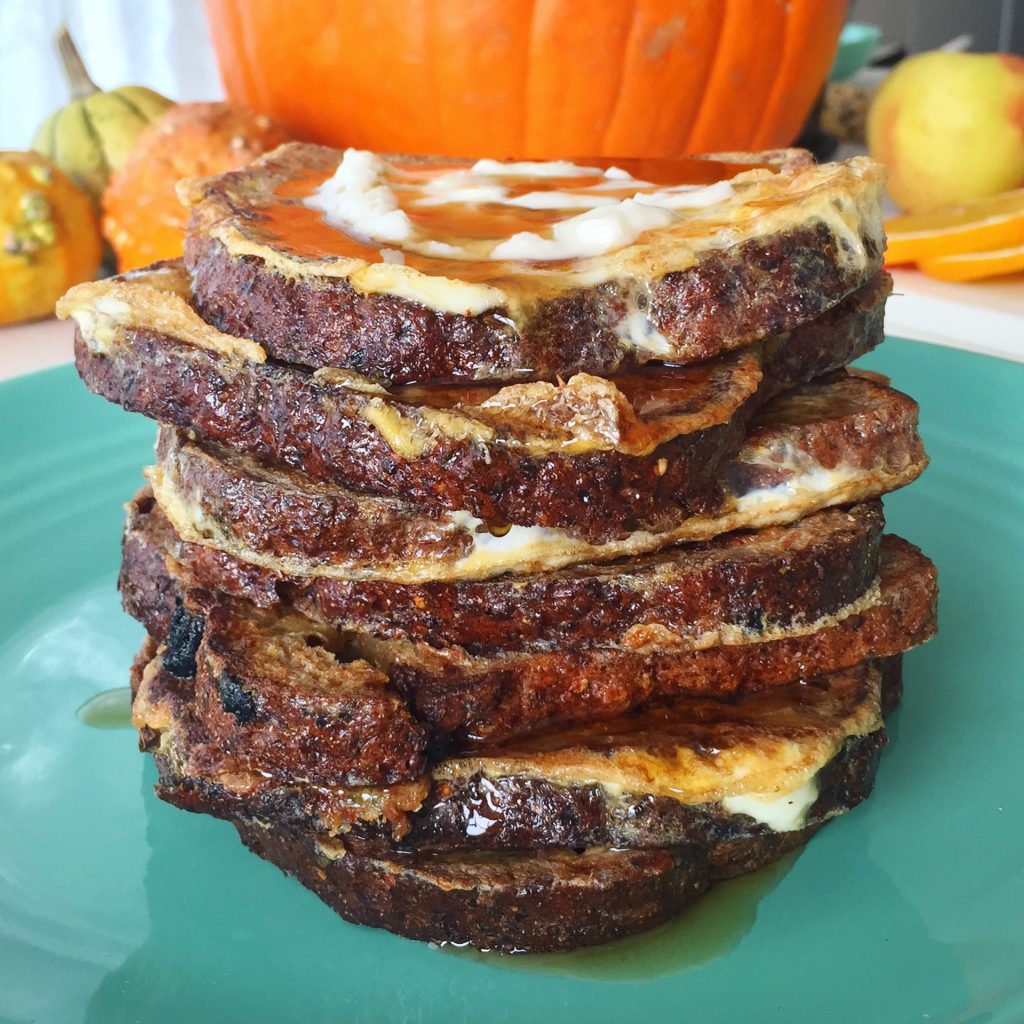
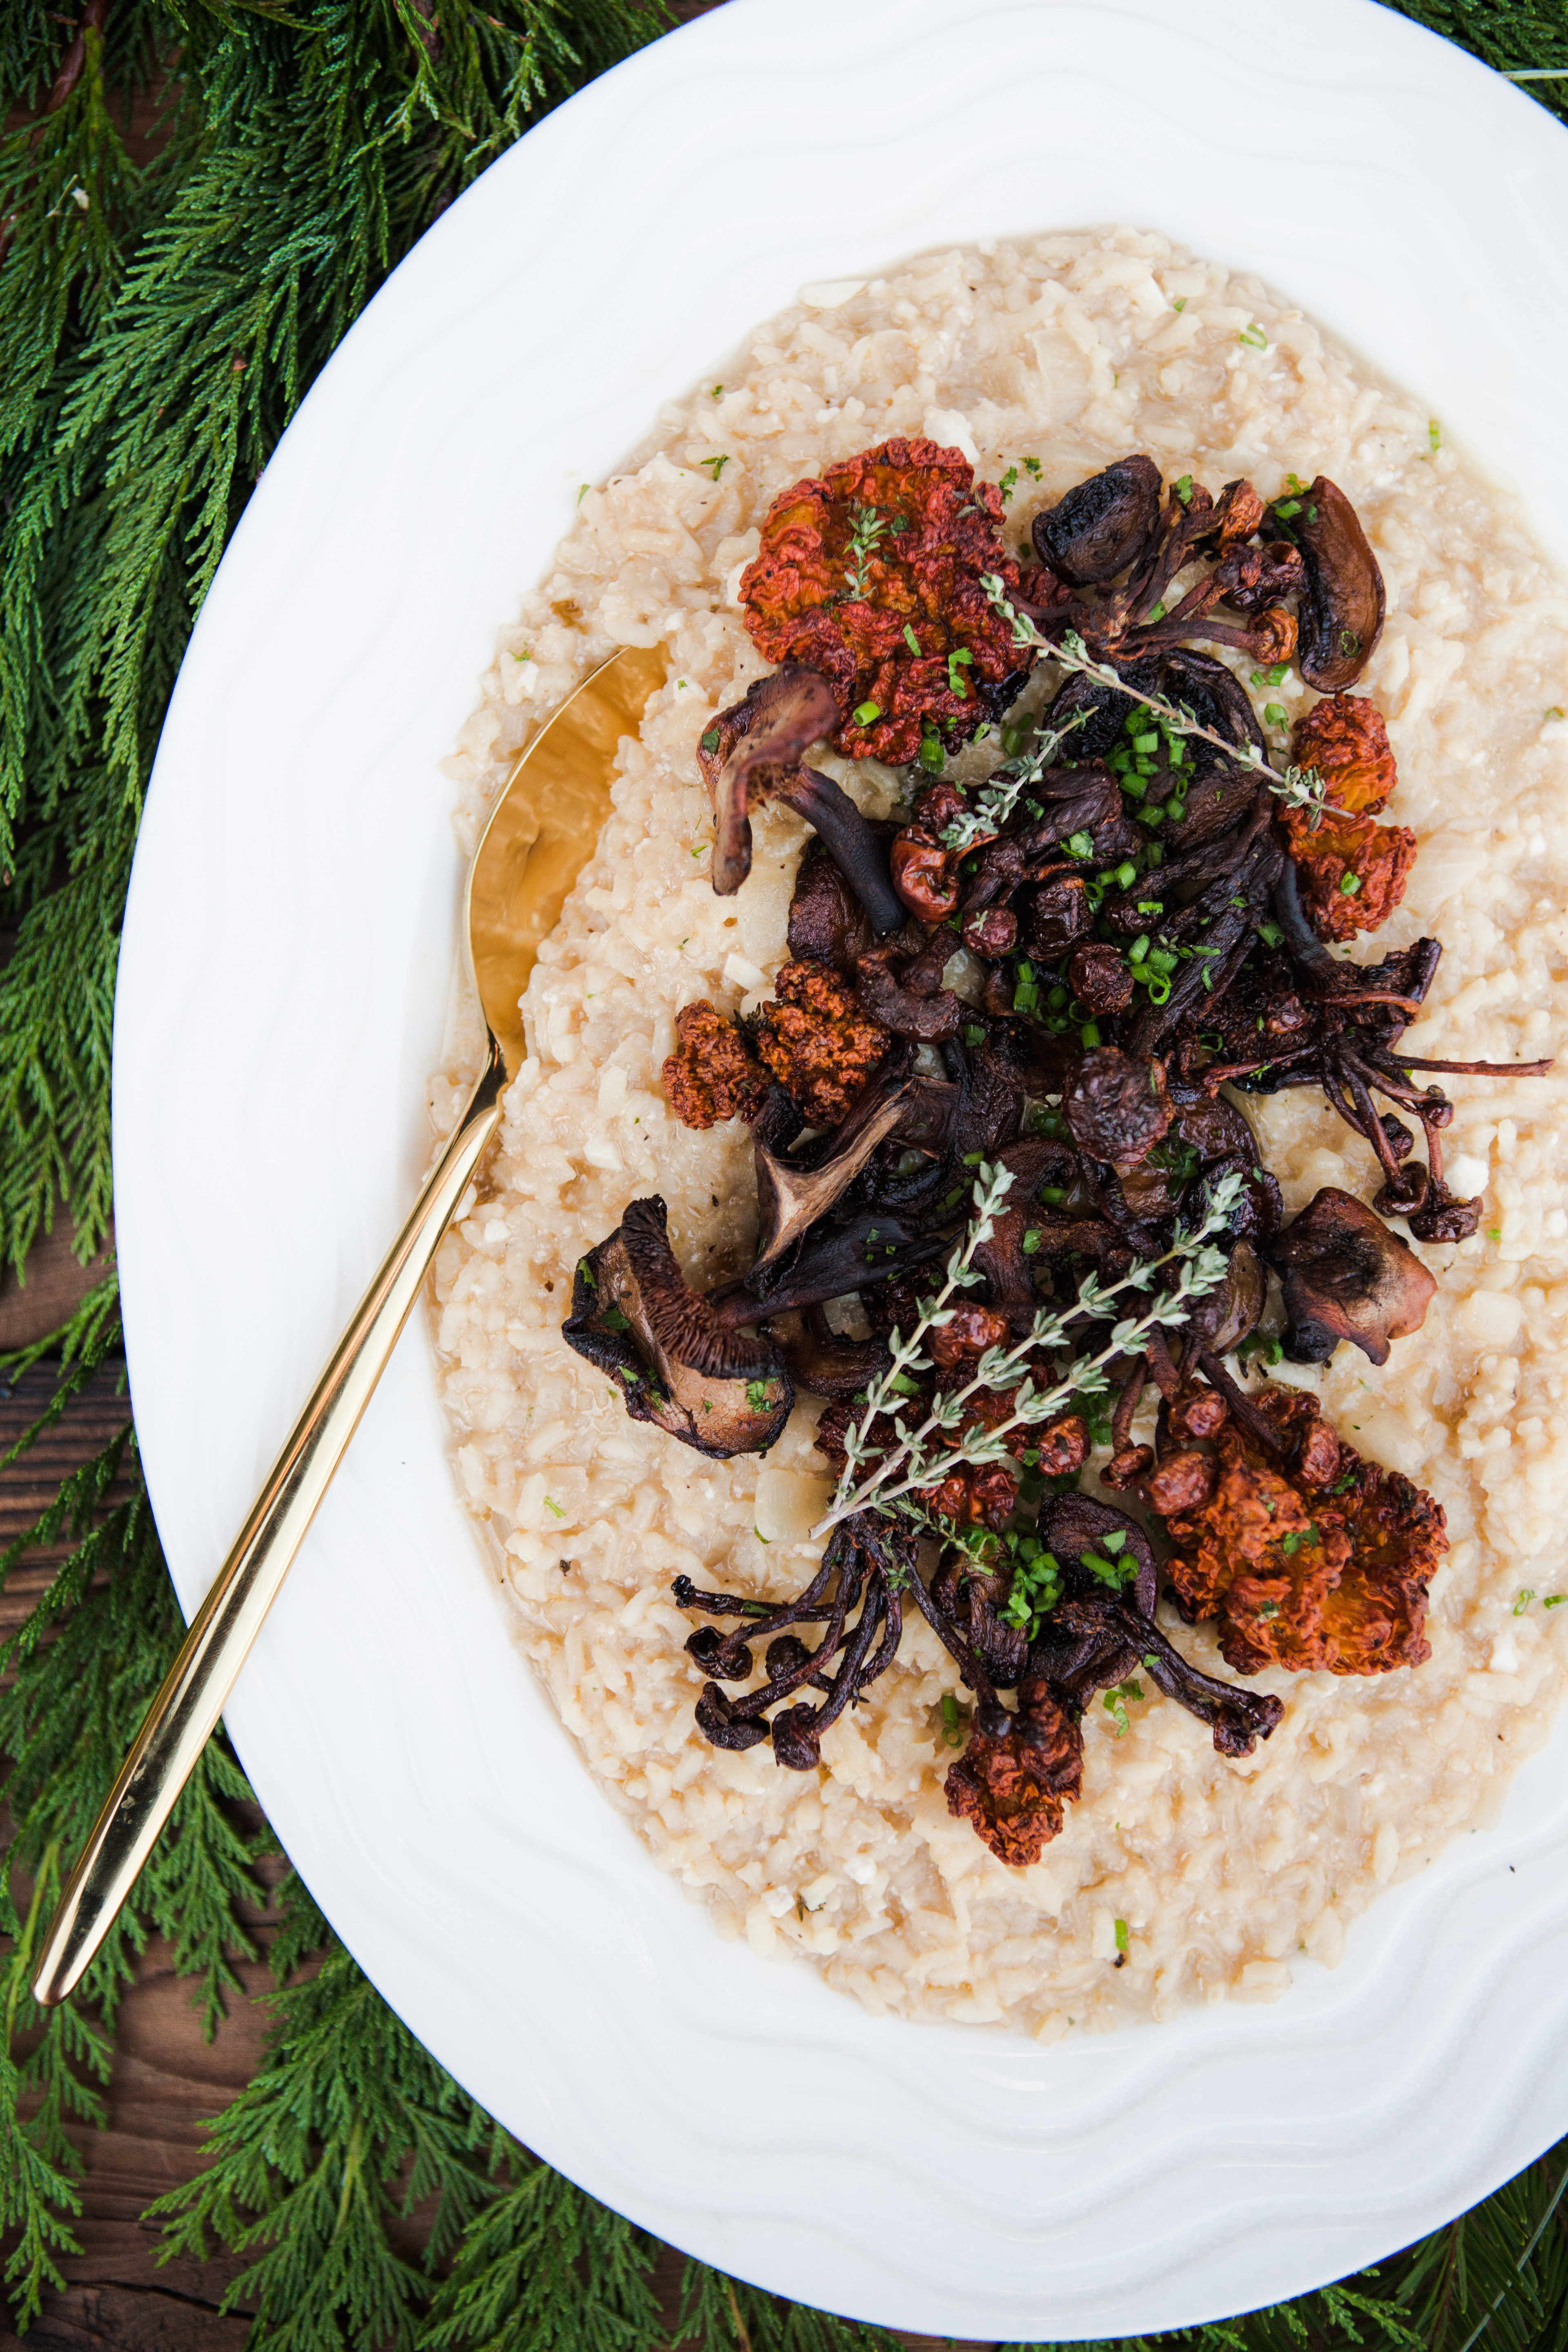
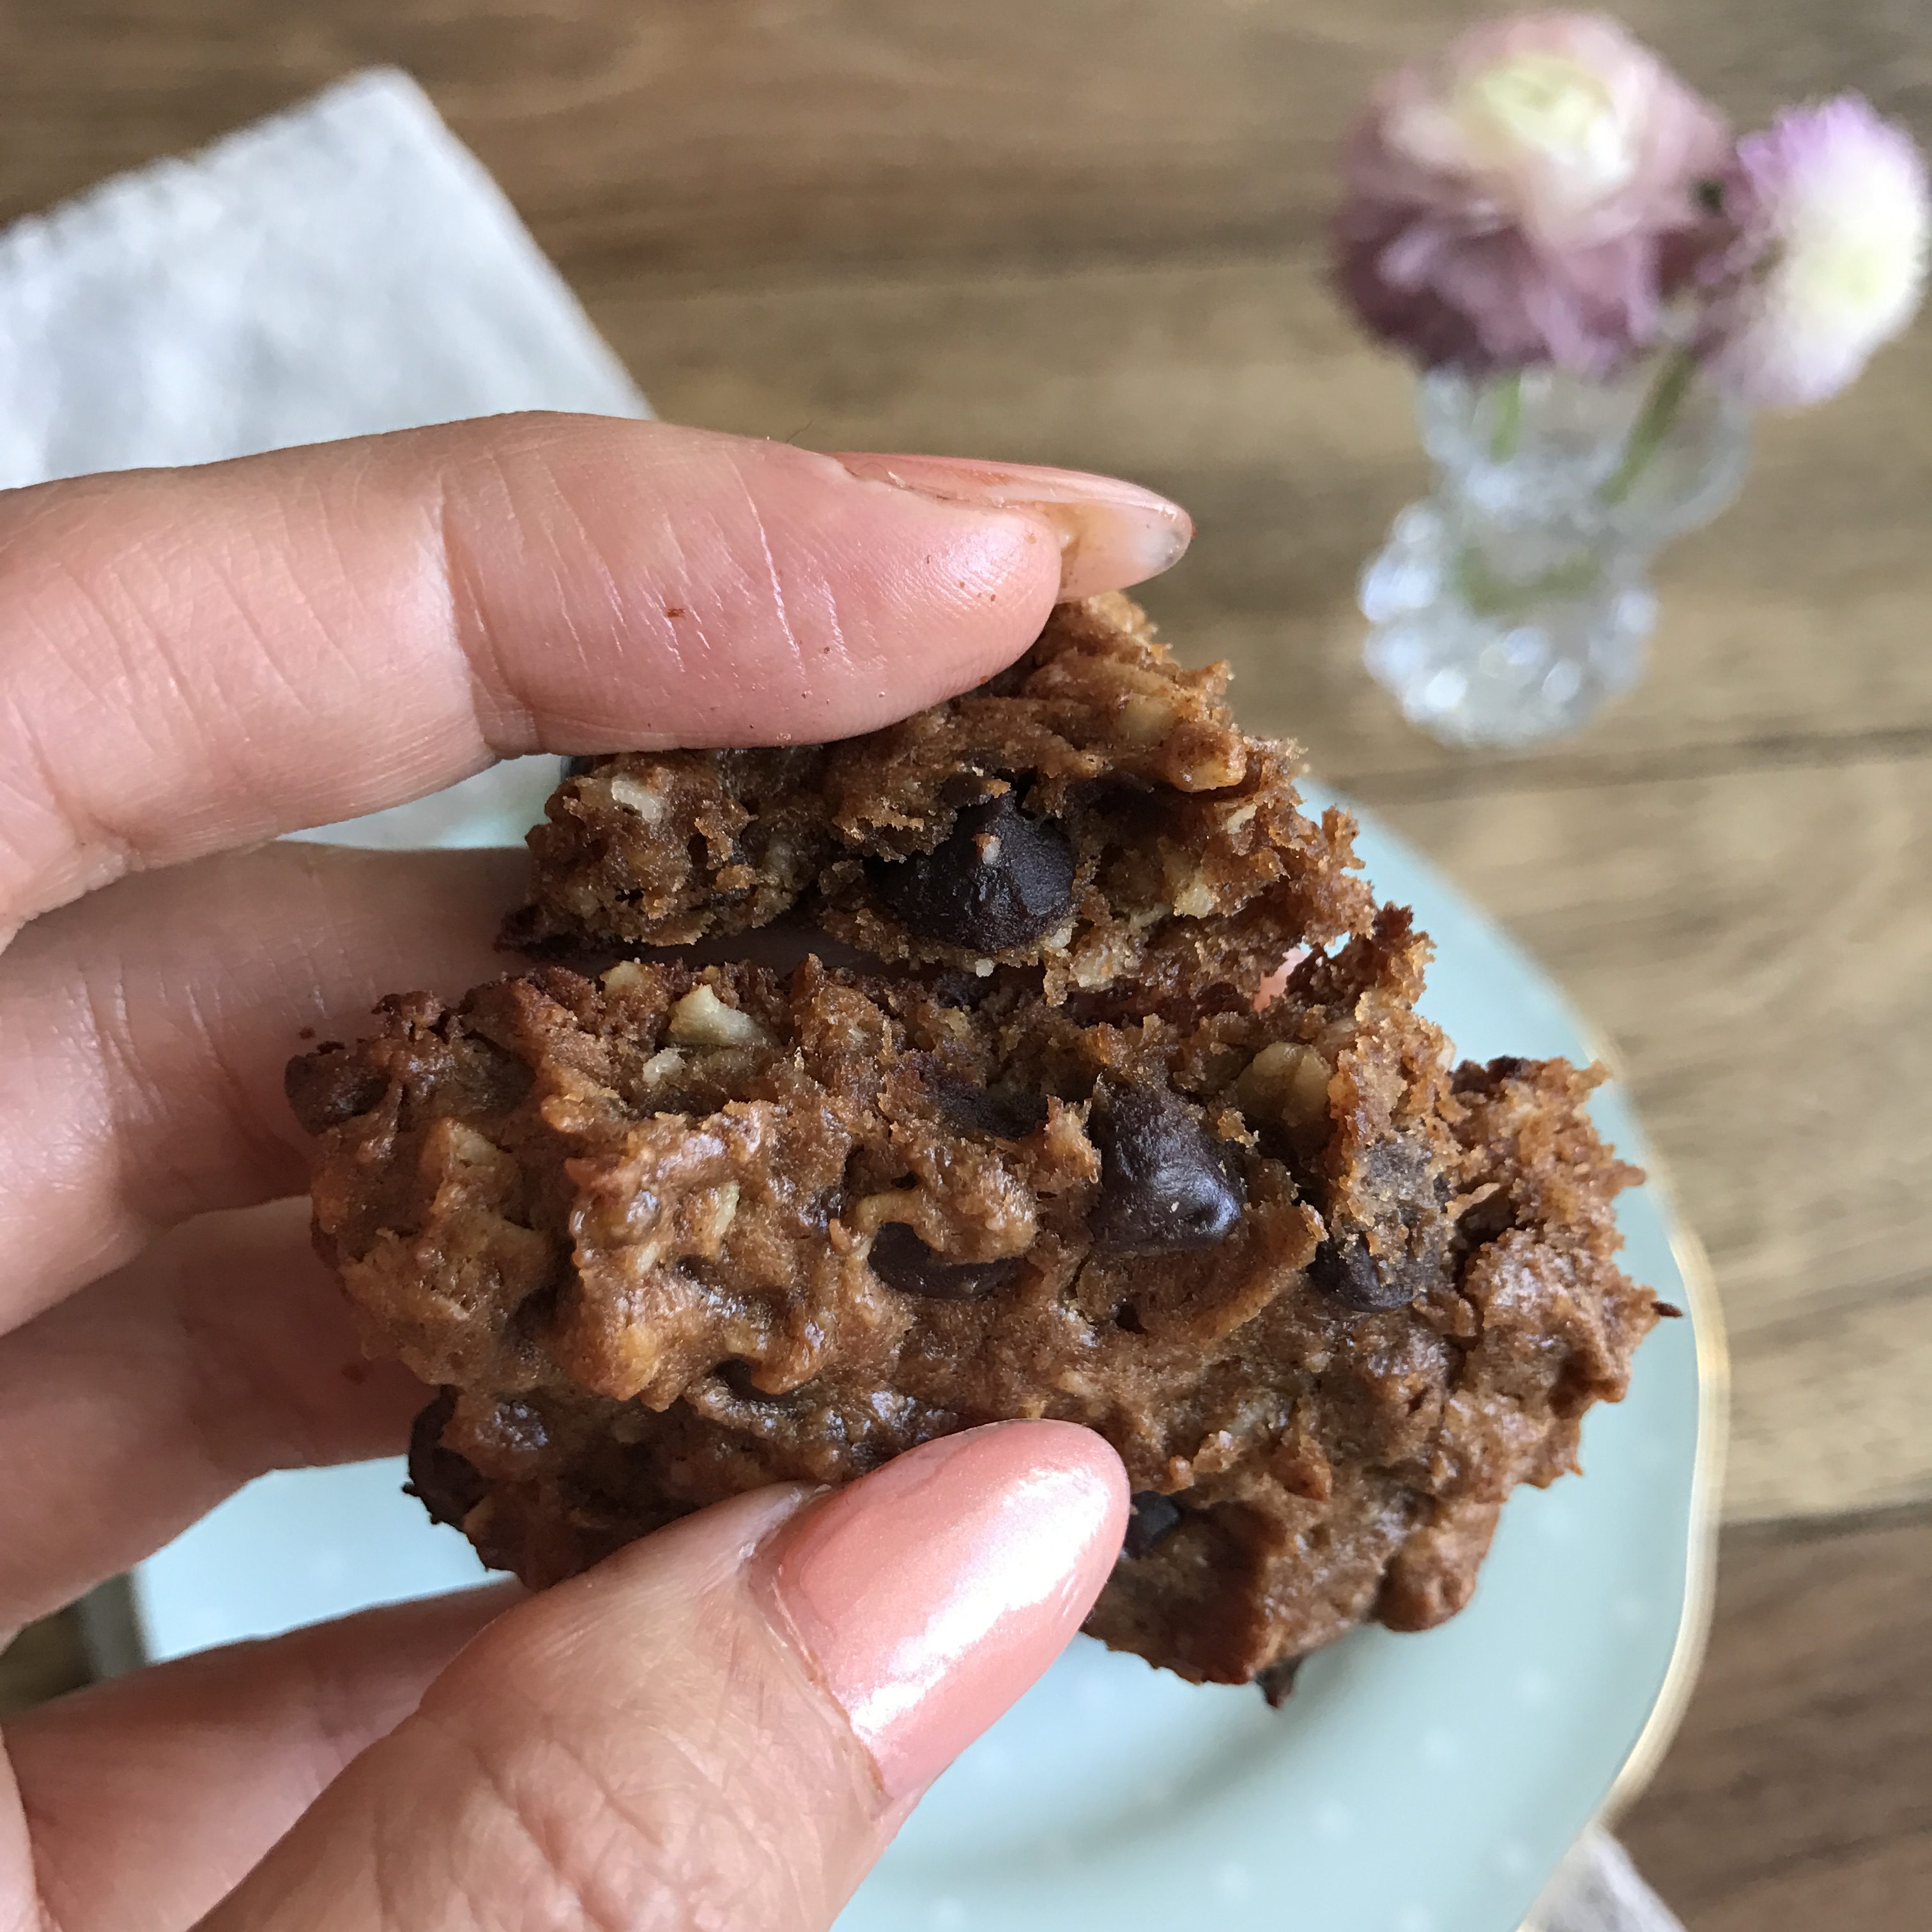
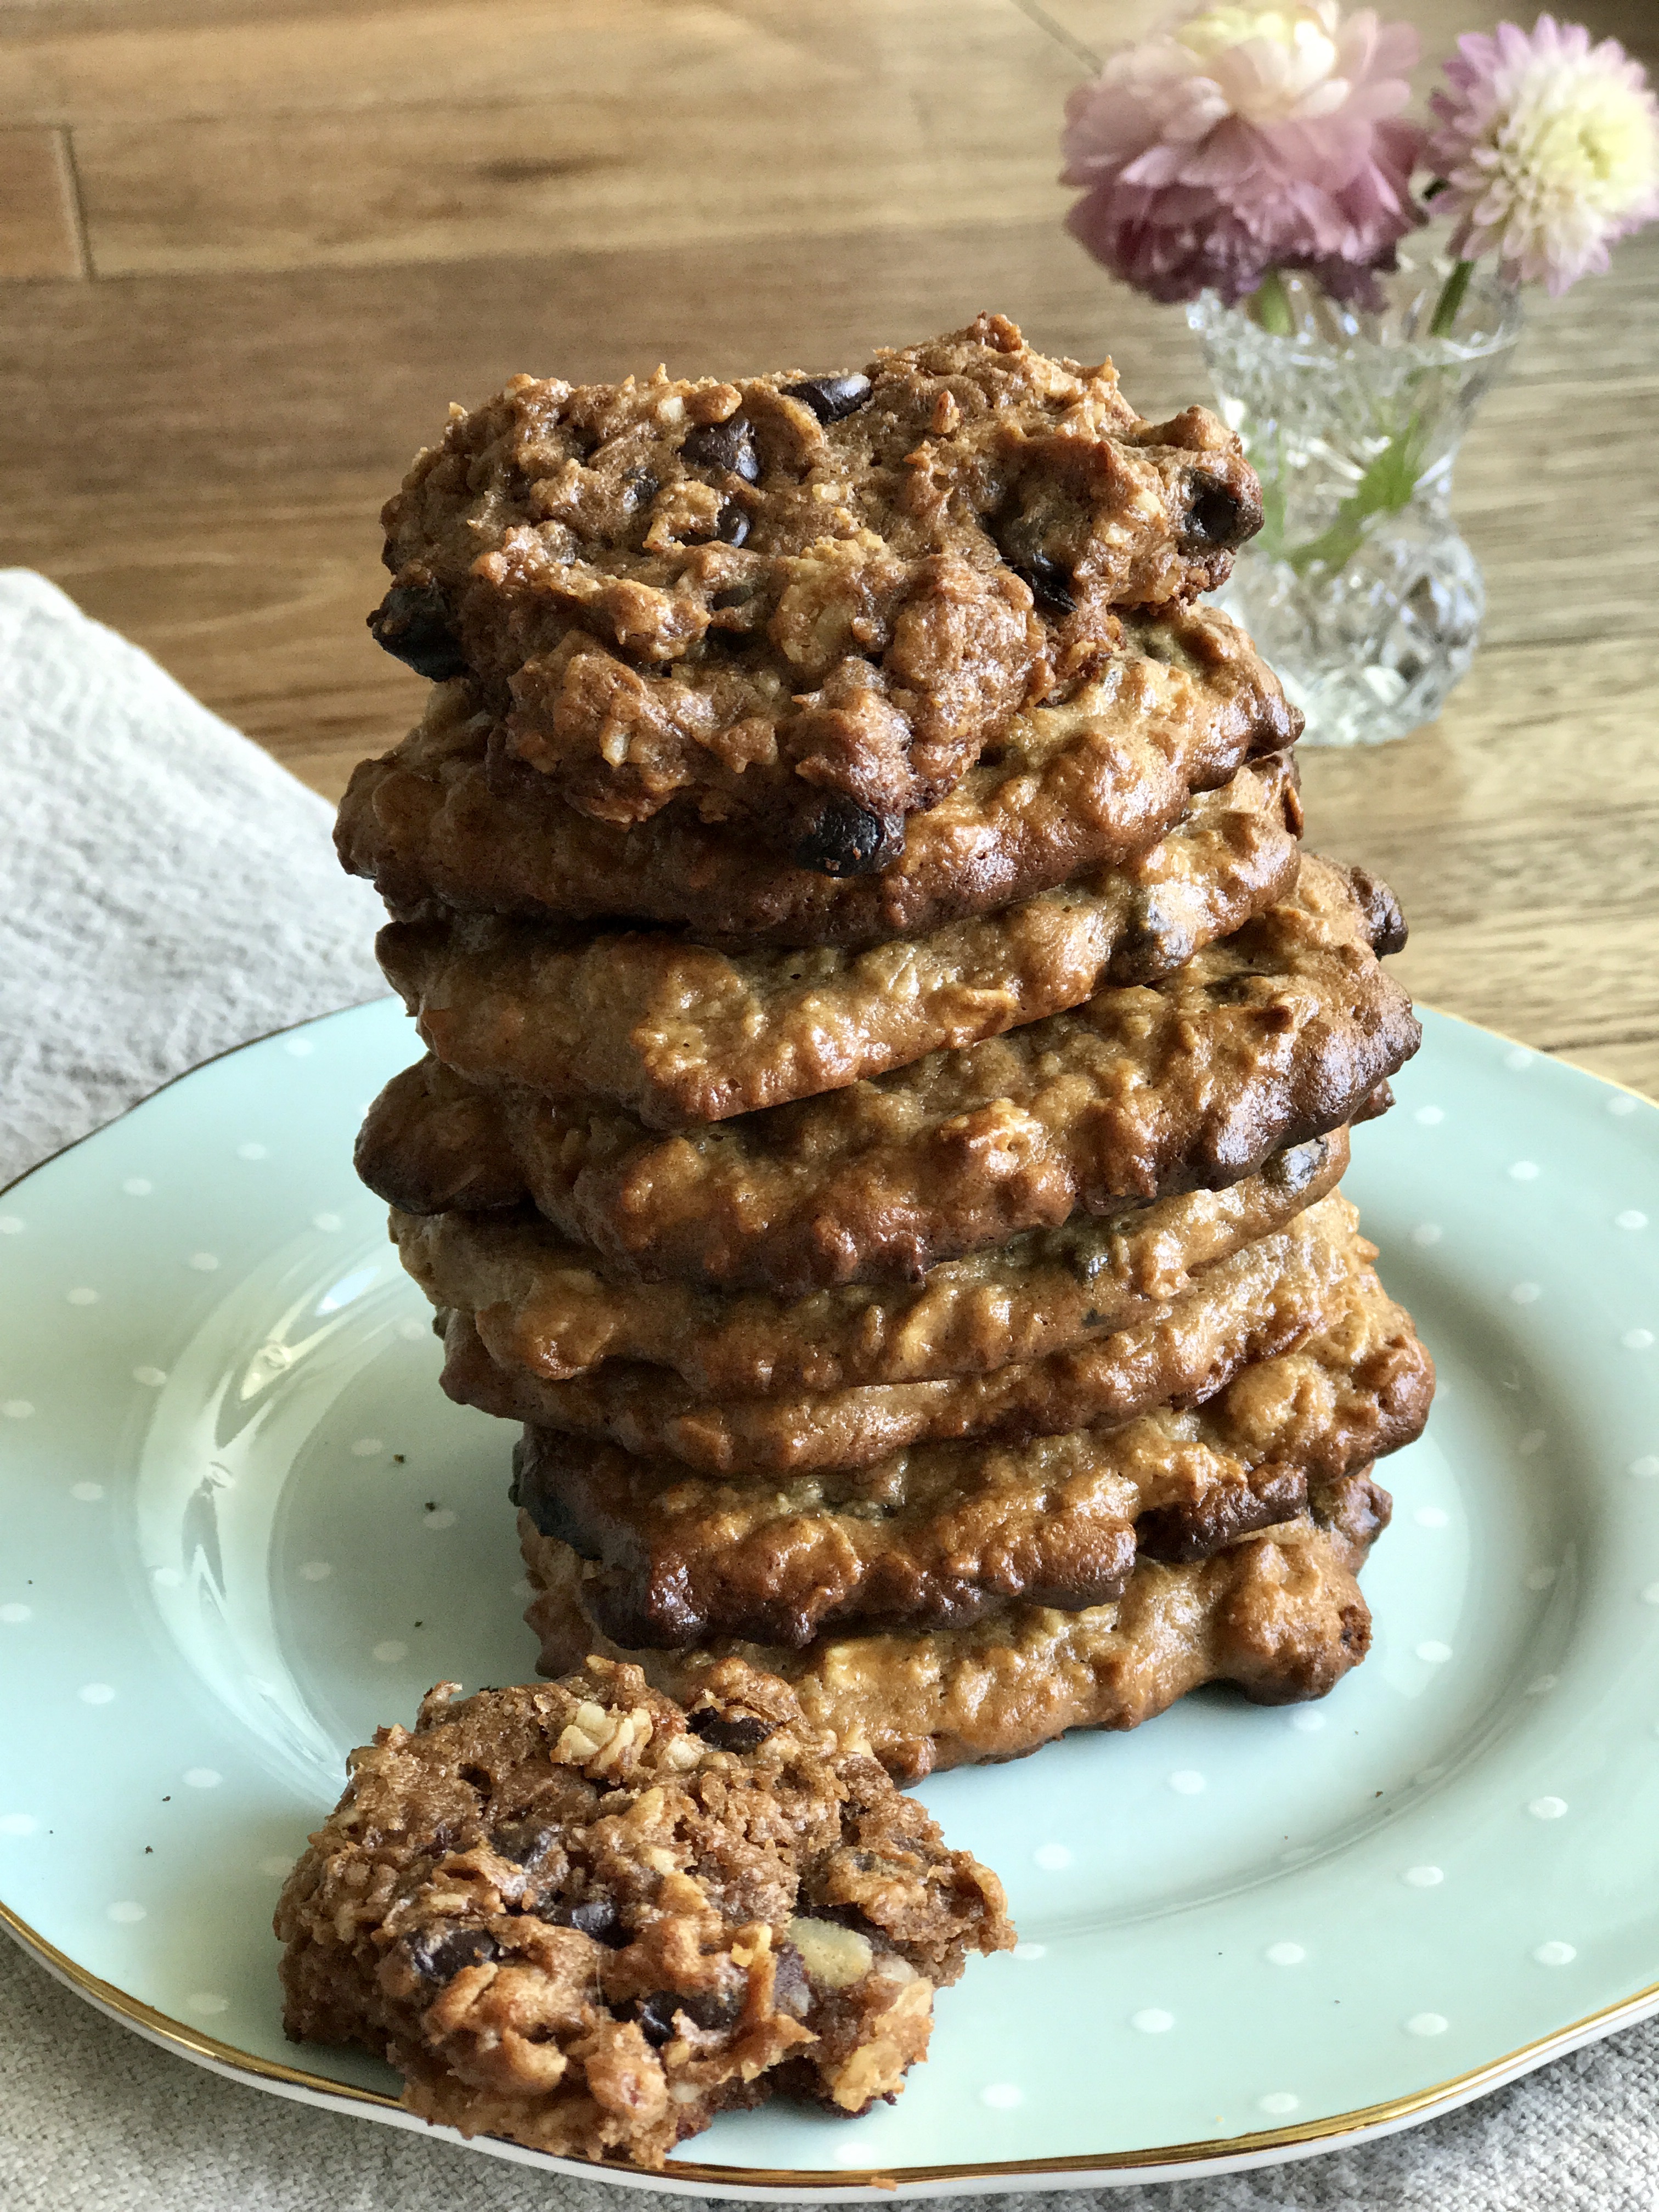
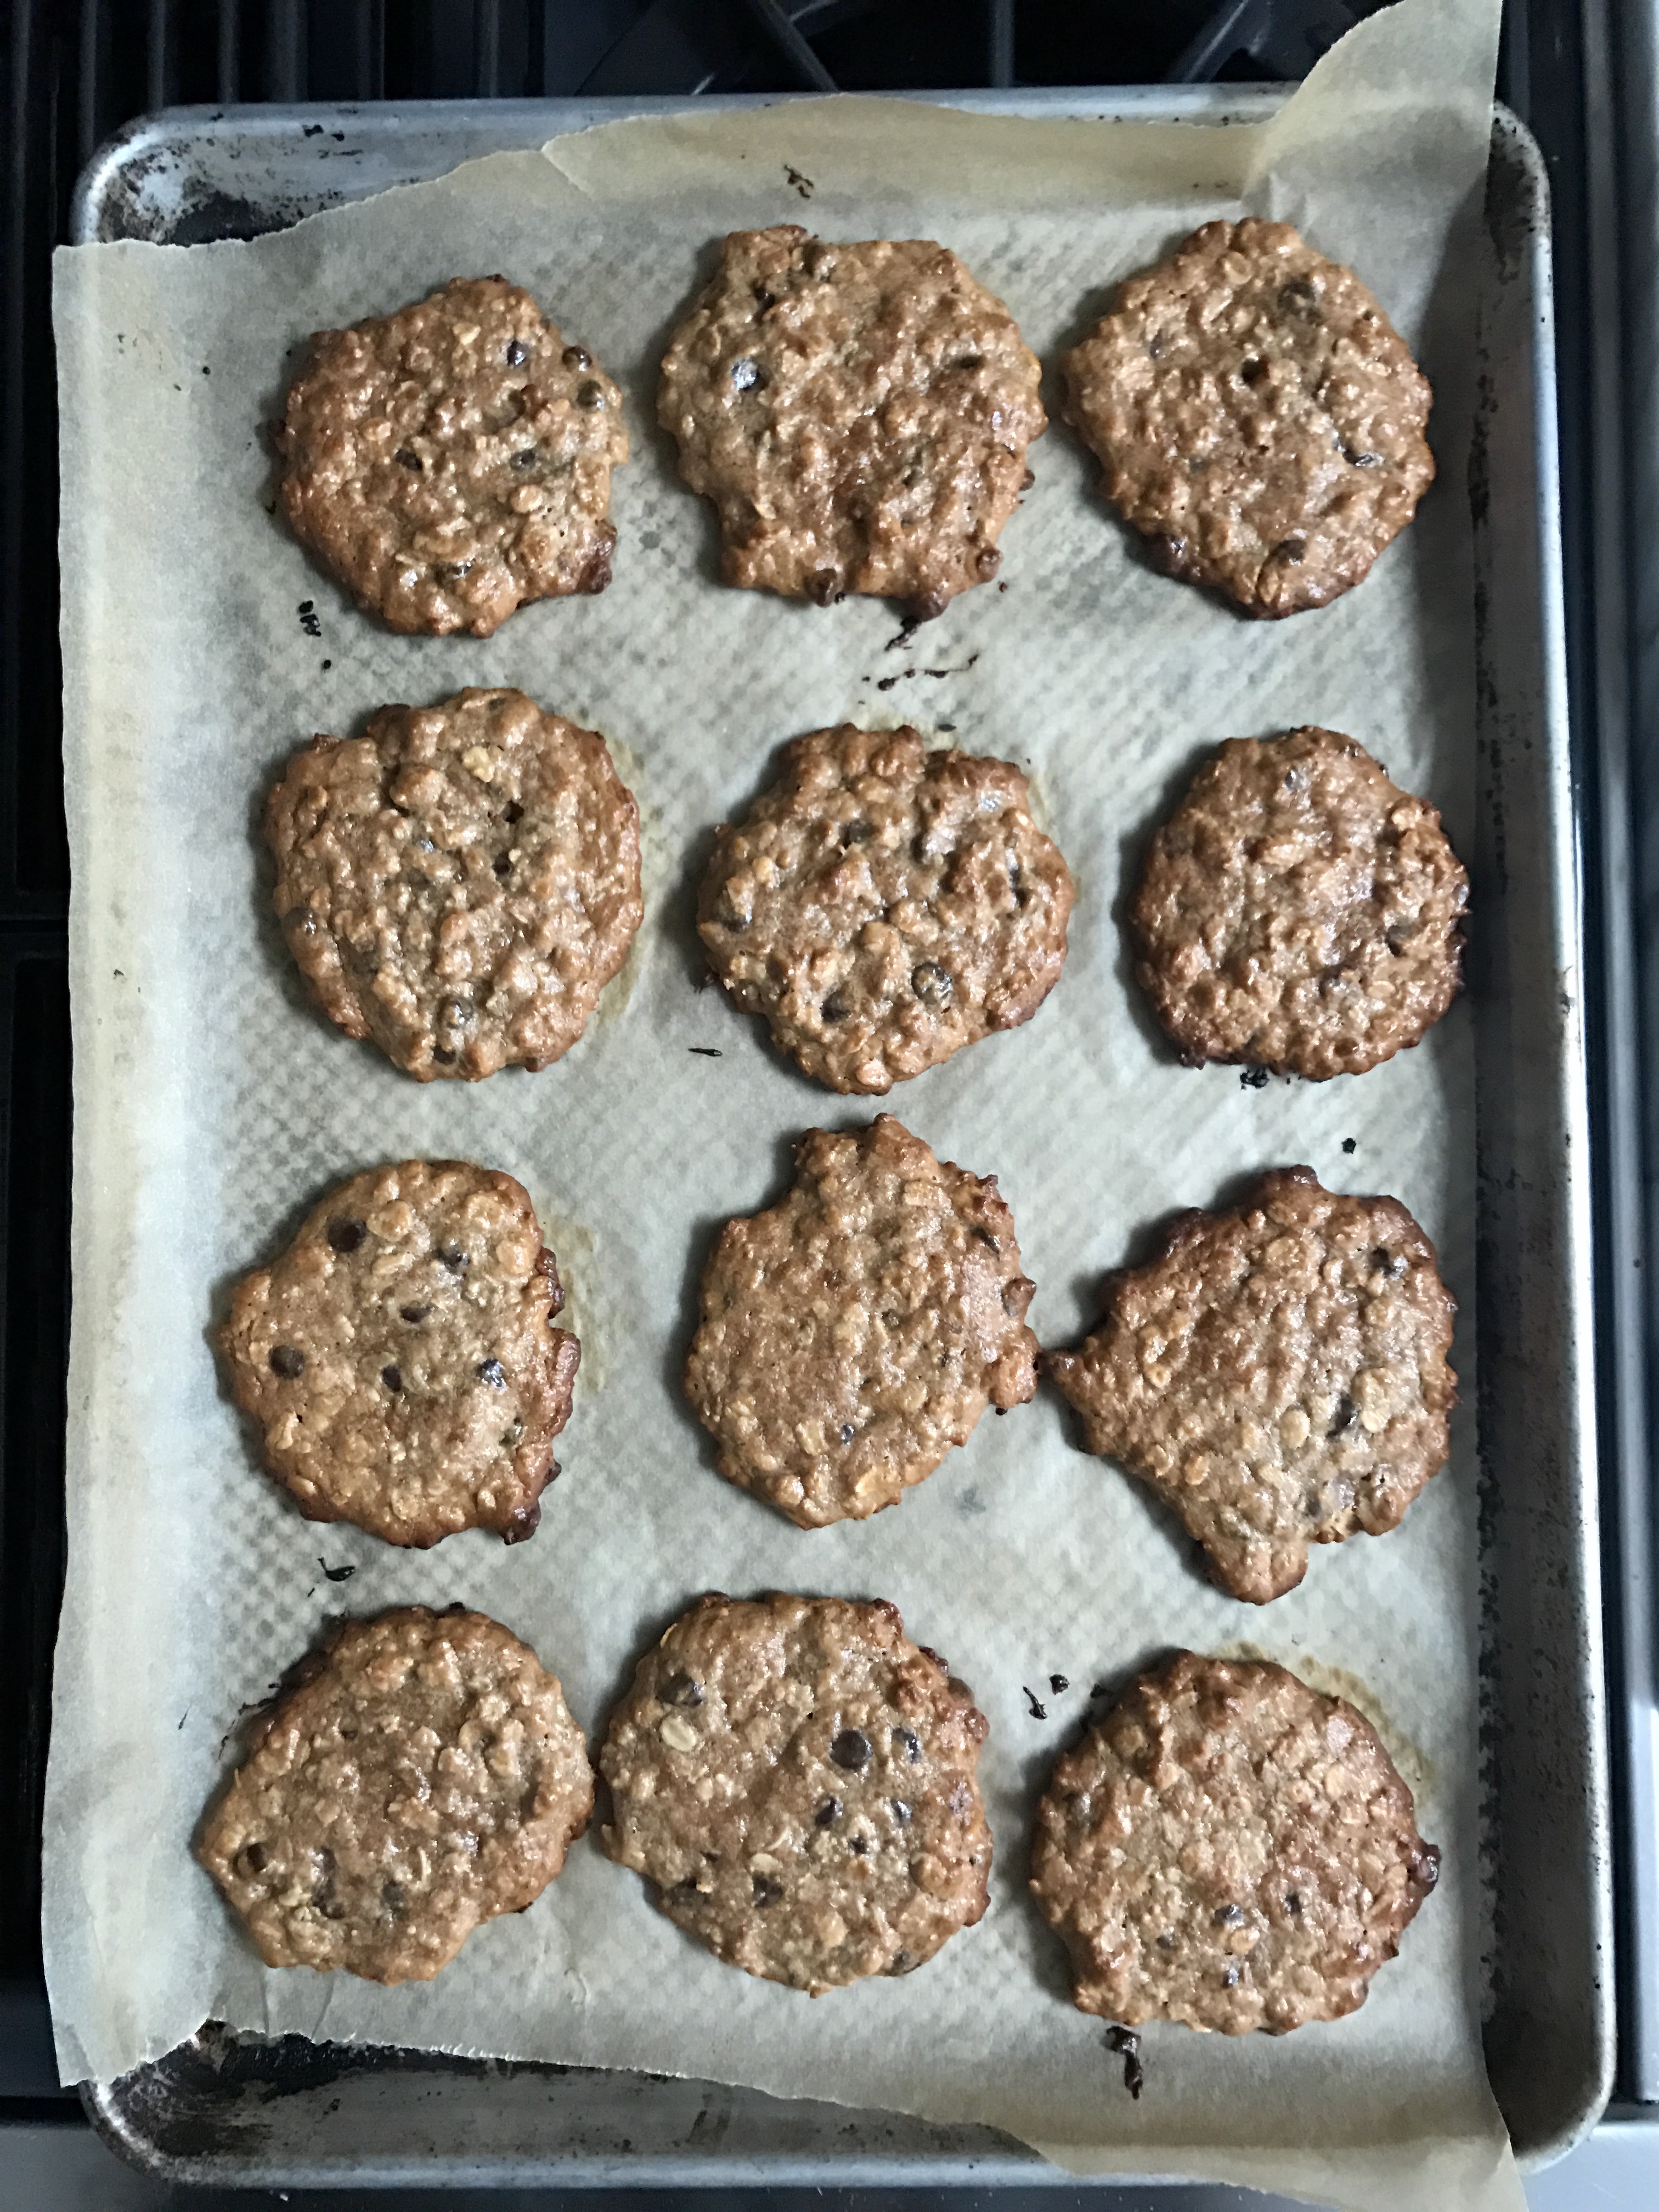
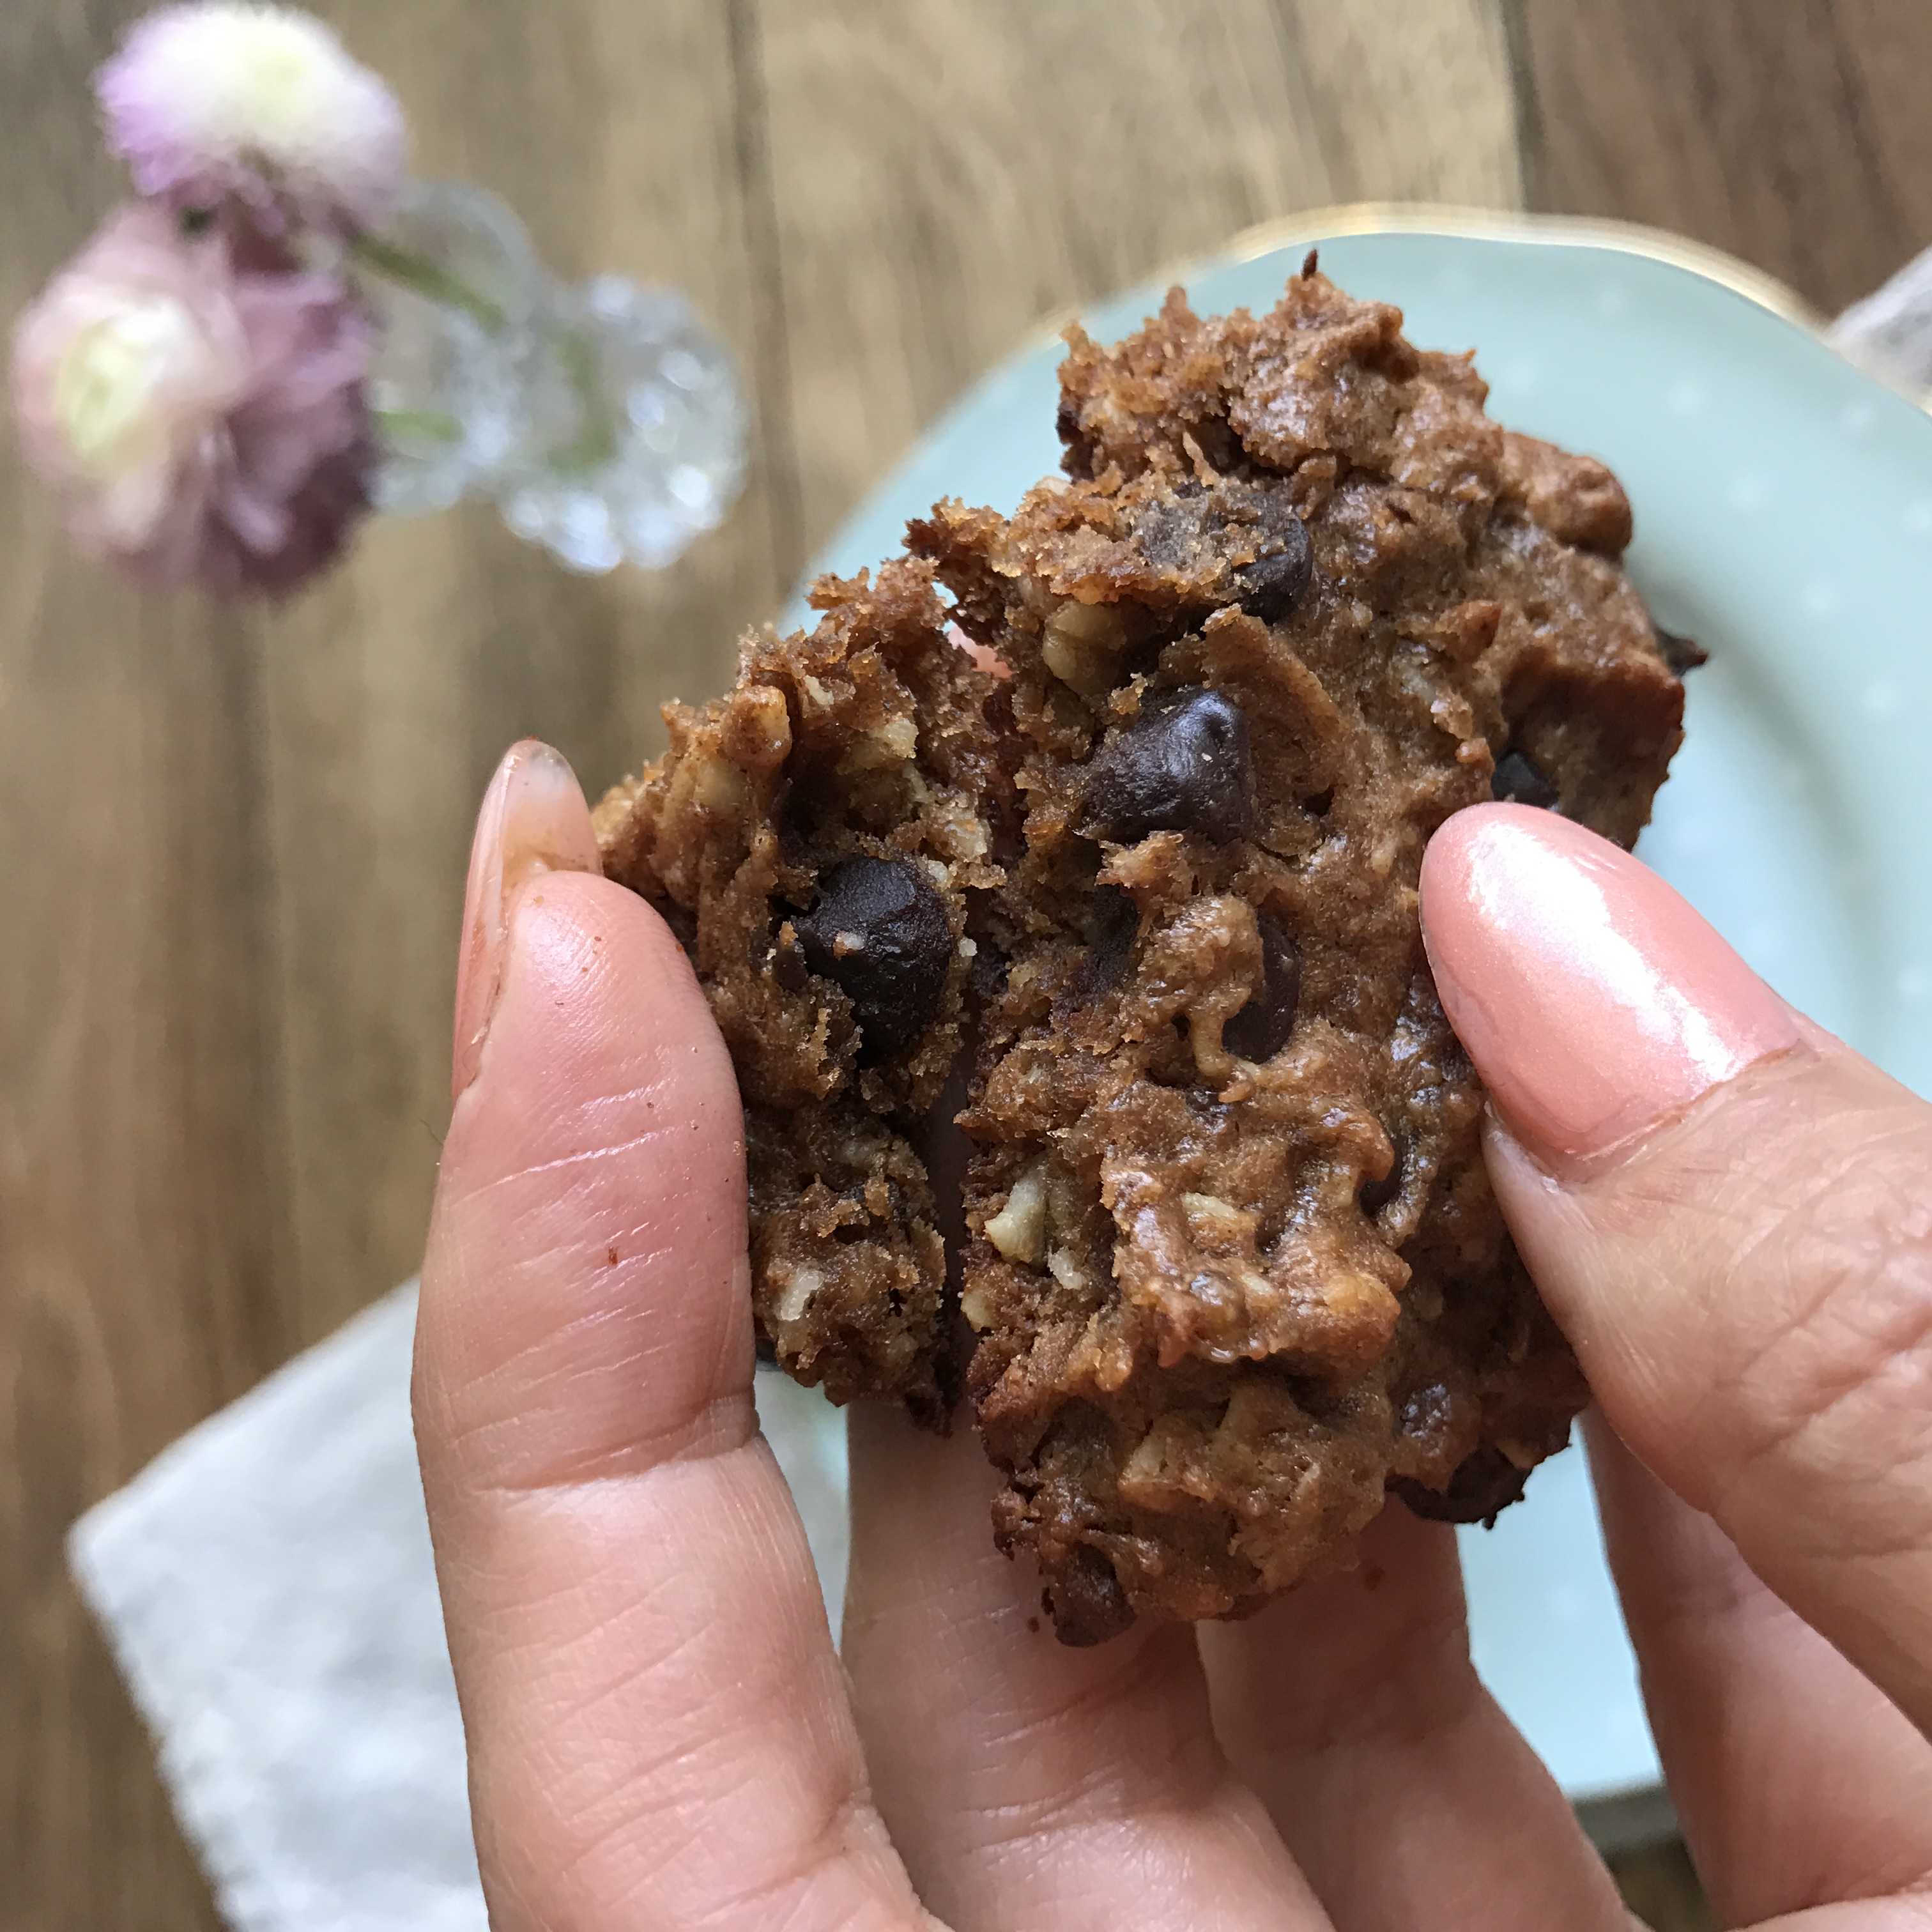
Our cooking centers on nutritious, dairy-free, plant-based dishes, but we also include high-protein seafood and eggs. We call our special way of eating Pescan. The Pescan diet is highly nutrient dense making it super satiating and incredibly energizing. Eating this way means we never have to count calories or worry about dieting. It’s full of anti-oxidants and healthy fats, so we know we’re feeding our natural beauty from the inside out. It has the nutritional appeal of the plant-based diet, but is more accessible and pleasurable to follow. After all, let’s face it, life is better with a little lobster in it. If you’re already vegan and disagree, don’t worry, about 90% of the recipes are suitable for you. We also made sure all of the recipes are gluten-free or have gluten-free options.

Pescan: A Feel Good Cookbook Chocolate Tahini Tart

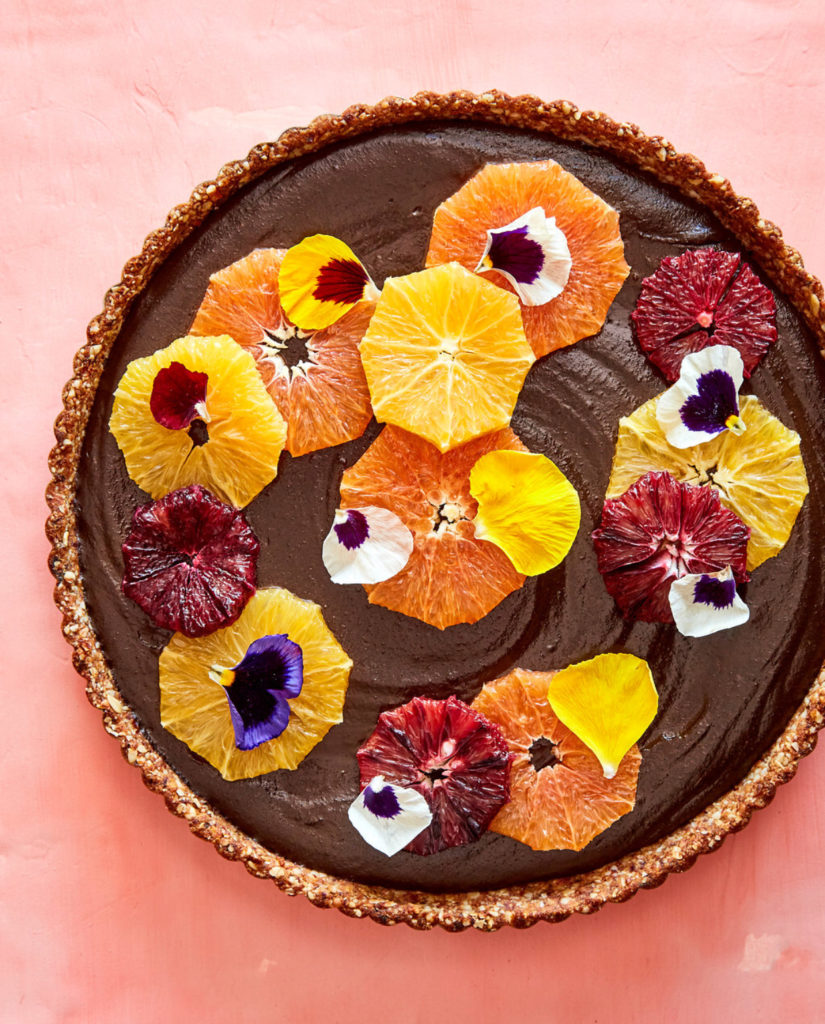
This cookbook follows the lessons and recipes that we’ve explored together. We start with whole-food cooking basics, such as how-to cook whole grains, beans, vegetables, and nut milks. Then it’s on to a mix of easy everyday recipes that put a veggie-filled spin on favorites such as burgers, pizza, pasta, Mexican food. We also share special occasion appetizers, main dishes, and desserts. We finish with complete menus for everything from an elegant holiday meal to a spread for the big game. The idea is that you can not only take care of yourself with this lifestyle, but can also nurture and entertain family and friends, both casually and formally. In this book we hope to demonstrate a healthy and delicious way of cooking and eating for yourself, as well as for your family and friends. Together, let’s take care of our bodies and let’s take care of those we love. xx

To order Pescan: A Feel Good Cookbook click here

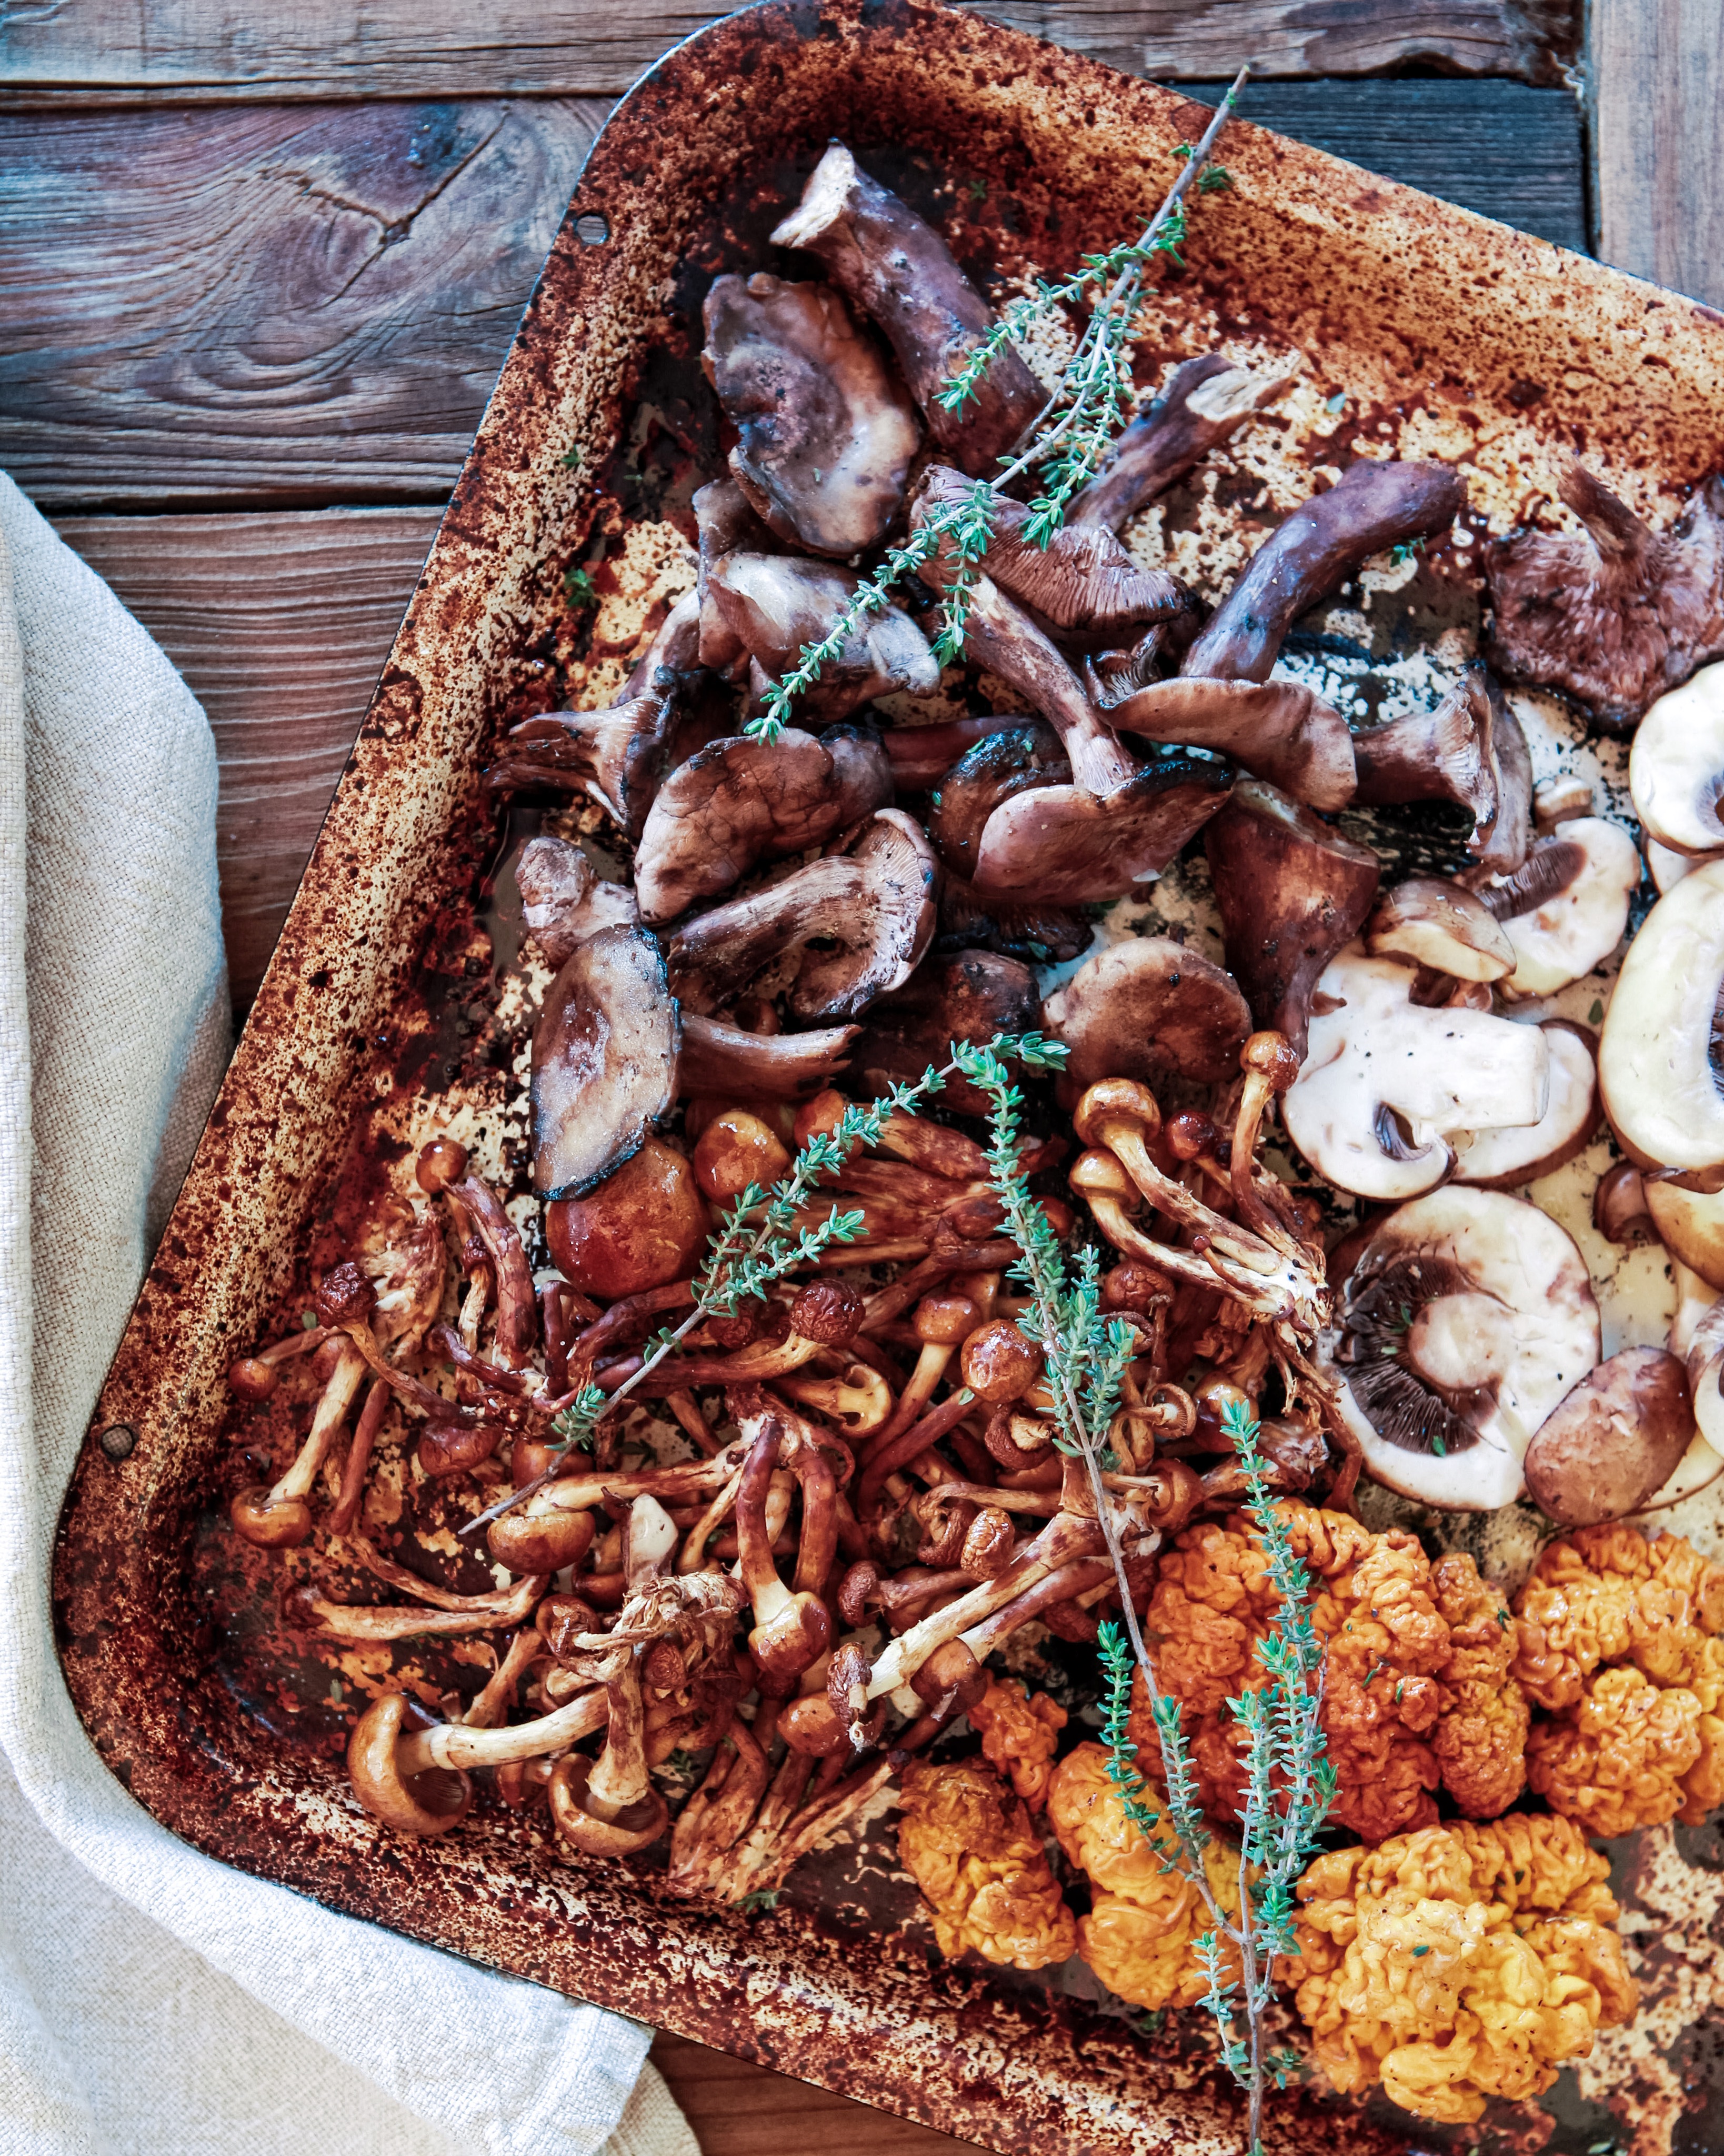
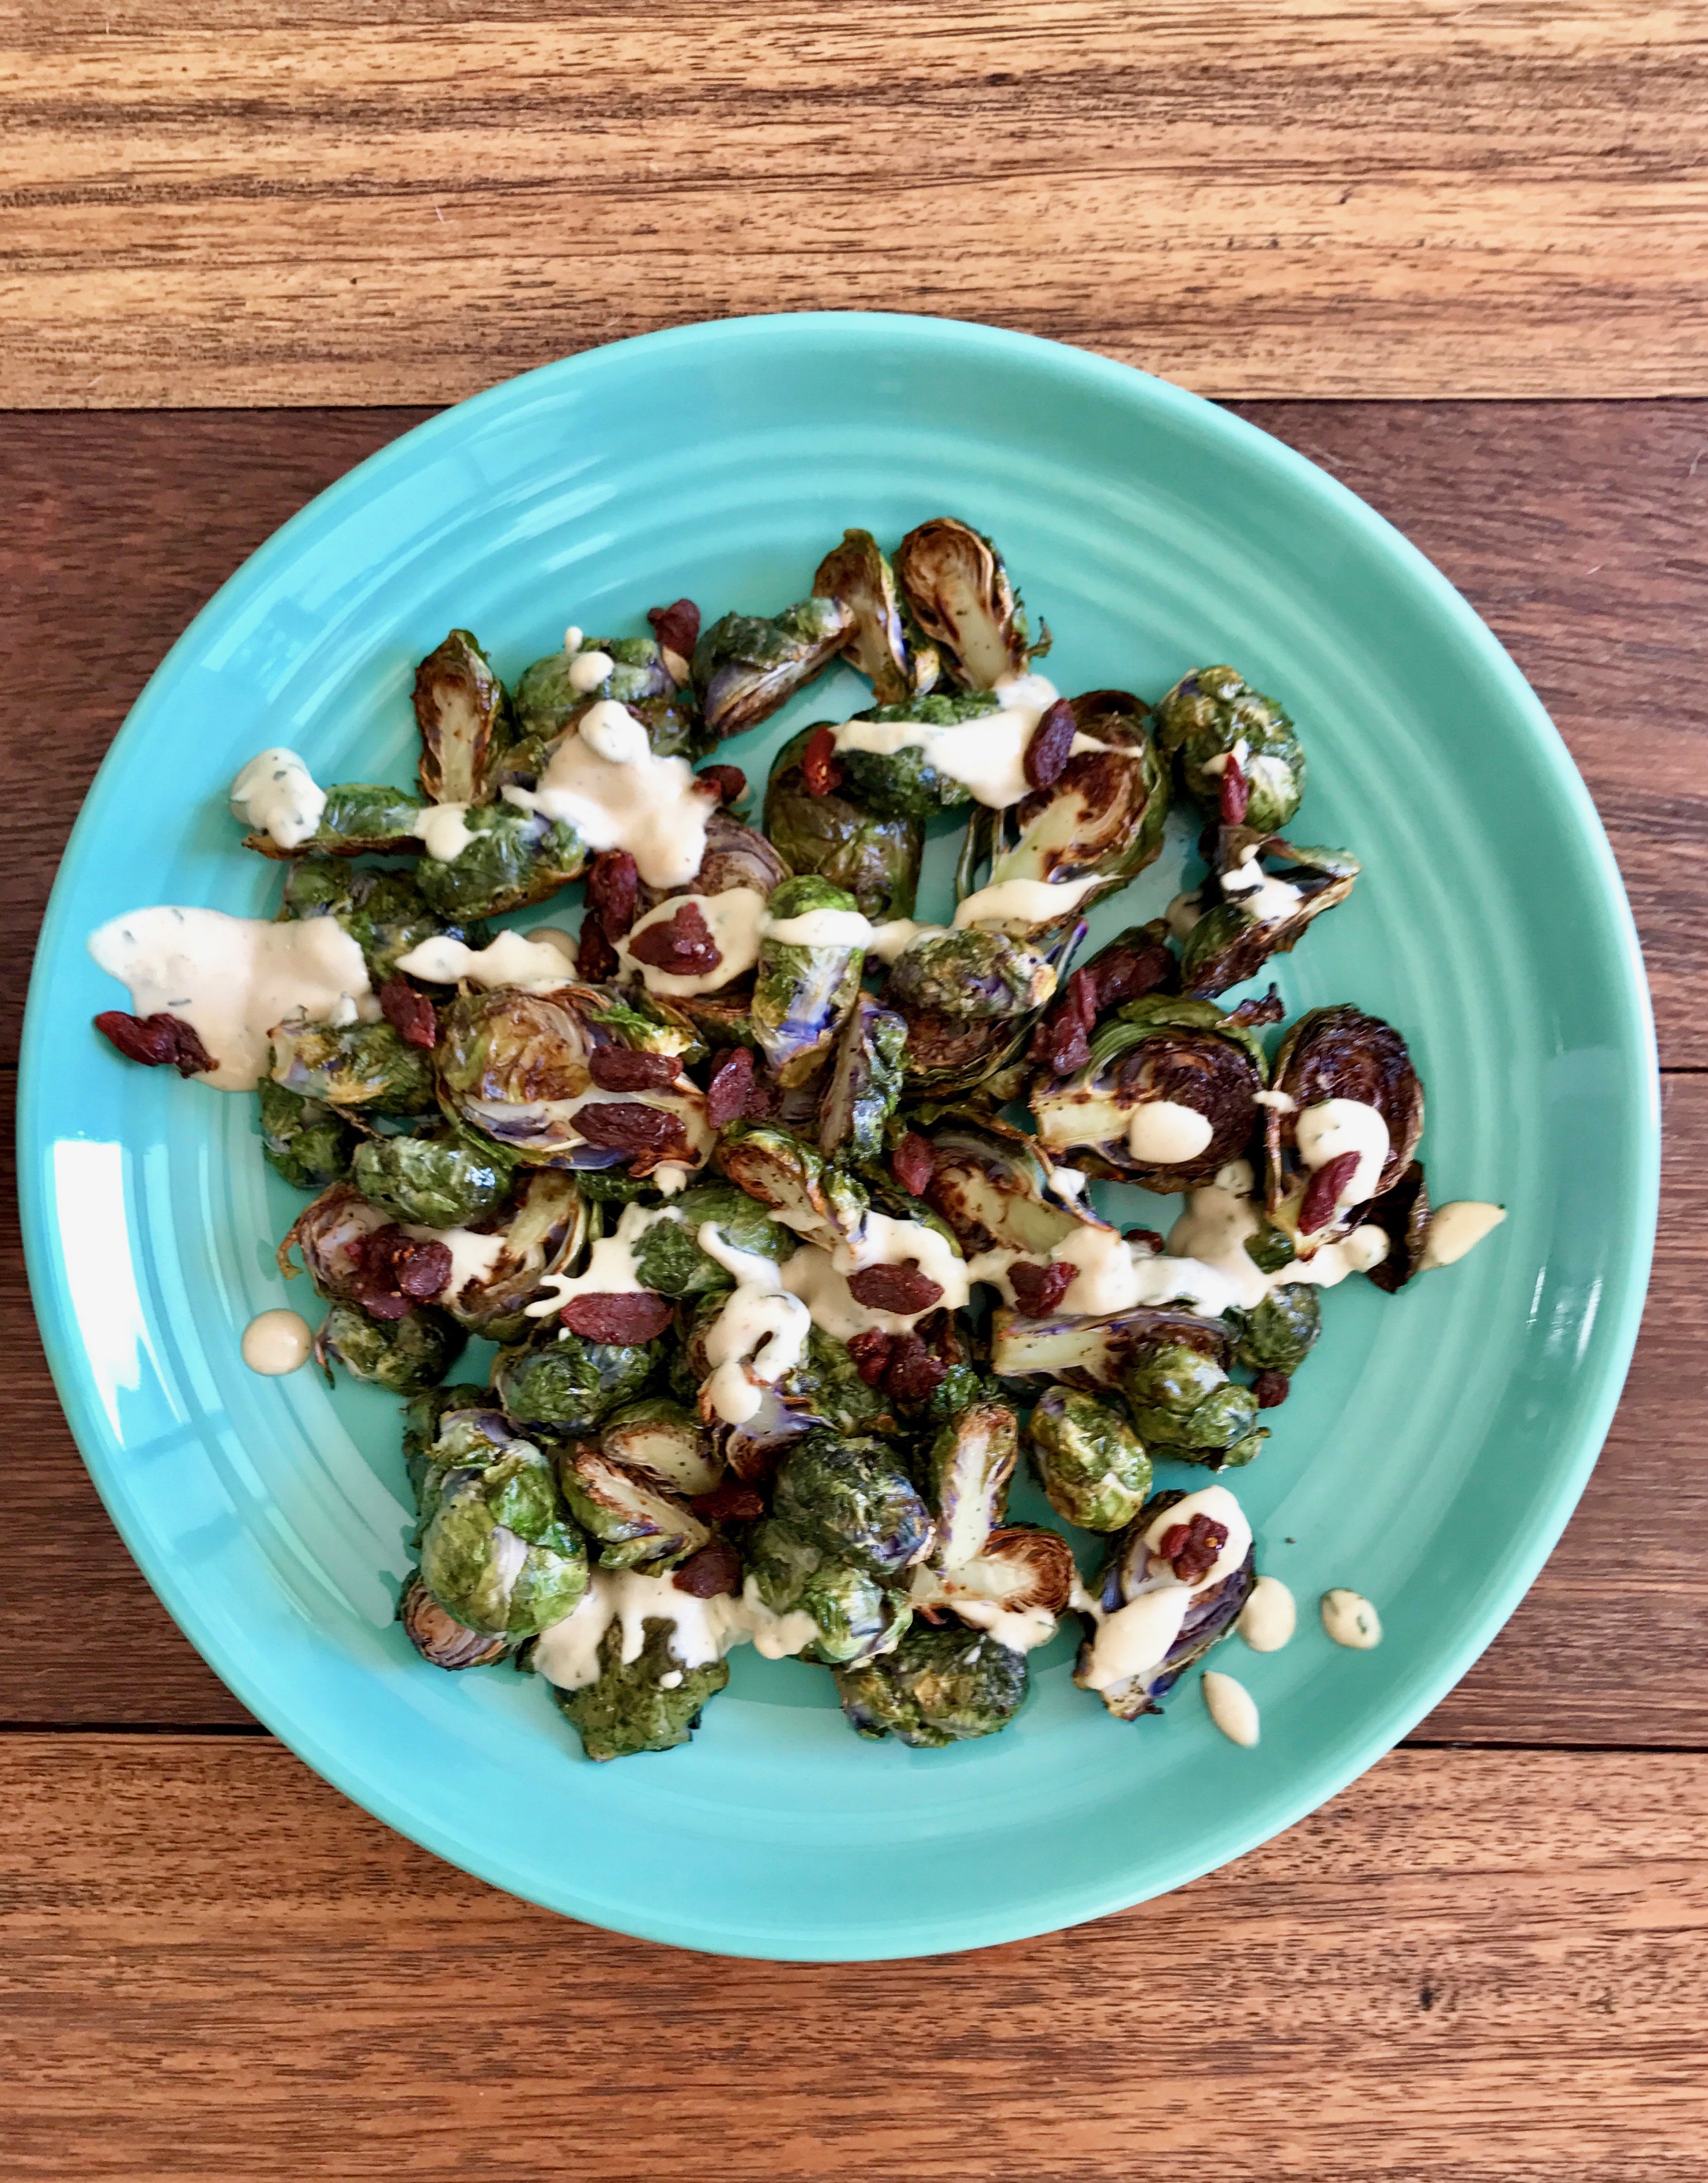
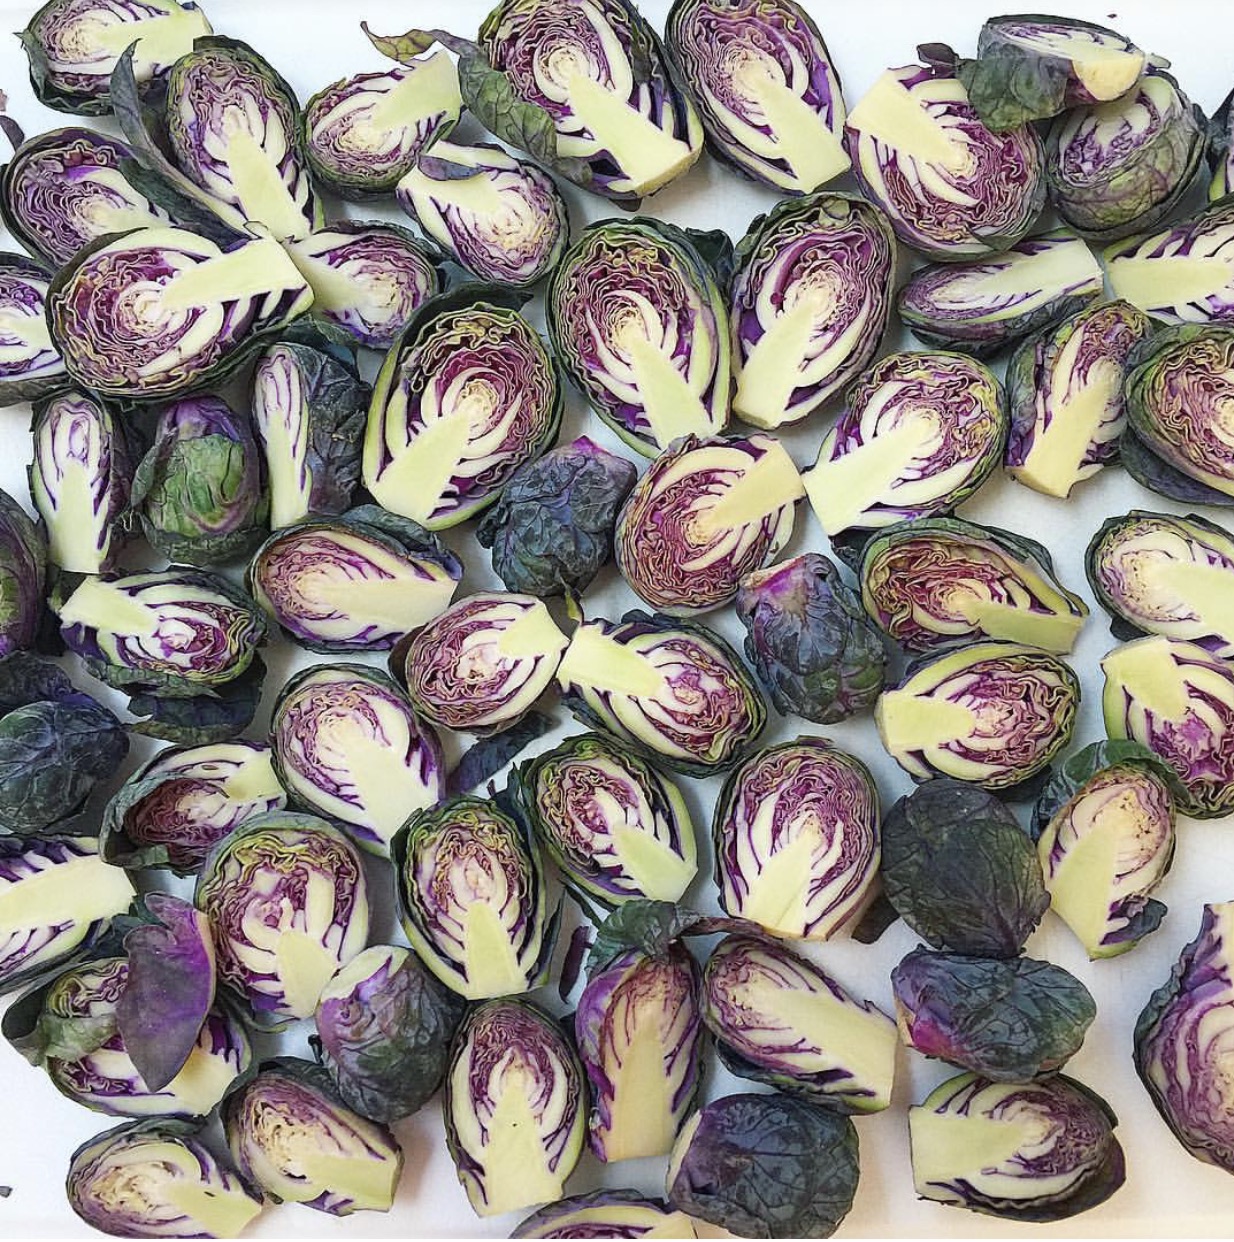
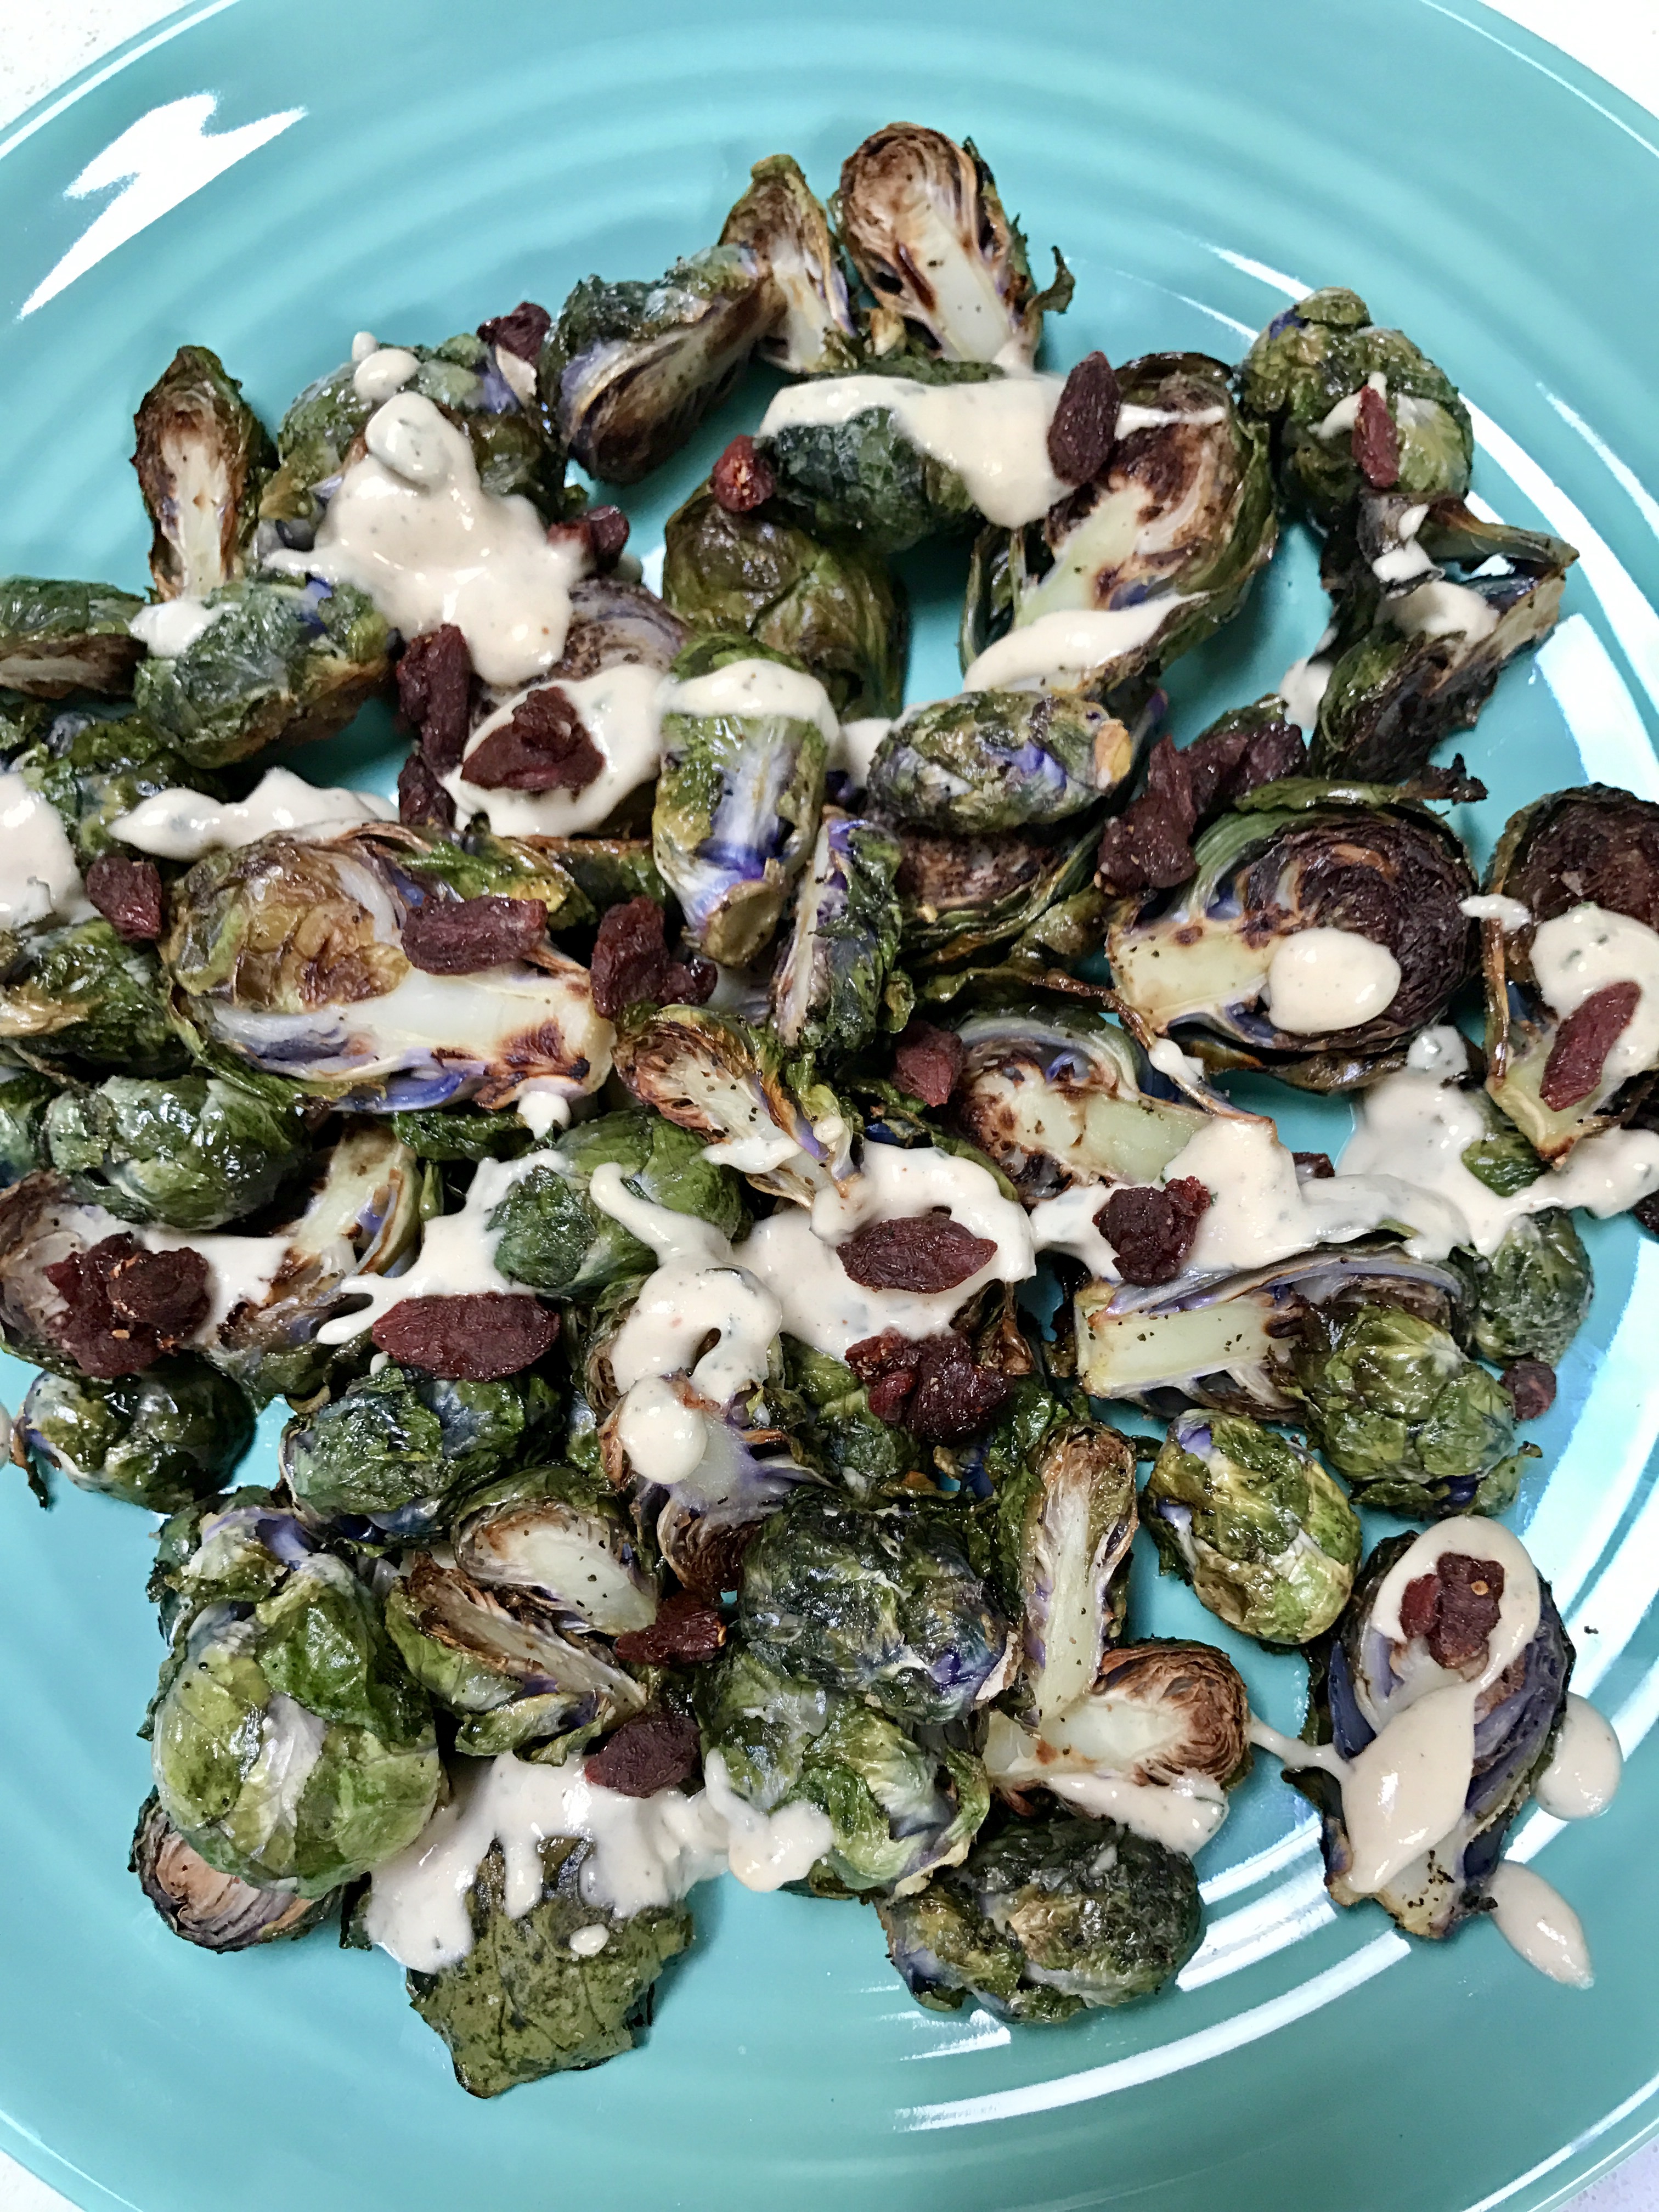
Lifestyle photo by Yopoosh Food photography by Ren Fuller


Creamy Cashew Milk Egg Nog

Better than Eggnog- Dairy-Free White Russian Cocktail

Let’s face it, no one really LOVES eggnog. It’s like fruitcake, one of those things we serve this time of year because it’s a tradition, not because it’s the most delicious option. Well, why not start a new tradition with this scrumptious take on a White Russian.  It’s creamy, nutty, and lightly spiced. ( I call it a Nutty Russian 😉 ) It’s also completely dairy-free so it has a rich holiday flavor without being heavy. Put it in a big punch bowl and you’ve got yourself a party.

Vegan White Russian / Creamy Nut Milk Egg Nog

The Nutty Russian Cocktail


Ingredients:                  Approx. 14 servings

1 cup Raw Cashews
1/2 cup Raw Macadamia Nuts
1/2 cup Raw Pecans
2 Tbsp Maple syrup
2 tsp Vanilla Extract
1/2 tsp Ground Cinnamon, plus more for dusting
1/4 tsp Ground Cardamom
1/8 tsp Ground Clove
pinch of Salt
1 can light Coconut Milk
1.5 cups Vodka
3/4 cups Kahlua
4 cinnamon sticks
4 Star Anise

Place nuts in a bowl and soak 2-4 hours*, drain and rinse.

Add all of the nuts to a high-speed blender along with 4 cups of water, maple syrup, vanilla extract, the ground spices, and salt. Blend until smooth, about 2 minutes. Pour into a large bowl and stir in Coconut milk and liquor.

Float star anise and cinnamon sticks on top and dust with cinnamon and nutmeg. If serving immediately add 2 cups of ice to the bowl. If it will be out for a while, keep the ice in a separate bowl so people can add it themselves. Cheers!

*Soaking nuts makes them easier for your body to digest and absorb nutrients from. Alternatively you can boil them for 10 minutes which does not have the same nutritional benefits, but will make them easier to blend.

Cast Iron- The one pan you NEED and how to take care of it.

Why Cast Iron

Cast iron pans have been popular cookware since before The United States of America was a thing. They’ve been a favorite from colonial kitchens to cowboy campfires to the most modern kitchens. They’re durable, versatile, and best of all, affordable. It’s the ideal cookware for any sautéed food or scramble and can go straight from the stovetop into the oven, making it the best choice for frittatas. You can even use it for baking- cast iron corn bread is a classic. A simple cast iron pan also looks beautiful sitting on your stovetop in that retro-chic kind of way.

Even though I have cupboards full of cookware, the pan I use the most by far is my trusty cast iron.  A 12-inch (30-cm) cast-iron pan, once seasoned, is naturally non-stick, and can add iron to your food unlike some non-sticks which have toxic chemicals in their coating. If you’re looking to buy one, Lodge has been making reasonably priced, nearly indestructible cast iron pans in Tennessee since the 1896.

 “But what about the care?” you ask, and “what is this mysterious thing called seasoning?” Though you may have heard cast iron requires a lot of TLC, don’t worry! I would never point you in the direction of high maintenance kitchenware. Keep these few simple tips in mind and you’ll have a pan you can pass on to your grandkids someday. 

How to care for Cast Iron

1. Season it- Before you use a new cast iron pan for the first time, you want to make sure it’s seasoned. No, that doesn’t mean you need to throw in your favorite curry powder! When it comes to seasoning here think “a seasoned traveler” kind of seasoning. It will be adaptable, dependable and things will slide right off it’s back…or in this case, bottom. So how do you get your pan to be seasoned? Simply use a paper towel to rub it all over with a thin layer of cooking oil, then stick it in a 350* oven for an hour. That’s it! Even though most cast iron comes pre-seasoned these days, this step will give it an extra layer of protection and help with its non-stickiness.  

2. Clean it- You might have heard some people say to never get your cast iron pan wet. Well, that is a totally unnecessary precaution and potentially a little gross. You can definitely wet the pan and wipe it with a sponge; or even scour it with a nylon brush. For stubborn stuck on food, you can use a generous pour of kosher salt before you scrub. Only use soap when it’s absolutely necessary. Don’t let it soak in water and never put it in the dishwasher! Like your favorite cashmere sweater this baby is hand wash only.  

3. Dry it Immediately-  This is the most important step to keep your pan from rusting. After you wash it put it on the stovetop over a medium-low flame to let any water evaporate. After it cools a bit, wipe it with a little more oil to keep it as shiny, black and gorgeous as geisha hair. 

4. Use it early and often- The more you use your pan, the better it gets! The best way to maintain your seasoning is to cook or bake in it often. It’s pretty enough to show off, so keep it out on your stovetop so it’s always ready for action. Because there is no chemical coating to protect, feel free to use metal utensils with abandon. 

5. It’s ruined forever!– Um, no, sugar plum, it’s not. Even the worst 100 year old, rusty, brown pans can be brought back to their former glory.  Scrub any rust off with a stiff brush or steel wool, wash with soap and water, and re-season as directed in step 1. Good as new!  

Cast Iron Photo by Camraface Food photos by Ren Fuller for Pescan: A Feel Good Cookbook by Abbie Cornish & Jacqueline King Schiller available from Abrams Books. 

Spinach Pasta with Roasted Pumpkin, Pomegranate and Pecans in Sage Garlic Oil

Roasted Pumpkin, Pomegranate and Pecan Pasta in Sage Garlic Oil

I came up with this roasted pumpkin pasta recipe as a way to make the best use of the pumpkins that had been  decorating my front entryway. I bought a couple of varieties that were new to me this year rather than the traditional jack-o-latern type. When I cut into them with plans to make toasted pumpkin seeds, the color of the flesh inside told me that these pumpkins were made for more decorating doorsteps. I’ve tried cooking those regular pumpkins before and they were flavorless and fibrous, but these brightly colored pumpkins have a smooth, sweet flesh similar to butternut squash. The types to try are Cinderella, Fairytale, Hubbard or Sugar Pie. All you have to do to bring out their rich, sweet pumpkin flavor is roast them with a few spices.

Spinach Pasta with Roasted Pumpkin, Pomegranate and Pecans in Sage Garlic Oil

You can serve roasted pumpkin as a hearty seasonal side, but here it is paired with earthy spinach pasta, meaty pecans and sweet-tart pomegranate seeds to become a main dish that is not only beautifully balanced in flavor, but also beautiful to look at.

img_7451

This recipe is perfect…
  • to make the most of any leftover pumpkin.
  • to showcase the best seasonal ingredients in a savory dish.
  • to make when friends come over for dinner. Simply add a nicely dressed bowl of mixed greens and carrots on the side to make it a meal. Pumpkin is also a good value this time of year.
Nutritional highlights:
  • Pumpkins are rich in carotenoids, the compounds that give the gourd their bright orange color, including beta-carotene, which the body turns into vitamin A for a big punch of antioxidants which may help prevent heart disease, cancer, and many signs of aging.
  • Garlic and Sage have immune booting properties, therefore they are especially beneficial in cold and flu season.
  • Pomegranates are one of the world’s healthiest fruits. Pomegranate juice has been shown to have greater antioxidant capacity than red wine or cranberries. Pomegranate is also believed to be a natural aphrodisiac, so this pasta is not only beautiful, it’s also sexy! Enjoy xJacq

Spinach Pasta with Roasted Pumpkin, Pomegranate and Pecans in Sage Garlic Oil

Roasted Pumpkin, Pomegranate and Pecans in Sage Garlic Oil


Ingredients: 4 Servings

  • 4 cups peeled, cubed pumpkin
  • 1 Tbsp coconut oil, melted
  • 1/4 tsp sea salt
  • 1/8 tsp black pepper
  • Pinch ground nutmeg
  • 12 oz. dry spinach pasta
  • 5 Tbsp extra-virgin olive oil
  • 12 large sage leaves
  • 4 cloves garlic, minced
  • 1/4 cup toasted pecans
  • 1/4 cup pomegranate arils

Directions:

Preheat Oven to 425*

1. Toss pumpkin in coconut oil, salt, pepper, cinnamon and nutmeg. Spread on a parchment lined baking sheet and roast until tender and lightly browned, about 30 minutes, turning once halfway.

2. Bring a large pot of water to boil and add enough salt to make it as salty as ocean water. Add pasta and cook according to package directions.

3. Meanwhile, heat olive oil over medium and when shimmering add sage leaves and garlic. Allow sage and garlic to fry approximately 60 seconds. At the first sign of the garlic browning, immediately turn off the heat to avoid burning.

4. Drain the pasta and add it back into the pot you cooked it in. Pour the garlic oil onto the pasta, reserving the sage leaves, add the pumpkin and toss to coat. Top with pecans, pomegranate seeds and sage leaves.


Quick Ginger-Chili Pickled Persimmon

Ginger-Chili Pickled Persimmon are my favorite pickles of all! They are delicious on salads or as a tangy-sweet snack. Persimmon are only available for a short time each year, so this is the perfect way to save the season, and only takes five minutes to make!

IMG_0711

Quick Ginger-Chili Pickled Persimmon


Ingredients:

  • 5 Fuyu Persimmon, sliced into 1/4 inch rounds, seeds discarded
  • 1.5 cups Raw Apple Cider Vinegar
  • 2/3 cup Raw Cane Sugar or Coconut Sugar
  • 1 inch Ginger, sliced
  • 1/2 tsp Chili Flakes
  • 1 Tbsp Kosher Salt
  • 1/2 tsp Black Peppercorns
  • 1/8 tsp Saffron

Directions:

Stuff a pint-sized mason jar with the persimmons, add the vinegar, sugar and spices. Lightly shake so everything dissolves, and stick them in the fridge. They will keep for several weeks in the unlikely event you don’t eat them sooner.

Notes:
  • If you would like to heat process, fill the mason jars with the persimmon then bring the vinegar, sugar, and spices to a boil. Stir until everything dissolves then pour into the jar leaving 1/4 inch headroom, wipe the rim with a clean dishcloth, seal with a new lid. Boil in a water bath for 10 minutes to seal.

Rainbow Root Vegetable Salad

This rainbow root vegetable salad is a beautiful and easy dish that adds a gorgeous array of colors to your winter table.

All of the vegetables are raw so the trick is to use a mandolin to slice the veggies so they are just thick enough to hold their shape. Then we add sweet persimmon and golden raisins to perfectly balance the earthy flavor of the root veggies.

It’s a celebration of the seasons bounty which makes it a perfect dish for the holidays! Enjoy and best wishes to you as we step into this busy season! With love, Jacq

Rainbow Root Vegetable Salad


Serves 6 as appetizer

Ingredients 

  • 1/4 Fennel bulb and fronds
  • 3 small watermelon radish
  • 1 persian Cucumber
  • 2 baby turnip (or 1/2 small turnip, peeled)
  • 1/2 Yellow Beet, peeled
  • 1/2 Chioggia (striped) Beet, peeled
  • 1/2 Red Beet, peeled
  • 3 rainbow Carrots
  • 1 large Fuyu Persimmon (sub fuji apple if not available)
  • 3 Romaine Lettuce Hearts
  • 5 tablespoons Almond Oil, divided
  • 1/2 Lemon
  • Sea Salt and Black Pepper
  • 1/2 Orange
  • 1 tablespoon Red Wine Vinegar
  • 1/4 cup roasted almonds, chopped
  • 1/4 cup Golden Raisins
  • Flaky Sea Salt (such as Maldon)

Directions:
  1.  Working on a large baking sheet thinly slice the vegetables into separate little piles. First trim off the bottom of the fennel and thinly slice the bulb using a mandolin. Reserve the fennel fronds for garnish. Next very thinly slice the radish, cucumber, turnip, yellow beet, chioggia beet and red beet.
  2. Wash your hands to remove the red beet juice then trim the carrot tops to 1/4 inch (if applicable) Slice the carrots lengthwise into ribbons using a vegetable peeler. Cut off the top of the persimmon and thinly slice it using a knife.
  3. Trim off the bottom of the romaine and place the romaine leaves on a platter. Squeeze the juice from the lemon over the greens and drizzle with 2 tablespoons almond oil.  Sprinkle with a generous pinch of salt and pepper, and gently toss to coat. Spread greens out on the platter.
  4. Squeeze the juice from the orange into a small bowl. To that add 3 Tbsp almond oil, the red wine vinegar, mustard and a pinch of salt and pepper. Whisk well to blend.
  5. Layer the vegetables and persimmon on top of the greens using tongs. Drizzle with the orange dressing. Sprinkle with the almonds and golden raisins and garnish with the fennel fronds. Finish with a pinch of flaky sea salt and freshly ground black pepper.

The photos in this post were taken by Ashley Randall Photography 

Pumpkin Spice French Toast with Coconut Butter

Real Food Fast- Pumpkin Spice French Toast with Coconut Butter

French toast is a deliciously decadent treat that is usually reserved for Sunday Brunch or special occasions. This version, however, is so much more nutritious than your typical French toast recipe, and so quick and easy to make, you’ll want to add it to your regular breakfast rotation.

Ezekiel Bread Pumpkin Spice French Toast Recipe

We make it with whole grain Ezekial Cinnamon Raisin Bread (available at most Whole Foods and Trader Joe’s) because it’s high in protein and doesn’t have any added sugar, but the raisins and cinnamon give it a nice touch of natural sweetness. With the added protein from the eggs and the rich creamy coconut butter on top, it’s a great energizing breakfast that will keep you going strong all morning.

Pumpkin Spice French Toast with Coconut Butter Recipe

I only recently discovered coconut butter and it’s a new favorite substitute for regular butter. It’s wonderful to use in baking or spread on muffins, toast, pancakes or (best of all!) French toast. Made from pureed meat of the coconut, it is as rich and creamy as dairy butter with a smooth nutty flavor. It’s kind of like if coconut oil and almond butter had a delicious baby. Yes, it really is that good! My favorite is the Artisana brand available at Thrive Market.

This French toast recipe is perfect:
  • when you’re short on time, but want a “real” breakfast- It only takes about 5 minutes to make!
  • when you have a bit of a sweet tooth at breakfast time. Kids love it too!
  • when you want an easy, meat-free, protein-rich breakfast.
  • when you have a big day ahead and need a breakfast that will give you a boost of energy and keep you going all morning.
Nutritional highlights:
  • The combo of grains and legumes used to make ezekiel bread makes it a complete protein with all 9 essential amino acids.
  • Eggs are a good source of vitamins D,B6, B12, and heart healthy omega-3 fatty acids. They also help you feel full longer.
  • Most everyone has heard about all of the wonderful health benefits of coconut oil, but coconut butter is even BETTER because it’s a whole food which means it retains all its natural fiber and minerals.

Enjoy this Real Food Fast breakfast and have a beautiful day! xJacq


Ingredients: 2 servings

  • 3 Pasture Raised Eggs
  • 3 Tbsp Almond Milk
  • 1/2 tsp Pumpkin Spice
  • 1/4 tsp Vanilla Extract
  • tiny pinch of Sea Salt
  • 4 Slices Ezekiel Cinnamon Raisin Bread
  • 1 Tbsp Coconut Oil
  • 2 Tbsp Coconut Butter
  • 2 Tbsp Maple Syrup

Directions:

Whisk the eggs, almond milk, pumpkin spice, vanilla extract and a tiny pinch of salt. Heat the coconut oil in a large skillet over medium heat. Dip each slice of bread into the egg mixture for 15 seconds per side then cook 45 seconds to 1 minute per side until lightly browned. Top with coconut butter and maple syrup.

Creamy White Wine Risotto With Roasted Mushroom and Thyme

Creamy White Wine Risotto With Roasted Mushroom and Thyme (Vegan)

If you’re looking for a beautiful and delicious main dish to serve this holiday season, look no further than this creamy White Wine Risotto with Roasted Mushroom and Thyme. I lived in Italy for a while and have so many memories of celebratory dinners with risotto at the center. I think of it as the world’s most elegant comfort food. It’s so satisfying and warming, but still feels like a special occasion food.

Creamy White Wine Risotto With Roasted Mushroom and Thyme (Vegan)

Like a lot of people, I assumed that to get a creamy risotto, you have to add a lot of butter and cheese, but as I began to study plant-based cooking I found out that is absolutely not true! The creaminess is actually achieved by coaxing the starch out the of the special type of rice that is used to make risotto. You do this by adding hot liquid, a little at a time as it cooks, and by stirring a lot. To get the umami flavor that is usually provided by parmesan we add a little miso paste and nutritional yeast instead. We top it off with roasted mushrooms, their meaty texture and flavor in lovely contrast with the creamy risotto.

Creamy White Wine Risotto With Roasted Mushroom and Thyme (Vegan)

The combination of the right technique, the balance of ingredients that add depth of flavor, and the beautiful presentation of this dish make it the perfect star for your holiday meal. Wishing you so much joy, love and deliciousness this holiday season! xoxo, Jacq

Creamy White Wine Risotto With Roasted Mushroom and Thyme (Vegan)

Creamy White Wine Risotto With Roasted Mushroom and Thyme


Prep: 10 minutes     Cook Time:  25 minutes

Ingredients:        Serves 6        

Risotto:

  • 4 cups vegetable broth
  • 2 cups filtered water
  • 1/4 cup extra-virgin olive oil
  • 1 yellow onion, finely diced (about 1 1/2 cups)
  • sea salt
  • 4 garlic cloves, minced
  • 1 heaping teaspoon fresh thyme leaves, plus additional sprigs for garnish
  • 2 cups aborio or carnoli rice
  • 3/4 cup dry white wine
  • 2 tablespoons chickpea miso
  • 2 tablespoons nutritional yeast
  • 1/4 teaspoon white pepper
  • Truffle oil
  • 3 tablespoons Italian parsley, minced

Mushrooms:

  • 1 lb. mixed mushrooms, such as cremini, chanterelles, hen of the woods (aka maitake), oyster, shiitake, etc. cut or torn into bite-size chunks
  • 3 tablespoons olive oil
  • 2 tsp fresh time leaves
  • 4 garlic cloves, roughly chopped
  • 1/4 tsp sea salt
  • 1/4 tsp freshly ground black pepper

Directions:  Pre-heat oven to 450°

  1. Add the broth and filtered water to a pot and bring to a simmer.
  2. Heat the oil in large, heavy-bottomed pan over medium. Add the onions and a pinch of salt and sauté, stirring frequently with a wooden spoon, until the onions soften and start to become translucent, about 4 minutes.
  3. Add garlic and thyme to the onions, stir, then add the rice. Continue to stir frequently to coat the rice in the oil and to prevent sticking. Toast the rice for a few minutes until it smells nutty and edges of the grains look translucent. Pour the wine into the rice and stir until it is completely absorbed.
  4. Ladle in a cup of broth and continue cooking and gently stirring until the liquid has been absorbed before adding another cup. Adjust the heat if necessary to keep both pots at a simmer. Continue to add the broth one cup at a time and cook the rice until it is tender, about 20 minutes. You do not need to stir continuously, but stirring frequently will help your risotto cook evenly and achieve the desirable creamy consistency.
  5. Meanwhile toss the mushrooms, oil, thyme, garlic, salt, and black pepper on a baking sheet then spread the mushrooms out in a single layer. Roast until the mushrooms are browned, about 14 minutes, turning once midway.
  6. Once the risotto is done, stir in the miso paste, nutritional yeast and white pepper. Just before serving, stir in a splash of hot liquid to loosen the consistency, if necessary. Plate and drizzle with a bit of truffle oil, about 1 teaspoon per serving. Top with the roasted mushrooms and garnish each dish with a generous sprinkle of fresh parsley and a sprig of fresh thyme. Enjoy immediately.
Notes:
  • Both chickpea miso and nutritional yeast have a strong flavor, so be sure to use level tablespoons when you are measuring.
  • If you are watching your salt intake you can use low-sodium broth and only 1 tablespoon each nutritional yeast and chickpea miso.
  • The risotto should be loose enough that if you put a scoop in the middle of the plate and shake it, it will spread out. If it holds it’s form, it is too dry, so stir in a bit more hot liquid to loosen it.

The photos in this post were taken by Ashley Randall Photography 

Kalettes with Lemon tahini Drizzle and Goji Berrie

Roasted Kalettes with Lemon Tahini Dressing and Goji Berries

Roasted Kalettes with Lemon Tahini Dressing and Goji BerriesI’ve been reading about kalettes for a while now and was excited to finally find them live and in person, or at least cut and in person, at the farmers market recently.. Also known as lollipop kale or kale sprouts, they are the latest star ingredient of the veggie world, and with good reason. They are an adorable cross between kale and Brussels sprouts, and like their parents, kalettes are loaded with nutrients and health benefits.  Their flavor is slightly less bitter than Brussels sprouts with a mild earthy flavor. You can eat them raw or sautéed, but roasted kalettes are especially delicious!

Roasted Kalettes with Lemon Tahini Dressing and Goji Berries

While they’re great dressed simply in olive oil and a little salt and pepper, here they are turned into something really special with a heavy drizzle of spoon-licking good lemon-tahini dressing and a sprinkle of sweet-tart goji berries.

Kalettes with Lemon tahini Drizzle and Goji Berrie

This recipe is perfect…

  • As a quick, easy, and colorful side for holiday meals.
  • paired with grains, beans and/or other veggies in a Buddha bowl
  • when you’re feeling run down and need a big antioxidant boost without a lot of fuss.

Nutritional Highlights:

  • Kalettes are super low- calorie at 30 per cup, making them a great base for a recipe. They’re also full of vitamins and antioxidants, including vitamin K, folate, vitamin C, and carotenoids.
  • Tahini is a good source of amino acids, vitamin E, B vitamins, trace minerals, and fatty acids that all help with skin cell rejuvenation which is key to keeping your skin looking fresh. #feelgoodglow 🙂
  • You’ve probably already heard that goji berries are extremely high in antioxidants, but they also have the highest concentration of protein of any fruit. They’re also the only fruit containing all of the essential amino acids to make it a complete protein, which makes them an ideal way to beef up, so to speak, plant-based dishes.

Roasted Kalettes with Lemon Tahini Dressing and Goji BerriesEven with all of these wonderful health benefits, the real reason you’ll want to make this recipe over and over again is plain and simple. It’s delicious. Enjoy! xJacq

Roasted Kalettes with Lemon Tahini Dressing and Goji Berries


Ingredients: Serves 4 as a side dish

Kalettes:
  • 1 lb Kalettes, trimmed and halved
  • 1 Tbsp Olive Oil
  • 1/4 tsp Sea Salt
  • 1/4 tsp Black Pepper
Tahini Dressing:
  • 1/3 cup Tahini
  • 1 Garlic Clove, finely minced
  • 3 Tbsp Lemon Juice (about 1/2 lemon)
  • 3 Tbsp Warm Water
  • 1 Tbsp Extra-Virgin Olive Oil
  • 1/2 tsp Sea Salt
  • 1/4 tsp White Pepper
  • Pinch of Smoked Paprika
  • 1 Handful Italian Parsley, minced (1 Tbsp)
Topping:
  • 1 Heaping Tbsp dried Goji Berries

Directions: Preheat oven to 400*


  1. Toss the kalettes with olive oil, sprinkle with salt and pepper and toss again. On a parchment lined baking sheet, arrange the kalettes in a single layer, cut side down. Roast until tender-crisp and bottoms brown, about 15 minutes.
  2. Make the dressing while they roast. In a medium bowl whisk together tahini, garlic, lemon juice, water, olive oil, salt, pepper, and paprika until smooth. Fold in the parsley.
  3. Serve the roasted kalettes in a single layer and drizzle generously with tahini. Finish with a sprinkle of goji berries
Note:
  • If Kalettes are not available in your area, baby Brussels sprouts are a nice substitute.
Healthy vegan chocolate chip cookie

Feel Good Chocolate Chip Cookies made with Oats Almond Butter and Banana (Vegan)

Now that my baby is almost a year old, a shocking amount solid food is passing through those tiny lips. He seems to always be hungry so I thought I better start working on some healthy snack food recipes.Healthy vegan chocolate chip cookie

These chocolate chip cookies really fit the bill. They’re made with a few simple, nourishing ingredients, and are vegan and gluten-free. They’re also really quick to make, which is a big bonus since time has never felt so precious to me as it does now.Healthy vegan chocolate chip cookie

These cookies are perfect…
  • anytime you want a healthy snack that satisfies your sweet tooth.
  • when you don’t have time to sit down for a full meal. They’re even healthy enough to eat for breakfast!
  • as a lunch bag treat to take to school or the office.

Healthy vegan chocolate chip cookie

Nutritional Highlights:
  • Eating oats regularly can help lower your risk for heart disease. Oats contain a specific type of fiber known as beta-glucan. Studies have shown the beneficial effects of this special fiber on cholesterol levels for decades.
  • Almonds are a great source of healthy fats, fiber, protein, magnesium and vitamin E. Due to their nutritious make up, they leave you feeling full and satisfied.
  • Bananas are a great way to energize and replenish your body since they are packed with nutrients including vitamin B6, manganese, vitamin C, potassium, fiber, biotin, and copper.

Healthy vegan chocolate chip cookie

Feel Good Chocolate Chip Cookies


Ingredients: Makes one dozen

  • 1 cup Old-Fashioned Oats
  • 1 cup Creamy Almond Butter
  • 1 medium Bannana, mashed (1/2 cup)
  • 1/3 cup Coconut Sugar
  • 1/4 teaspoon Cinnamon
  • Pinch of Sea Salt
  • 1/3 cup Chocolate Chips

Directions:

Preheat the oven to 350˚F (175°C/gas 4) and line a baking sheet with parchment paper. Set aside.

In a medium mixing bowl, use a fork to mix the oats, almond butter, banana, sugar, cinnamon, and salt. If the mixture is too dry to stick together, add one tablespoon of water and mix again. Fold in the chocolate chips or raisins.

Spoon one heaping tablespoon of the mixture onto the baking sheet to make each cookie. Spread the mixture evenly with the back of the spoon to create a ¼-to-½-inch- (6-to-12-mm-) thick round cookie.

Bake for about 15 minutes, until the tops of the cookies are lightly golden and the bottoms begin to brown. Allow to cool before serving. Store in an airtight container for up to five days. 

Note:

  • If almond butter is unavailable, you can substitute with any nut butter of your choice.